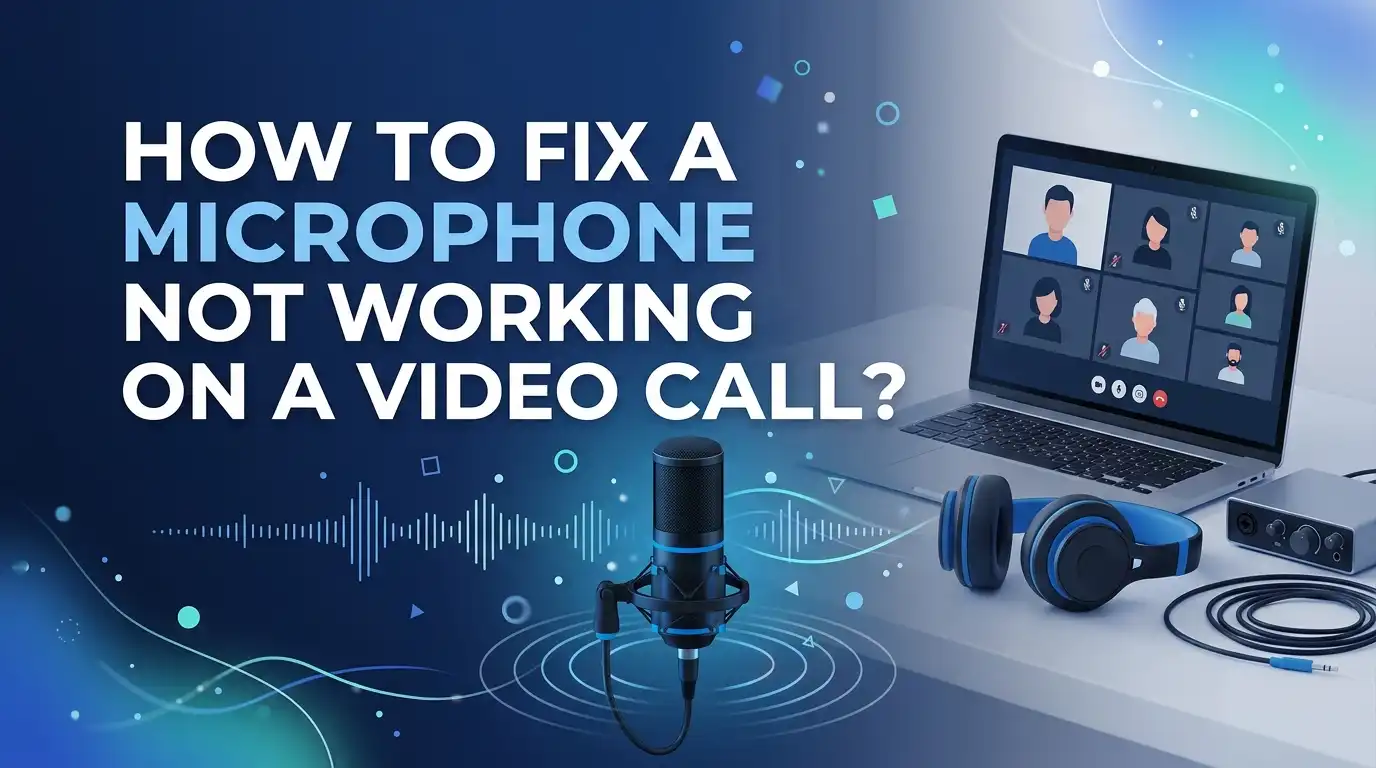
How To Fix A Microphone Not Working On A Video Call?
You join a video call. People wave at you. Their lips move. But when you speak, you see blank faces and the dreaded message: “We can’t hear you.” It feels awkward, and it wastes everyone’s time.
A dead microphone during a meeting is one of the most common tech headaches today, whether you use Zoom, Microsoft Teams, Google Meet, or FaceTime.
The good news is simple. Most microphone problems are easy to fix yourself. You rarely need to buy new gear. You usually just need to flip a setting, grant a permission, or pick the right device.
In a Nutshell:
- Check the mute button first. A surprising number of “broken” mics are just muted, either inside the app or on the physical headset. Always look here before anything else.
- Permissions matter most. Your computer or phone must allow the app to use the microphone. On Windows, Mac, iPhone, and Android, a blocked permission silently kills your audio.
- Pick the correct input device. Your system may listen to the wrong microphone. Select your actual mic in the app’s audio settings and in your system sound settings.
- Restart fixes more than you think. Closing the app, replugging the mic, or rebooting the device clears most temporary glitches in seconds.
- Drivers and updates count on Windows. Outdated or corrupt audio drivers are a top cause of a mic that shows up but stays silent. Update or reinstall them.
- Bluetooth needs the right mode. Wireless headsets often switch profiles. Setting the device to “headset” or “hands free” mode turns the mic back on.
Why Your Microphone Fails During Video Calls
Your microphone can stop working for many reasons, but the causes fall into a few clear groups. Software settings block the mic most often.
This includes app mute buttons, system permissions, and the wrong input device being selected. Hardware faults come next, such as a loose cable, a damaged port, or a dead headset battery.
Driver problems sit in the middle. On Windows especially, a missing or broken audio driver makes the mic vanish or stay silent. Sometimes two apps fight over the same microphone, so one app grabs it and locks the other out.
Understanding the cause saves you time. Instead of guessing, you can work through each group in order. The sections below follow that logic, starting with the fastest fixes and moving toward the deeper ones.
Start With The Fastest Checks First
Before you dive into menus, run these quick checks. They take under a minute and solve a huge share of cases. First, look for the mute icon inside your call app. A red microphone with a line through it means you are muted. Click it once to unmute.
Next, check the physical mute switch. Many headsets and webcams have a hardware mute button or a mute toggle on the cable. People press these by accident all the time.
Then confirm the mic is plugged in fully. Push the connector firmly into the jack or USB port. Try a different port if you can. Finally, raise the volume slider for your input device, because a mic set to zero acts exactly like a broken one. These small steps fix more problems than any advanced trick.
Pros: Fast, free, and safe. No technical skill needed. Solves a large number of cases instantly.
Cons: Will not help if the issue is a permission, driver, or hardware fault. You may need to keep going.
Check Microphone Permissions On Windows
Windows keeps a privacy switch that controls which apps can hear you. If this switch is off, your mic stays silent even when it works perfectly. This is one of the most common hidden causes.
Open Settings, then go to Privacy and security, then Microphone. Turn on Microphone access at the top. Below that, turn on Let apps access your microphone. Then scroll down and switch on access for your specific call app, like Zoom or Teams.
Some apps run through your browser, so also enable access for your browser, such as Chrome or Edge. Save your changes and rejoin the call.
Pros: Fixes a very common silent failure. Takes only a minute. Gives you control over your privacy too.
Cons: You must repeat this for each new app. Browser apps need separate browser permission, which people often miss.
Check Microphone Permissions On Mac
Macs protect your microphone tightly, which is good for privacy but confusing when a call app cannot hear you. You must grant each app permission by hand.
Click the Apple logo in the top left corner. Open System Settings, then click Privacy and Security, then click Microphone. You will see a list of apps. Turn on the toggle next to your video call app, such as Zoom, Teams, or FaceTime.
If your app is not in the list, open it once and try to use the mic. Mac will then ask for permission. After you allow it, the app appears in the list.
Sometimes you must fully quit and reopen the app for the change to take effect. Restart the app, then test again.
Pros: Solves permission blocks cleanly. Keeps your privacy strong. Clear visual list of apps.
Cons: Each app needs manual approval. You often need to restart the app, which interrupts your call.
Pick The Correct Input Device
Your computer may listen to the wrong microphone. This happens a lot when you plug in a headset, a webcam, or an external mic. The system keeps using its built in mic instead.
On Windows, open Settings, then System, then Sound. Under Input, click your real microphone to set it as the active device. Speak and watch the volume bar move to confirm it works.
On Mac, open System Settings, then Sound, then the Input tab. Select your correct microphone and watch the input level rise as you talk.
Also check inside the call app. In Zoom, Teams, or Meet, open audio settings and choose the same microphone. The app setting can override your system choice, so both must match.
Pros: Fixes the very common wrong device problem. Easy to confirm with the live volume meter.
Cons: Settings exist in two places, system and app, so you must check both. New devices can reset your choice.
Use The App’s Built In Audio Test
Most video call apps include a test tool. This tool tells you instantly whether your mic sends sound, so you stop guessing. Always test before an important meeting.
In Zoom, open settings and click Test Speaker and Microphone. Speak and watch the input bar move. In Microsoft Teams, go to Settings, then Devices, and use Make a test call. Teams records you and plays it back.
Google Meet shows a green room before you join. Click Check your audio and video to test the mic. FaceTime relies on your Mac sound settings, so test there instead.
If the bar moves when you talk, your mic works. If it stays flat, the problem is upstream, so move to the permission and device fixes above.
Pros: Gives a clear yes or no answer. Built right into the app. Helps you avoid mid call surprises.
Cons: Only diagnoses the problem. It does not fix the mic by itself. Test steps differ across apps.
Update Or Reinstall Your Audio Drivers
On Windows, drivers act as the bridge between your mic and your apps. A broken or outdated driver makes the mic appear but stay silent. This is a top cause when settings look correct.
Right click the Start button and open Device Manager. Expand Audio inputs and outputs. Right click your microphone and choose Update driver, then pick the automatic search option.
If updating fails, right click the device again and choose Uninstall device. Restart your computer, and Windows reinstalls the driver fresh on boot. This clears many stubborn glitches.
You can also visit your laptop maker’s support page for the latest audio driver. Macs handle this automatically, so this fix mainly helps Windows users.
Pros: Fixes silent mics that settings cannot. Reinstalling is often a one click cure.
Cons: Mostly Windows only. Wrong drivers can cause new issues, so download from trusted sources only.
Close Apps That Are Hogging The Microphone
Only one app can use your microphone at a time in many cases. If another program grabbed the mic first, your call app gets locked out. This explains why your mic suddenly stops between meetings.
Think about what else is open. Other call apps, voice recorders, browser tabs with video chats, and game voice chat all claim the mic. Close every app you are not using right now.
On Windows, open Task Manager, find the extra apps, and end their tasks. On Mac, right click each app in the dock and choose Quit. Pay attention to apps running in the background tray.
After you close them, reopen your call app. It should now claim the free microphone. A quick reboot also clears every lock at once.
Pros: Solves the frustrating “worked yesterday” mystery. No settings to change. Quick to do.
Cons: You must hunt for the guilty app. Some apps relaunch on their own and grab the mic again.
Restart The App, Browser, And Device
Restarting sounds basic, but it remains one of the most reliable fixes. A fresh start clears temporary glitches that block your mic. Try this whenever a setting looks correct yet the mic stays dead.
Start small. Close the call app fully, then open it again and rejoin. If you use a browser app, close the entire browser, not just the tab, then reopen it.
If the mic is still silent, unplug your headset or USB mic, wait a few seconds, and plug it back in. This re registers the device with your system.
When nothing else works, restart the whole computer or phone. A reboot reloads drivers, releases mic locks, and refreshes permissions. It fixes problems you cannot even see.
Pros: Extremely simple. Fixes a wide range of hidden faults. Works on every device.
Cons: Interrupts your work. You may lose your place in a meeting. It treats the symptom, not always the root cause.
Fix Bluetooth Headset Microphone Problems
Wireless headsets bring their own twist. Bluetooth devices switch between two modes, one for high quality music and one for calls with a working mic. The mic only works in call mode.
If your headset plays sound but the mic stays dead, your system likely chose music mode. On Windows, open Sound settings and pick the headset’s hands free or headset version as your input. This turns the mic on, though audio quality drops a little.
Also check the headset battery, since low power can disable the mic. Re pair the device if it acts strangely. Unpair it, then connect again from scratch.
On phones, make sure call audio is routed to the headset. Sometimes the phone keeps the mic on its own body instead.
Pros: Restores wireless freedom. Re pairing fixes most connection bugs.
Cons: Headset mode lowers sound quality. Bluetooth glitches return now and then. Pairing steps differ by device.
Test Your Microphone On Another Device Or App
Sometimes you need to find out if the mic itself is broken. Testing on a second device gives you a clear answer fast. This step saves you from chasing software fixes for a hardware fault.
Plug your headset or mic into a different computer or phone. Open a simple recording app and speak. If it records well there, your mic is fine, and the problem lives in your first device’s settings.
You can also test inside a different app on the same device. Open a voice recorder or a different call app. If the mic works in one app but not another, the issue is app specific, not hardware.
This simple swap test points you straight to the real cause. It removes the guesswork.
Pros: Quickly separates hardware faults from software faults. Easy and free. Saves wasted effort.
Cons: Needs a spare device or app. Does not fix anything by itself, it only diagnoses.
Run The Built In Microphone Troubleshooter
Both Windows and your call apps offer automatic helpers that scan for problems and fix them for you. These tools save time when you do not know the cause.
On Windows, open Settings, then System, then Sound. Scroll to the Advanced area and look under Troubleshoot common sound problems, then choose Input devices. Windows checks your mic and applies fixes on its own.
Many apps also guide you. Teams and Zoom show warnings when they cannot find a mic and offer setup steps. Follow the on screen prompts, because they often point straight to the broken setting.
Let the troubleshooter finish, then test your mic again with the volume bar. Run it twice if needed, since the first pass sometimes only finds the issue.
Pros: Hands off and beginner friendly. Catches settings you might overlook. Built right into the system.
Cons: It does not solve every problem. Results can feel vague. Mostly a Windows feature.
When To Suspect A Hardware Fault
If you tried every software fix and your mic still fails, the hardware may be at fault. Physical damage needs a different approach. Knowing the signs helps you decide your next move.
Watch for clear clues. A frayed cable, a loose connector, no power light on a USB mic, or a mic that fails on every device all point to hardware. Built in laptop mics can also wear out over time.
Try a cheap backup first. Even basic wired earphones with a mic can get you through a meeting today. This confirms whether the port or the mic is the problem.
If the built in mic is dead, an external mic skips the faulty part entirely. For deeper damage, a repair shop or warranty service is the safe path.
Pros: Stops you from wasting hours on software fixes. A backup mic restores calls right away.
Cons: Repairs cost money and time. You may need a temporary replacement to keep working.
Frequently Asked Questions
Why can people hear me but I sound very quiet on calls?
Your mic likely has a low input level. Open your sound settings and raise the microphone volume. Also move closer to the mic, since distance lowers your sound. A boost setting, where available, can also help.
Why does my microphone work in one app but not another?
This points to an app specific setting. The second app may be muted, may use the wrong input device, or may lack permission. Check that app’s audio settings and your system permissions for it.
Can a weak internet connection make my mic seem broken?
Yes, in a way. A poor connection can cut or distort your audio, so you sound choppy or silent to others. Your mic works fine, but the data does not reach them. Switch to a stronger network or move closer to your router.
Do I need to restart my computer every time the mic fails?
No, a restart is only one tool. Try the mute button, permissions, and device selection first. Use a restart when those quick fixes do not work, since it clears deeper glitches.
How do I stop the wrong microphone from being selected each time?
Set your preferred mic as the default device in your system sound settings. Disabling unused microphones also stops the system from switching back to them automatically.
Is it safe to give apps microphone permission?
Yes, for trusted apps like Zoom, Teams, and Meet. These need mic access to work. Only grant access to apps you recognize, and review your permission list now and then for safety.

Hi, I’m Rosie Tate — a tech enthusiast, gadget geek, and the creator of RapidConvertLab! 🚀 I’ve spent years exploring the ever-evolving world of electronics, smart devices, and Amazon’s hidden tech treasures. Through my honest, hands-on reviews, I help everyday shoppers cut through the noise and pick gadgets that truly deliver value. When I’m not testing a new device, I’m probably unboxing one! 📦✨