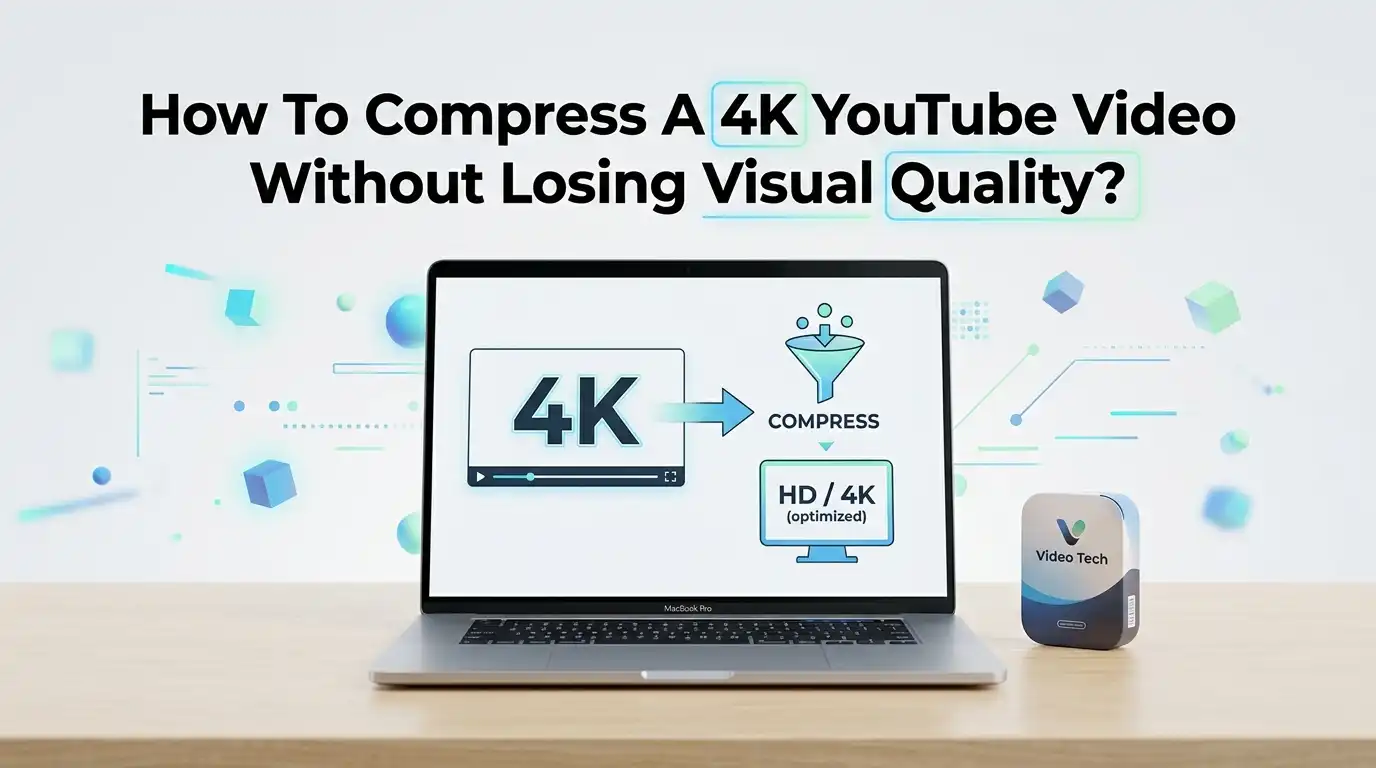
How To Compress A 4K YouTube Video Without Losing Visual Quality?
A 4K video looks stunning. But the file size can feel like a problem. A few minutes of footage often grows into many gigabytes. That huge size slows down uploads, eats your storage, and tests your patience. You want sharp visuals, yet you also want a smaller file that uploads fast.
Good news. You can shrink a 4K video and keep it looking crisp. The trick lies in smart settings, the right codec, and the correct bitrate. You do not need expensive software to do this. Free tools handle the job well when you set them up correctly.
This guide breaks the whole process into clear steps. You will learn which codecs save space, which settings protect quality, and which tools make the work easy. By the end, you will compress 4K footage with confidence. Let us get started.
In a Nutshell:
- Codec choice matters most. H.265 (HEVC) and AV1 both shrink files far more than the older H.264, often by 30 to 50 percent, while keeping the same visual quality.
- Bitrate controls quality directly. YouTube recommends a 35 to 45 Mbps bitrate for standard 4K uploads. Stay near this range to keep detail sharp without bloating the file.
- Use CRF or two pass encoding. A Constant Rate Factor between 18 and 24 gives excellent quality. Two pass encoding hits an exact file size with smooth results.
- Free tools do the job. HandBrake, Shutter Encoder, and FFmpeg compress 4K footage with professional results and cost nothing.
- Resolution and frame rate stay the same. Keep your footage at 3840×2160 and match the original frame rate so YouTube does not re-process it harshly.
- Test with a short clip first. Compress a 30 second sample, check the result, then apply the same settings to your full video to save time.
Why 4K Video Files Get So Large
A 4K frame holds four times the pixels of a 1080p frame. Each second of footage packs millions of color and detail values. That density is exactly why 4K looks so beautiful, but it is also why the files balloon.
Your camera records footage at a high bitrate to capture every detail. A short clip can reach several gigabytes fast. Raw 4K footage often runs at 100 Mbps or higher. Multiply that across minutes of video, and the size grows quickly.
The frame rate adds more weight too. A 60fps clip stores twice the frames of a 30fps clip. More frames mean more data and a bigger file. Understanding this helps you see where the savings come from. You trim the data you do not need while protecting the detail you can see.
Understanding Codecs: The Heart Of Compression
A codec compresses and decompresses your video. It decides how much space your file takes and how good it looks. Choosing the right codec is the single biggest factor in good compression.
The three main codecs are H.264, H.265, and AV1. H.264 is old and widely supported, but it wastes space. H.265, also called HEVC, shrinks files by 25 to 50 percent compared to H.264 at the same quality. That makes it a strong pick for 4K.
AV1 goes even further. It can cut size by up to 50 percent against H.265 for 4K content. The trade off is slower encoding and heavier processing. For most creators, H.265 hits the sweet spot of quality, size, and speed. AV1 suits those who want the smallest file and have time to wait. Pick the codec that fits your goal and your hardware.
Setting The Right Bitrate For 4K YouTube Uploads
Bitrate is the amount of data your video uses per second. It directly controls how sharp your footage looks. A higher bitrate keeps more detail. A lower bitrate saves space but can cause blur or blocky areas.
YouTube publishes clear targets. For standard frame rate 4K, it recommends 35 to 45 Mbps. For high frame rate 4K at 48, 50, or 60fps, it suggests 53 to 68 Mbps. Staying in these ranges keeps your video clean after YouTube re-encodes it.
Here is the smart move. Compress to a bitrate near YouTube’s recommendation, not far below it. If you drop the bitrate too low, YouTube’s own processing makes the quality worse. Aim for the top of the recommended range when detail matters. This balance gives you a smaller file that still survives the upload pipeline with sharp results.
Method 1: Compress 4K Video With HandBrake (Free And Beginner Friendly)
HandBrake is a free, open source tool that works on Windows, Mac, and Linux. It turns complex compression into a few simple clicks. This makes it the best starting point for most people.
Follow these steps to compress your 4K video:
- Open HandBrake and load your video by clicking Open Source.
- Pick a preset. Choose the official preset named H.265 MKV 2160p60 or H.264 MP4 if you prefer wider support.
- Set the codec. Go to the Video tab and select H.265 (x265) for strong compression.
- Adjust quality. Move the Constant Quality slider to a CRF value between 20 and 24.
- Keep the resolution at 3840×2160 in the Dimensions tab.
- Click Start to begin encoding.
Pros: It is free, easy, and offers strong presets. The interface guides beginners well.
Cons: Encoding 4K takes time, and very large files can be slow on older computers.
Method 2: Use FFmpeg For Full Control
FFmpeg is a free command line tool. It offers the deepest control over every setting. Power users love it because nothing is hidden. The trade off is that you type commands instead of clicking buttons.
A simple H.265 compression command looks like this:
ffmpeg -i input.mp4 -c:v libx265 -crf 22 -preset slow -c:a copy output.mp4
In this command, the CRF value of 22 sets the quality. A lower number means higher quality and a bigger file. The preset slow tells FFmpeg to take more time for better compression. The audio is copied without change to save quality.
You can switch to AV1 by replacing libx265 with libaom-av1 for even smaller files. Test a short clip first to check your settings.
Pros: Total control, no quality limits, and great for batch jobs.
Cons: The learning curve is steep, and mistakes in commands cause errors.
Method 3: Try Shutter Encoder For A Visual FFmpeg Experience
Shutter Encoder gives you the power of FFmpeg with a friendly interface. Video editors built it to be clear and fast. It is free and runs on Windows, Mac, and Linux.
To compress a 4K video, follow these steps:
- Drag your video into the Shutter Encoder window.
- Choose a function. Pick H.265 or AV1 from the function menu.
- Set the quality. Use the bitrate or quality slider to match YouTube’s 4K range.
- Keep the resolution at native 4K so your detail stays intact.
- Click Start function to run the encode.
The tool sits between HandBrake and FFmpeg in difficulty. It feels simpler than raw commands but offers more options than basic presets.
Pros: Free, clear layout, and strong codec support. It works well for both beginners and editors.
Cons: Some advanced options can confuse new users at first, and the design feels busy.
CRF vs Two Pass Encoding: Which One Keeps Quality Best
These two methods both deliver excellent results, but they work in different ways. Understanding the difference helps you pick the right one.
CRF, or Constant Rate Factor, locks in a quality level. The encoder uses as much or as little data as each scene needs. A fast action scene gets more data. A still scene gets less. The file size is not fixed, but the quality stays steady throughout.
Two pass encoding works toward an exact file size. In the first pass, the tool studies your video. In the second pass, it spreads the data wisely. This gives smooth, even quality at your target size.
For YouTube, CRF is often the easiest path because quality is your priority, not exact size. Use two pass when you need to hit a strict file size limit. Both protect detail far better than a simple single pass at fixed bitrate.
The Best Settings To Keep Visual Quality High
Settings make or break your final result. A few smart choices protect every detail in your footage. Use these as your starting checklist for clean 4K compression.
Keep your resolution at the native 3840×2160. Never downscale if you want true 4K on YouTube. Match the original frame rate too, whether it is 24, 30, or 60fps. Changing it can cause stutter.
Use a CRF between 18 and 24 for H.265. A value of 20 is a safe sweet spot for most footage. Set the encoder preset to slow or medium. Slower presets pack data more efficiently, which means better quality per megabyte.
For audio, use AAC at 384 kbps or copy the original track. Keep the color profile and HDR data if your footage has it. Stripping HDR by mistake can ruin the look. These settings together give a small file that still shines.
How To Check Quality Before You Upload
You should always confirm your video looks good before uploading. A quick check saves you from re-encoding later. There are simple and advanced ways to do this.
The simple method is your own eyes. Play the compressed file at full screen. Look closely at fast motion, dark scenes, and fine textures like grass or hair. These areas show compression problems first. If they look clean, your settings work.
For a precise check, use a tool called VMAF. Netflix created this metric to predict how humans rate video quality. It scores your video from 0 to 100. A score above 90 means the quality is excellent and close to the original.
FFmpeg can run VMAF for you with a comparison command. Compare your compressed file against the original to get the score. This removes the guesswork and proves your video kept its quality.
Common Mistakes That Ruin 4K Quality
Many people lose quality without knowing why. Avoiding these errors keeps your footage sharp. Learn from them before you start.
The first mistake is setting the bitrate too low. A tiny file might save space, but it creates blur and blocky shadows. Stay near YouTube’s recommended range to protect detail.
The second mistake is double compression. If your footage is already compressed, encoding it again adds damage. Always work from the highest quality source you have.
A third error is downscaling by accident. Some presets shrink resolution silently. Always confirm your output stays at 3840×2160. Another common slip is choosing a fast preset to save time. Fast presets waste data and lower quality. Finally, do not strip HDR or color data, since that flattens your image. Check each setting once before you press start, and you avoid all of these.
Hardware vs Software Encoding: Speed Or Quality
You can encode using your CPU or your GPU. Each path has clear strengths and weaknesses. Knowing the difference helps you choose wisely.
Software encoding uses your CPU. It is slower, but it produces the best quality per file size. Tools like x265 in software mode pack data tightly. This is the right choice when quality is your top goal and you can wait.
Hardware encoding uses your GPU, such as NVIDIA NVENC or Intel Quick Sync. It is much faster, often several times quicker than software. The trade off is slightly larger files for the same quality, or slightly lower quality at the same size.
For a final YouTube upload where quality matters most, software encoding wins. For fast turnarounds or batch work, hardware encoding saves real time. Many creators use hardware for drafts and software for the final version. Pick the option that fits your deadline and your quality standard.
Tips To Speed Up Compression Without Hurting Quality
Compression of 4K takes time, but you can speed it up smartly. These tips trim your wait without ruining the result. Use them to work faster.
First, test settings on a short clip. Cut a 30 second sample, encode it, and confirm the look. Then apply the same settings to the full video with confidence. This avoids long failed encodes.
Second, use hardware encoding for drafts. Save the slow software encode for your final upload only. This balance keeps quality where it counts while saving hours on practice runs.
Third, close other heavy programs while encoding. A free CPU and GPU finish the job faster. Also, encode overnight for very large projects so the wait does not slow your day. Finally, keep your tools updated. Newer versions of HandBrake and FFmpeg run faster and compress better than old ones. Small habits add up to big time savings.
Final Thoughts On Compressing 4K For YouTube
Compressing a 4K video without losing quality is easier than it seems. You just need the right codec, the right bitrate, and a good tool. Once you learn these basics, the process becomes routine.
Remember the core lessons. Choose H.265 or AV1 for the best size and quality balance. Stay near YouTube’s recommended bitrate so your video survives the upload pipeline. Use CRF or two pass encoding to protect detail, and keep your resolution and frame rate native.
Free tools like HandBrake, Shutter Encoder, and FFmpeg handle everything you need. You do not have to spend money to get professional results. Test a short clip, check the quality, then encode your full video.
Follow these steps, and your 4K footage will upload faster, take less space, and still look sharp. Your viewers get stunning video, and you get a smooth workflow.
Frequently Asked Questions
Does compressing a 4K video always reduce its quality?
No, it does not always reduce visible quality. Smart compression removes data you cannot see while keeping the detail you can. When you use a good codec like H.265 and a proper bitrate, the quality stays nearly identical to the original. The key is avoiding extreme settings that strip too much data.
What is the best codec for 4K YouTube videos?
H.265, also called HEVC, is the best balance for most creators. It shrinks files by up to 50 percent compared to H.264 at the same quality. AV1 compresses even more, but it encodes slower and needs more power. For speed and quality together, H.265 wins for everyday use.
What bitrate should I use for 4K YouTube uploads?
YouTube recommends 35 to 45 Mbps for standard frame rate 4K. For high frame rate 4K at 50 or 60fps, aim for 53 to 68 Mbps. Staying near these targets keeps your video sharp after YouTube re-encodes it. Avoid going far below this range, since that creates visible blur.
Is HandBrake good enough for professional 4K compression?
Yes, HandBrake delivers professional results for free. It uses the same strong encoders found in paid software. Its presets make 4K compression simple for beginners, while advanced users can fine tune every setting. Many creators rely on it for their final YouTube uploads.
How long does it take to compress a 4K video?
The time depends on your video length, your settings, and your computer. Software encoding with a slow preset takes longer but gives better quality. Hardware encoding finishes much faster. A few minutes of 4K footage can take from several minutes to over an hour on slower machines.
Will YouTube compress my video again after I upload it?
Yes, YouTube re-encodes every upload to stream it smoothly. This is why you should upload near the recommended bitrate, not below it. A higher quality source survives YouTube’s processing better. Uploading clean 4K footage gives you the sharpest possible result for your viewers.

Hi, I’m Rosie Tate — a tech enthusiast, gadget geek, and the creator of RapidConvertLab! 🚀 I’ve spent years exploring the ever-evolving world of electronics, smart devices, and Amazon’s hidden tech treasures. Through my honest, hands-on reviews, I help everyday shoppers cut through the noise and pick gadgets that truly deliver value. When I’m not testing a new device, I’m probably unboxing one! 📦✨