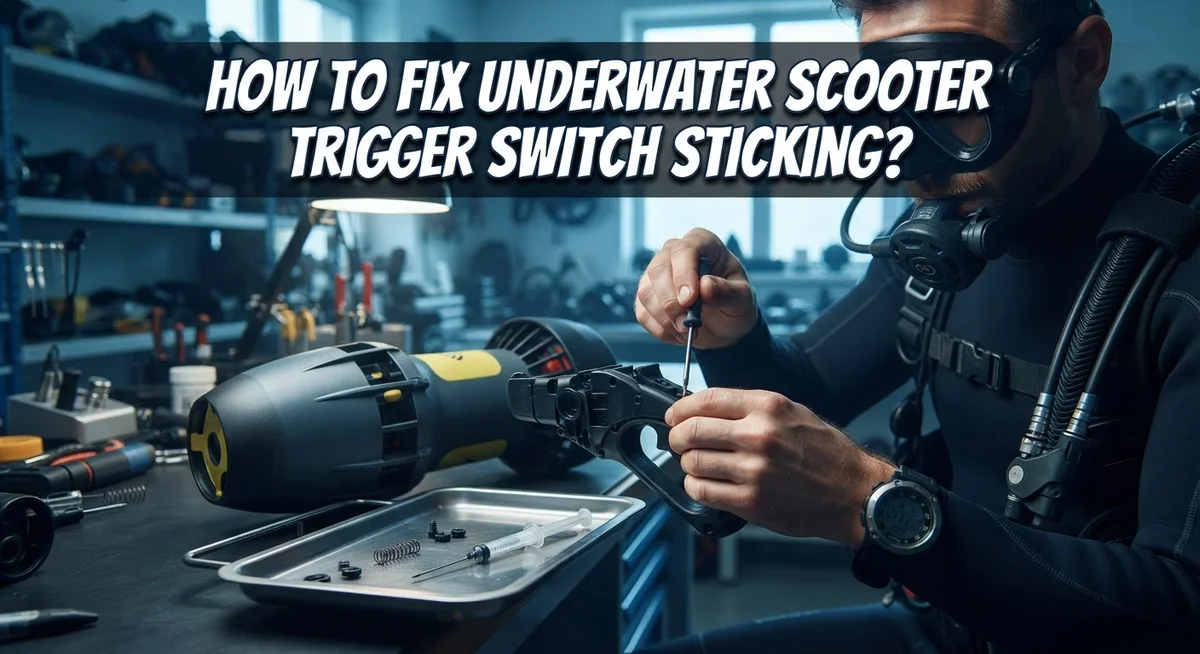
How To Fix Underwater Scooter Trigger Switch Sticking?
Your underwater scooter should glide smoothly through the water. But then the trigger sticks. Suddenly your fun dive turns into a frustrating struggle.
A sticking trigger switch is a common problem. Many scooter owners face this issue at some point. The good news? You can often fix it yourself.
This article will show you why trigger switches stick in the first place. Saltwater, sand, and worn out seals are usually the culprits. We will also walk you through simple inspection steps.
You will learn how to clean your trigger properly. We cover the right way to apply silicone grease too. This keeps your switch supple and waterproof.
We also explain O-ring maintenance. A poorly seated O-ring often causes water damage. Getting this right protects your entire scooter.
Sometimes lubrication is not enough. We will help you decide when a full trigger replacement makes sense. You will also discover an alternative fix using aftermarket waterproof switches.
By the end, you will know exactly how to get your scooter working again. No more stuck triggers ruining your underwater adventures.
In a Nutshell
Here is a quick summary to help you fix that sticky trigger fast:
-
Check the trigger first. Look for dirt, sand, or damage that stops it from moving freely.
-
Clean it gently. Use a soft brush and fresh water. Avoid harsh scrubbing that can hurt the seals.
-
Apply silicone grease. A thin layer keeps the switch smooth and blocks water from getting in.
-
Inspect the O-ring. Make sure it sits correctly in its groove. A misplaced O-ring often causes sticking.
-
Know when to replace. If grease does not solve the problem, the trigger may have mechanical damage. Replacement becomes the best option.
-
Consider an upgrade. Some owners remove the original switch and add a waterproof aftermarket one. Always check its waterproof rating first.
Regular care prevents most sticking issues. A little grease and attention go a long way. Catch small problems early, and your scooter will keep running smoothly for many trips ahead.
Understanding Why Trigger Switches Stick
Trigger switches stick for several reasons. The most common cause is salt, sand, and mineral buildup inside the switch mechanism. When you use your scooter in ocean water, these particles settle into the trigger housing and create friction that prevents smooth movement.
Water intrusion is another major culprit. If the O-ring seal fails or sits incorrectly, saltwater seeps into the switch cavity. This causes corrosion on metal contacts and internal components. Corrosion makes the trigger stiff and unresponsive.
Lack of lubrication accelerates sticking significantly. The trigger mechanism has small moving parts that need protection from water and debris. Without proper lubrication, these parts dry out and bind together. Metal surfaces then corrode faster, making the problem worse.
Mechanical damage from rough handling or impact can also cause sticking. If you drop your scooter or apply excessive force to the trigger, internal springs or levers may bend or break. This prevents the trigger from returning to its resting position.
Temperature changes affect switch performance too. Cold water causes materials to contract slightly, while warm water causes expansion. These movements can misalign the trigger components or dislodge the O-ring seal.
Improper maintenance habits contribute to many sticking issues. Using harsh chemicals or aggressive brushes damages protective seals. Storing your scooter wet or in humid conditions allows corrosion to develop inside the switch cavity.
Understanding these causes helps you prevent sticking before it happens. Regular inspection, gentle cleaning, and proper lubrication keep your trigger functioning smoothly. Knowing what causes the problem makes fixing it much easier.
Tools and Materials You’ll Need Before Starting
Before you start fixing your underwater scooter’s trigger switch, gather the right tools and materials. Having everything ready makes the job faster and prevents frustration.
You will need a soft brush to clean away dirt and sand. A regular toothbrush works well for this task. Avoid wire brushes or stiff tools because they can damage the switch seals.
Fresh water is essential for rinsing your trigger mechanism. Use distilled water if possible because it prevents mineral buildup. A small container lets you soak and clean the trigger gently without damaging internal parts.
Silicone grease is the most important material for this repair. This lubricant keeps the switch moving smoothly and blocks water from entering. Apply only a thin layer because excess grease attracts dirt and causes more problems.
You should have clean, lint free cloths or microfiber towels on hand. These prevent fibers from getting stuck in the switch mechanism. Paper towels leave residue, so cloth works better.
A magnifying glass helps you inspect the O ring and trigger closely. Small cracks or misalignment become visible with magnification. This prevents you from missing damage that causes sticking.
Keep a small flashlight nearby to see into tight spaces around the trigger. Good lighting helps you spot debris and verify that parts sit correctly.
Have your scooter’s manual available for reference. The manual shows exactly where the O ring sits and how to access the trigger safely. Different scooter models have slightly different designs.
Finally, prepare a clean, dry workspace. Moisture in your work area can recontaminate the switch after cleaning. A towel spread on a flat surface protects your equipment and keeps small parts from rolling away.
Step-by-Step: Diagnosing the Sticking Trigger
Start by examining your trigger switch in good lighting. Use a flashlight to look closely at the trigger mechanism. Check if the trigger moves at all or feels completely stuck in place.
Look for visible dirt, sand, or debris around the trigger button. These particles often lodge in the switch and prevent smooth movement. Inspect the trigger for cracks or obvious damage from impact or rough handling.
Next, gently press the trigger several times while watching how it responds. Does it move slightly then stop? Does it feel resistant throughout the entire motion? This tells you if the sticking is partial or complete.
Examine the O ring that seals the trigger mechanism. It should sit snugly in its groove without twists or gaps. A misaligned O ring allows water inside, which causes corrosion and sticking.
Check around the trigger housing for water droplets or moisture. This indicates water has entered the switch chamber. Water inside the mechanism is a major cause of sticking triggers.
Look at the trigger’s edges where it meets the scooter body. Small gaps here let saltwater or debris seep into the switch. Note any discoloration or white crusty buildup, which signals mineral deposits from saltwater.
Press the trigger while listening carefully. A grinding sound suggests sand inside the mechanism. A soft clicking without movement points to internal corrosion.
Finally, try moving the trigger sideways gently. Excessive side to side movement indicates loose internal parts or worn components. Document everything you find during this inspection.
This diagnosis helps you understand whether cleaning and lubrication will fix your trigger or if replacement is necessary.
Step-by-Step: Cleaning and Lubricating the Switch
Start with a gentle rinse using fresh water. Hold your scooter over a sink or bucket and let clean water flow over the trigger area. This removes loose salt, sand, and debris without damaging internal components.
Use your soft brush to carefully clean around the trigger button. Work the brush in small circular motions around the edges where dirt collects. Pay special attention to the gap between the trigger and the scooter housing. Never scrub aggressively as this can damage seals.
Pat the trigger dry with a lint free cloth. Make sure no water remains in crevices or around the O ring. Let it air dry for a few minutes if possible.
Now apply silicone grease to the trigger mechanism. Use a very small amount on your brush or cloth. Work the grease into the trigger’s moving parts by gently pressing the button several times. The goal is a thin, even coating, not excessive grease that attracts dirt.
Wipe away any excess grease with a clean cloth. Too much grease will cause sand and debris to stick to the trigger later.
Test the trigger’s movement. Press it slowly and steadily. It should move smoothly without sticking or grinding sounds. If resistance remains, apply a tiny bit more grease and repeat the pressing motion.
For the O ring, check that it sits properly in its groove. Apply a thin layer of silicone grease around the O ring as well. This keeps it flexible and maintains the waterproof seal.
Repeat this cleaning and lubrication process every few months or after heavy use. Regular maintenance prevents sticking problems from developing in the first place.
Checking and Reseating the O-Ring Properly
The O ring is a small rubber seal that keeps water out of your trigger mechanism. When this ring shifts out of position, water seeps inside and causes the trigger to stick. Checking and reseating it correctly is one of the most important steps in fixing your scooter.
First, locate the O ring groove around your trigger switch. You’ll find it in the small channel where the trigger meets the scooter body. Use your magnifying glass and flashlight to see it clearly. The ring should sit flat and complete in this groove with no twists or gaps.
Gently remove the O ring by sliding your fingernail or a soft plastic tool under its edge. Never use sharp metal objects that could tear the rubber. Inspect the ring for cracks, flattening, or permanent deformation. A damaged O ring won’t seal properly and must be replaced.
Clean the groove where the O ring sits. Use a soft brush and fresh water to remove sand, salt, and debris. Pat it dry with a lint free cloth. Any particles trapped in this groove will prevent the ring from seating correctly.
Now reseat the O ring carefully. Place it back into the groove and press it gently all the way around. Make sure it sits evenly with no twists or bunches. The ring should look like a smooth circle with consistent tension.
Apply a thin layer of silicone grease around the O ring. This keeps it flexible and waterproof. Wipe away excess grease so it doesn’t attract dirt.
Test your trigger by pressing it several times. Smooth movement means the O ring is seated correctly. If the trigger still sticks after this process, the problem may be deeper inside the mechanism.
Preventive Maintenance to Keep Triggers Working Smoothly
Keeping your underwater scooter trigger working smoothly requires consistent care. Regular maintenance prevents most sticking problems before they start.
The first step is establishing a cleaning schedule. After each dive or water activity, rinse your scooter with fresh water. Pay special attention to the trigger area where salt, sand, and debris collect. Use a soft brush to gently remove particles around the button edges. This simple habit stops buildup that causes sticking.
Lubrication is your second line of defense. Apply a thin layer of silicone grease to the trigger mechanism every few months. Silicone grease keeps the switch supple and waterproof while preventing corrosion. Wipe away excess grease so dirt doesn’t stick to it.
Check your O-ring regularly. This small rubber seal protects the trigger from water intrusion. Remove it gently, clean its groove, and reseat it properly. Apply a light coat of silicone grease around the O-ring before reinstalling it. A properly seated O-ring stops water from reaching the switch mechanism.
Store your scooter correctly between uses. Keep it in a cool, dry place away from direct sunlight. Never leave it sitting with moisture on the trigger area. Allow it to air dry completely before storage.
Inspect your trigger monthly even if you haven’t used your scooter. Press it gently and listen for smooth operation. Look for any visible corrosion or discoloration around the button.
These preventive steps take just minutes but add years to your trigger’s life. Consistent maintenance costs far less than replacing a damaged trigger switch. Most trigger problems never develop when you follow this routine care schedule.
Common Mistakes That Make the Problem Worse
Many people make mistakes that actually make a stuck trigger worse instead of better. Understanding these errors helps you avoid causing additional damage to your underwater scooter.
Neglecting regular lubrication is the biggest mistake owners make. When you skip maintenance for months, salt deposits and mineral buildup accumulate inside the trigger mechanism. This hardened residue becomes impossible to remove with simple cleaning alone. By the time you address the problem, the trigger has already suffered internal corrosion that lubrication cannot fix.
Using aggressive cleaning methods causes serious harm. Scrubbing the trigger with hard brushes or using high pressure water forces moisture deeper into the switch housing. This pushes water past the O-ring seal and into areas where it shouldn’t be. You end up with more internal corrosion, not less.
Improper O-ring installation ranks as another critical error. Many people reinstall the O-ring without cleaning the groove first or without applying fresh silicone grease. A dry O-ring loses its flexibility and no longer creates a waterproof seal. Water then seeps into the trigger mechanism, making sticking worse.
Applying too much lubricant creates problems too. Excess grease attracts sand and salt particles that jam the trigger further. The mechanism becomes gummy instead of smooth. You need only a thin layer to keep the trigger working properly.
Forcing a stuck trigger backward and forward repeatedly damages the internal spring mechanism. This aggressive movement can bend components or break the trigger assembly entirely. Gentle, deliberate testing is always better than forceful manipulation.
Finally, ignoring early warning signs lets small problems become major failures. If your trigger feels slightly stiff, address it immediately with cleaning and lubrication. Waiting until it stops working completely often means replacement becomes necessary.
Knowing When Repair Isn’t Enough: Signs You Need a Replacement
Sometimes a stuck trigger switch needs more than just cleaning and lubrication. You need to recognize when replacement becomes the better choice. Understanding these warning signs helps you save time and money.
Severe mechanical damage is your first red flag. If the trigger feels cracked, broken, or has visible chunks missing, repair won’t help. The internal spring mechanism may be permanently damaged beyond what lubrication can fix. Pressing the trigger might feel loose or disconnected rather than sticky.
A trigger that doesn’t respond to repeated cleaning attempts tells you something is wrong inside. You’ve applied silicone grease, checked the O-ring, and cleaned everything thoroughly. The switch still sticks or won’t move at all. This suggests internal corrosion or component failure that cleaning cannot address.
Water leakage around the trigger area indicates seal failure. If water gets inside despite proper O-ring seating, the housing itself may be compromised. Replacement stops future water damage to your scooter’s electronics.
Test the trigger’s resistance carefully. It should move smoothly with gentle pressure. If it requires excessive force or feels grinding inside, the mechanism is failing. Forcing it harder will only cause more damage.
Age matters too. Older scooters with triggers that have worked for years may simply be worn out. The materials degrade over time, and replacement becomes practical rather than optional.
Complete trigger replacement becomes necessary when these signs appear. A new switch restores full functionality and reliability. You get back to enjoying your scooter without worrying about sudden failure during use. Don’t waste time on repairs that won’t work when replacement solves the problem completely.
Final Thoughts
A sticking trigger switch does not mean your scooter is done for. Most cases fix easily with cleaning, lubrication, and proper O-ring care.
Regular maintenance prevents most problems before they start. A few minutes each month saves you from bigger headaches later.
Sometimes the fix goes beyond simple lubrication. If your trigger has mechanical damage, replacement becomes your best option.
Aftermarket waterproof switches offer a solid alternative when original parts fail completely. Just check the waterproof rating carefully before installing one.
Take time to inspect your trigger often. Look for cracks, resistance changes, or water seeping into the mechanism.
Catching problems early saves you money and stress. A small issue today can turn into a major repair tomorrow.
Your scooter depends on this small but important part. Treat the trigger switch with the same care you give the rest of your equipment.
Clean it gently. Lubricate it regularly. Check the O-ring often.
These simple habits keep your trigger working smoothly for years. They cost little time but protect your investment underwater.
If you ever feel unsure about a repair, do not force anything. Forcing a stuck trigger only causes more damage inside.
Patience and proper technique matter more than speed when fixing these switches. Rushing the process often leads to bigger problems.
Remember that water and electronics need careful handling. Every seal and O-ring plays a role in keeping your scooter functional.
With the right approach, your underwater scooter can serve you well for many trips ahead. Trust the process, follow these steps, and your trigger switch will work reliably every time you head underwater.
Frequently Asked Questions
Why does my trigger switch stick even after I clean it?
A stuck trigger often means the internal mechanism needs lubrication, not just cleaning. Dirt removal alone won’t fix a dry switch. Apply a thin layer of silicone grease after cleaning to keep the switch moving smoothly. The grease also creates a waterproof barrier that prevents future water damage.
If cleaning and lubrication don’t work, the problem runs deeper. Internal springs may be damaged or the trigger housing could have mechanical faults. Test the trigger gently after applying grease and wait a few minutes for the lubricant to settle.
Can I use regular oil instead of silicone grease?
No. Regular oils break down quickly underwater and don’t provide waterproof protection. Silicone grease stays effective in wet conditions and maintains its consistency even at depth.
Other lubricants can trap water inside the switch mechanism. This causes corrosion and makes sticking worse over time. Stick with products made for underwater equipment to protect your scooter properly.
What does a stuck O-ring have to do with trigger problems?
An improperly seated O-ring allows water to enter the trigger housing. This moisture causes the switch to stick and corrode internally. Check that your O-ring sits flush in its groove before reassembling the trigger.
A damaged or worn O-ring won’t seal properly either. Water seeps past it and damages the trigger mechanism. Replace the O-ring if you notice cracks or permanent deformation.
When should I replace the entire trigger instead of repairing it?
Replace the trigger when lubrication fails to restore movement. Also replace it if you see water leaking around the trigger area or notice the switch feels loose inside its housing.
Severe mechanical damage means the trigger is beyond repair. A replacement trigger restores full functionality and reliability to your scooter.

Hi, I’m Rosie Tate — a tech enthusiast, gadget geek, and the creator of RapidConvertLab! 🚀 I’ve spent years exploring the ever-evolving world of electronics, smart devices, and Amazon’s hidden tech treasures. Through my honest, hands-on reviews, I help everyday shoppers cut through the noise and pick gadgets that truly deliver value. When I’m not testing a new device, I’m probably unboxing one! 📦✨