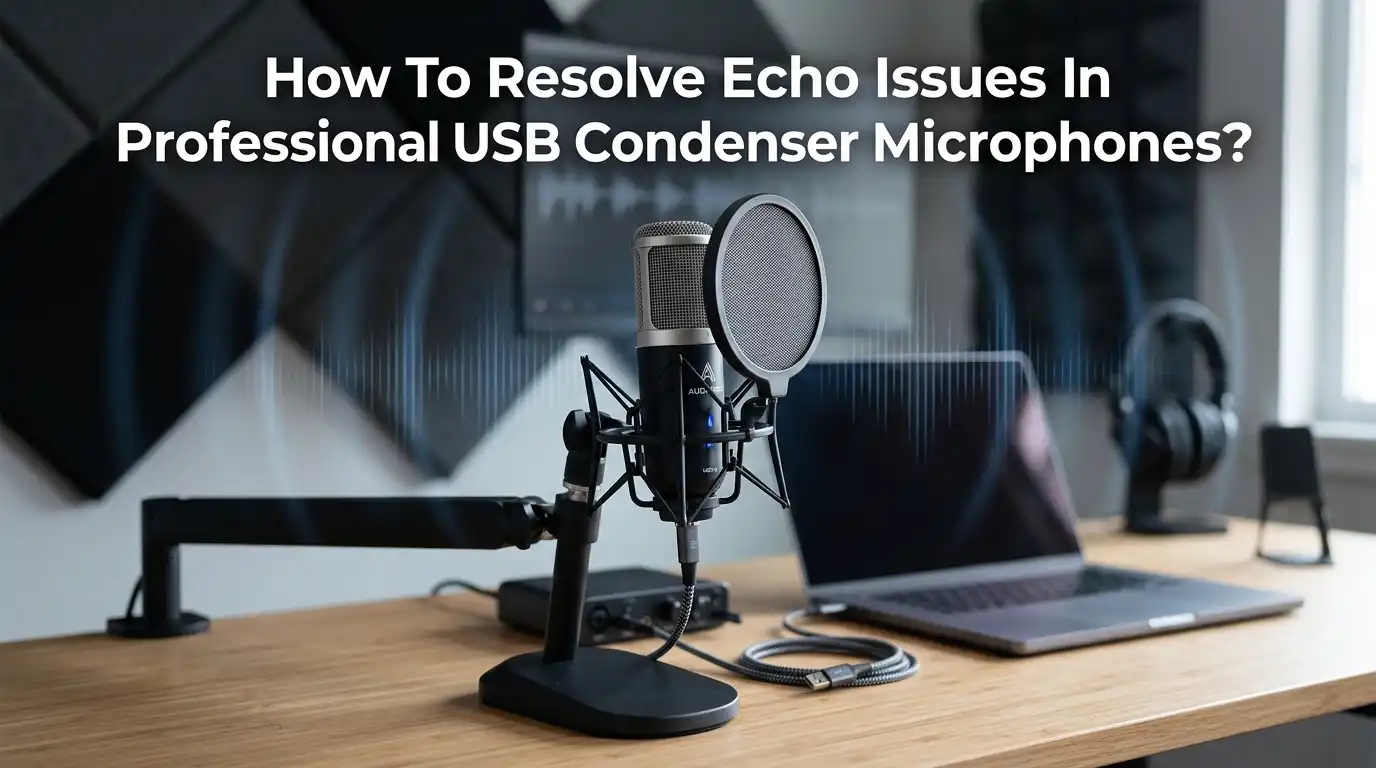
How To Resolve Echo Issues In Professional USB Condenser Microphones?
Echo problems can ruin an otherwise perfect recording session. You set up your professional USB condenser microphone, hit record, and suddenly your voice sounds like it was captured inside an empty hallway.
Worse, sometimes you hear your own voice repeating back through your headphones with a slight delay. This is frustrating, especially when you have spent good money on quality gear.
The good news is that echo issues in USB condenser microphones are almost always fixable. Most echo problems come from three main sources: software settings, room acoustics, or hardware configuration.
In a Nutshell
- Software loopback is the top cause of echo. Disable the “Listen to this device” option in Windows or its equivalent on Mac. This simple setting fix solves the most common type of repeating echo instantly.
- Room acoustics create natural reverb. USB condenser microphones are highly sensitive and pick up sound reflections from walls, ceilings, and hard floors. Adding soft furniture, rugs, blankets, or acoustic panels reduces this problem dramatically.
- Microphone placement matters more than you think. Speak close to the mic at 4 to 6 inches and use the correct cardioid side. Off axis pickup often captures unwanted room sound.
- Check headphone and speaker bleed. If your speakers are on, the mic will capture the playback and create a feedback loop. Always use headphones during recording or streaming.
- Update drivers and adjust gain. Outdated audio drivers and excessive gain levels amplify echo and reverb. Keep your system current and set gain so your voice peaks around minus 12 dB.
- Use software noise reduction as a final polish. Tools like Audacity, Adobe Audition, and built in plugins can clean up minor echo in post production.
What Causes Echo In USB Condenser Microphones
Echo in USB condenser microphones happens for two main reasons. The first is acoustic echo, which occurs when sound waves bounce off hard surfaces in your room and return to the microphone. The second is digital echo, caused by latency or software settings that loop your audio back into the input.
Condenser microphones are far more sensitive than dynamic ones. They capture every subtle detail, including reflections you do not consciously hear.
This sensitivity is great for vocals but terrible in untreated rooms. USB models also rely on built in analog to digital converters, which can introduce small timing delays that show up as repeating audio.
Knowing the type of echo you have helps you pick the right fix. If you hear a slight repeat of your voice, the cause is digital. If your voice sounds hollow or distant, the cause is acoustic.
Disable The “Listen To This Device” Setting On Windows
This single setting causes more echo complaints than any other issue. Windows has a feature that lets you monitor your microphone through your speakers, but most users enable it by accident. The result is an instant feedback loop.
To fix it, right click the speaker icon in your taskbar and select Sounds. Go to the Recording tab, double click your USB condenser microphone, and open the Listen tab. Uncheck the box that says “Listen to this device” and click Apply.
Pros: Takes under 30 seconds, requires no extra software, and fixes echo instantly for most users. Works on every Windows version.
Cons: You lose the ability to monitor your mic through speakers. However, you should never monitor through speakers anyway because it always creates feedback. Use headphones with direct hardware monitoring instead.
Check Mac Audio Settings For Echo Loops
Mac users face similar issues, though the controls live in different menus. Open System Settings and click Sound. Select the Input tab and choose your USB condenser microphone from the list.
Look for any active monitoring software like Audio MIDI Setup that may be routing your mic input back to your output.
If you use GarageBand, Logic, or any DAW, check that software monitoring is turned off unless you are wearing headphones. The Mac version of this echo problem often comes from third party apps like Zoom, Discord, or OBS having their own monitoring enabled.
Pros: Mac handles audio routing more cleanly than Windows in most cases. Built in echo cancellation works well for voice calls.
Cons: Some pro audio apps override system settings, which can be confusing. You may need to check each app individually to find the source of the loop.
Improve Your Room Acoustics To Reduce Reverb
Hard surfaces reflect sound, and bare rooms create natural reverb that your USB condenser microphone captures perfectly. The fix is to break up sound reflections with soft materials.
Start with the cheapest options first. Add a thick rug under your desk, hang heavy curtains over windows, and place a bookshelf filled with books behind you. Soft furniture absorbs sound waves before they can bounce back. If you record in a closet, hang clothes around you for a quick vocal booth effect.
For more serious treatment, install acoustic foam panels on the wall behind you and across from your microphone. Bass traps in room corners help with low frequency rumble.
Pros: Permanent improvement in audio quality, helps with all microphones, and makes the room more comfortable overall.
Cons: Acoustic panels cost money and require installation. Foam alone does not soundproof your room from outside noise, just reduces internal reflections.
Position Your Microphone Correctly
Even in a treated room, poor microphone placement creates echo. USB condenser microphones have a pickup pattern, usually cardioid, which captures sound from the front while rejecting the back and sides.
Place the microphone 4 to 6 inches from your mouth and speak directly into the front of the capsule. Many users mistakenly speak into the top of a side address microphone, which means the mic picks up more room sound than voice. Check your microphone manual to find the correct address direction.
Angle the microphone slightly off axis from your mouth to reduce plosives. Keep it away from walls, monitors, and reflective surfaces.
Pros: Costs nothing, takes seconds to adjust, and dramatically improves the voice to room sound ratio.
Cons: Requires you to maintain consistent distance while speaking. A boom arm helps keep positioning stable across long sessions.
Use Headphones Instead Of Speakers
If your speakers play any audio while your microphone is active, the mic will capture that sound and create echo. This is especially obvious during video calls, where your caller’s voice gets fed back to them through your microphone.
Always use headphones during recording, streaming, or calls. Closed back headphones work best because they prevent audio from leaking into the microphone. Open back headphones sound nicer for music but allow bleed that the condenser picks up.
For monitoring, use the headphone jack on your USB microphone if it has one. This gives you zero latency direct monitoring without going through software.
Pros: Eliminates speaker to mic feedback completely, improves your focus, and protects others nearby from hearing your audio.
Cons: Headphones can be uncomfortable during long sessions. Cheap headphones may color the sound and lead to poor mixing decisions later.
Lower Your Microphone Gain
High gain settings amplify everything, including room echo and background noise. Many users crank the gain too high because they want a louder signal, but this works against you.
Set your microphone gain so your voice peaks at around minus 12 dB to minus 6 dB on the meter. Speak at your normal volume during testing. If the meter hits red, lower the gain immediately. A clean signal at moderate level always sounds better than a loud signal full of noise and echo.
Most USB condenser microphones have a gain knob on the body. Some also let you adjust gain through software in Windows or Mac sound settings.
Pros: Reduces captured room noise, prevents distortion, and gives you headroom for post production.
Cons: A lower signal may feel quiet at first. You will need to boost levels in your software or speak slightly closer to the mic.
Update Your USB And Audio Drivers
Outdated drivers cause latency, glitches, and digital echo. Manufacturers regularly release updates that fix sync issues and improve performance with newer operating systems.
On Windows, open Device Manager, find your USB condenser microphone under Sound, video and game controllers, right click, and select Update driver. For Mac, run Software Update from System Settings to install the latest audio framework.
Visit your microphone manufacturer’s website directly to download the latest drivers and firmware. Brands like Blue, Rode, Audio Technica, and Shure all post updates on their support pages.
Pros: Improves stability, reduces latency, and can unlock new features. Often fixes problems you did not even know you had.
Cons: Driver updates occasionally introduce new bugs. Keep a note of which version works for you in case you need to roll back.
Use A Pop Filter And Shock Mount
Pop filters do more than block plosives. They also force you to maintain a consistent distance from the microphone, which reduces room sound pickup. A shock mount isolates the microphone from desk vibrations that can sound like low frequency rumble or echo.
Place the pop filter 2 to 4 inches in front of the microphone, then keep your mouth roughly the same distance from the filter. This setup gives you a stable, close miked sound that overpowers room reflections.
A shock mount also prevents footsteps, keyboard taps, and desk bumps from transmitting through the stand and into your audio.
Pros: Both accessories are inexpensive and improve audio quality immediately. They protect your microphone from damage too.
Cons: They take up desk space and require proper mounting. A boom arm with built in shock mount solves both issues at once.
Disable Software Audio Enhancements
Windows and many third party apps apply audio effects by default. These include noise suppression, echo cancellation, and AGC. While these features sound helpful, they sometimes introduce artifacts that resemble echo or make your voice sound underwater.
Right click your microphone in Windows Sound settings, open Properties, and go to the Enhancements or Advanced tab. Disable all effects and test your audio again. In apps like Discord, Zoom, and Microsoft Teams, find the audio settings and turn off automatic gain control and noise suppression.
If you need processing, apply it in a dedicated audio editor where you have full control.
Pros: Gives you a clean, unprocessed signal that sounds natural and professional.
Cons: You lose automatic background noise filtering. If you record in a noisy environment, you may need to add manual noise reduction later.
Remove Echo In Post Production
Sometimes echo sneaks into your recording despite your best efforts. Audio editing software can reduce or remove it after the fact. Free tools like Audacity and paid options like Adobe Audition, iZotope RX, and Logic Pro include dereverb and noise gate features.
A noise gate cuts audio below a set threshold, which removes the trailing tail of room echo between words. Dereverb plugins use AI to separate dry voice from reflective sound. Apply these tools gently to avoid making your voice sound robotic.
Always work on a copy of your original file so you can start over if needed.
Pros: Salvages recordings that would otherwise be unusable. Modern AI tools produce impressive results.
Cons: Post production takes time and skill. Heavy processing can make your voice sound unnatural, so prevention is always better than cure.
Test With A Different USB Port Or Cable
A faulty USB cable or overloaded USB hub causes intermittent audio glitches that sound like echo or stutter. Plug your microphone directly into a USB port on your motherboard, not a hub or front panel port.
Try a different USB cable if you have one available. USB 2.0 ports usually work better for audio than USB 3.0 because they carry less electrical interference. Avoid connecting your microphone to the same hub as external drives or other high power devices.
If you use a docking station, test the microphone with the dock bypassed to see if the dock is causing the issue.
Pros: Free or low cost fix that resolves hardware level glitches. Quick to test.
Cons: Some laptops have limited USB ports. You may need a powered hub if you have many peripherals.
When To Consider An XLR Setup Instead
If you have tried everything and still struggle with echo, the limitation may be the USB format itself. XLR microphones connected through an audio interface offer better signal quality, lower latency, and more control over gain and monitoring.
USB condenser microphones are convenient but their built in converters and processing are basic. An interface like a Focusrite Scarlett or PreSonus AudioBox gives you professional preamps, balanced cables, and direct hardware monitoring without any software loopback.
This upgrade makes sense if you record professionally or plan to use multiple microphones.
Pros: Higher audio quality, expandability, lower latency, and better long term value for serious creators.
Cons: Higher upfront cost, more cables and gear to manage, and a steeper learning curve for beginners.
Frequently Asked Questions
Why does my USB condenser microphone echo only on calls?
Call apps like Zoom and Discord have their own audio settings. Check that echo cancellation and microphone monitoring are configured correctly in the app. Also make sure the other person is using headphones, since their speakers can feed your voice back through their microphone.
Can a pop filter stop echo?
A pop filter does not stop echo directly, but it encourages consistent mic distance which reduces room sound pickup. Combine it with good positioning and room treatment for best results.
Does egg carton foam work for sound treatment?
Egg cartons help slightly with high frequency reflections but do almost nothing for mid and low frequencies. Real acoustic foam or thick blankets work much better and are still affordable.
Why does my mic sound echoey only in OBS?
OBS may have monitoring enabled for your microphone source. Open Audio Mixer settings, click the gear icon next to your mic, and set monitoring to Monitor Off or use headphones with Monitor Only.
How close should I sit to a USB condenser microphone?
Stay between 4 and 6 inches from the capsule. Closer gives you a fuller sound and less room echo, but watch for plosives. Use a pop filter to maintain this distance safely.
Will a noise gate remove all echo?
A noise gate removes echo tails between words but cannot fix echo that occurs while you are speaking. Use it as a finishing touch after fixing the root cause of the echo.
Hi, I’m Rosie Tate — a tech enthusiast, gadget geek, and the creator of RapidConvertLab! 🚀 I’ve spent years exploring the ever-evolving world of electronics, smart devices, and Amazon’s hidden tech treasures. Through my honest, hands-on reviews, I help everyday shoppers cut through the noise and pick gadgets that truly deliver value. When I’m not testing a new device, I’m probably unboxing one! 📦✨