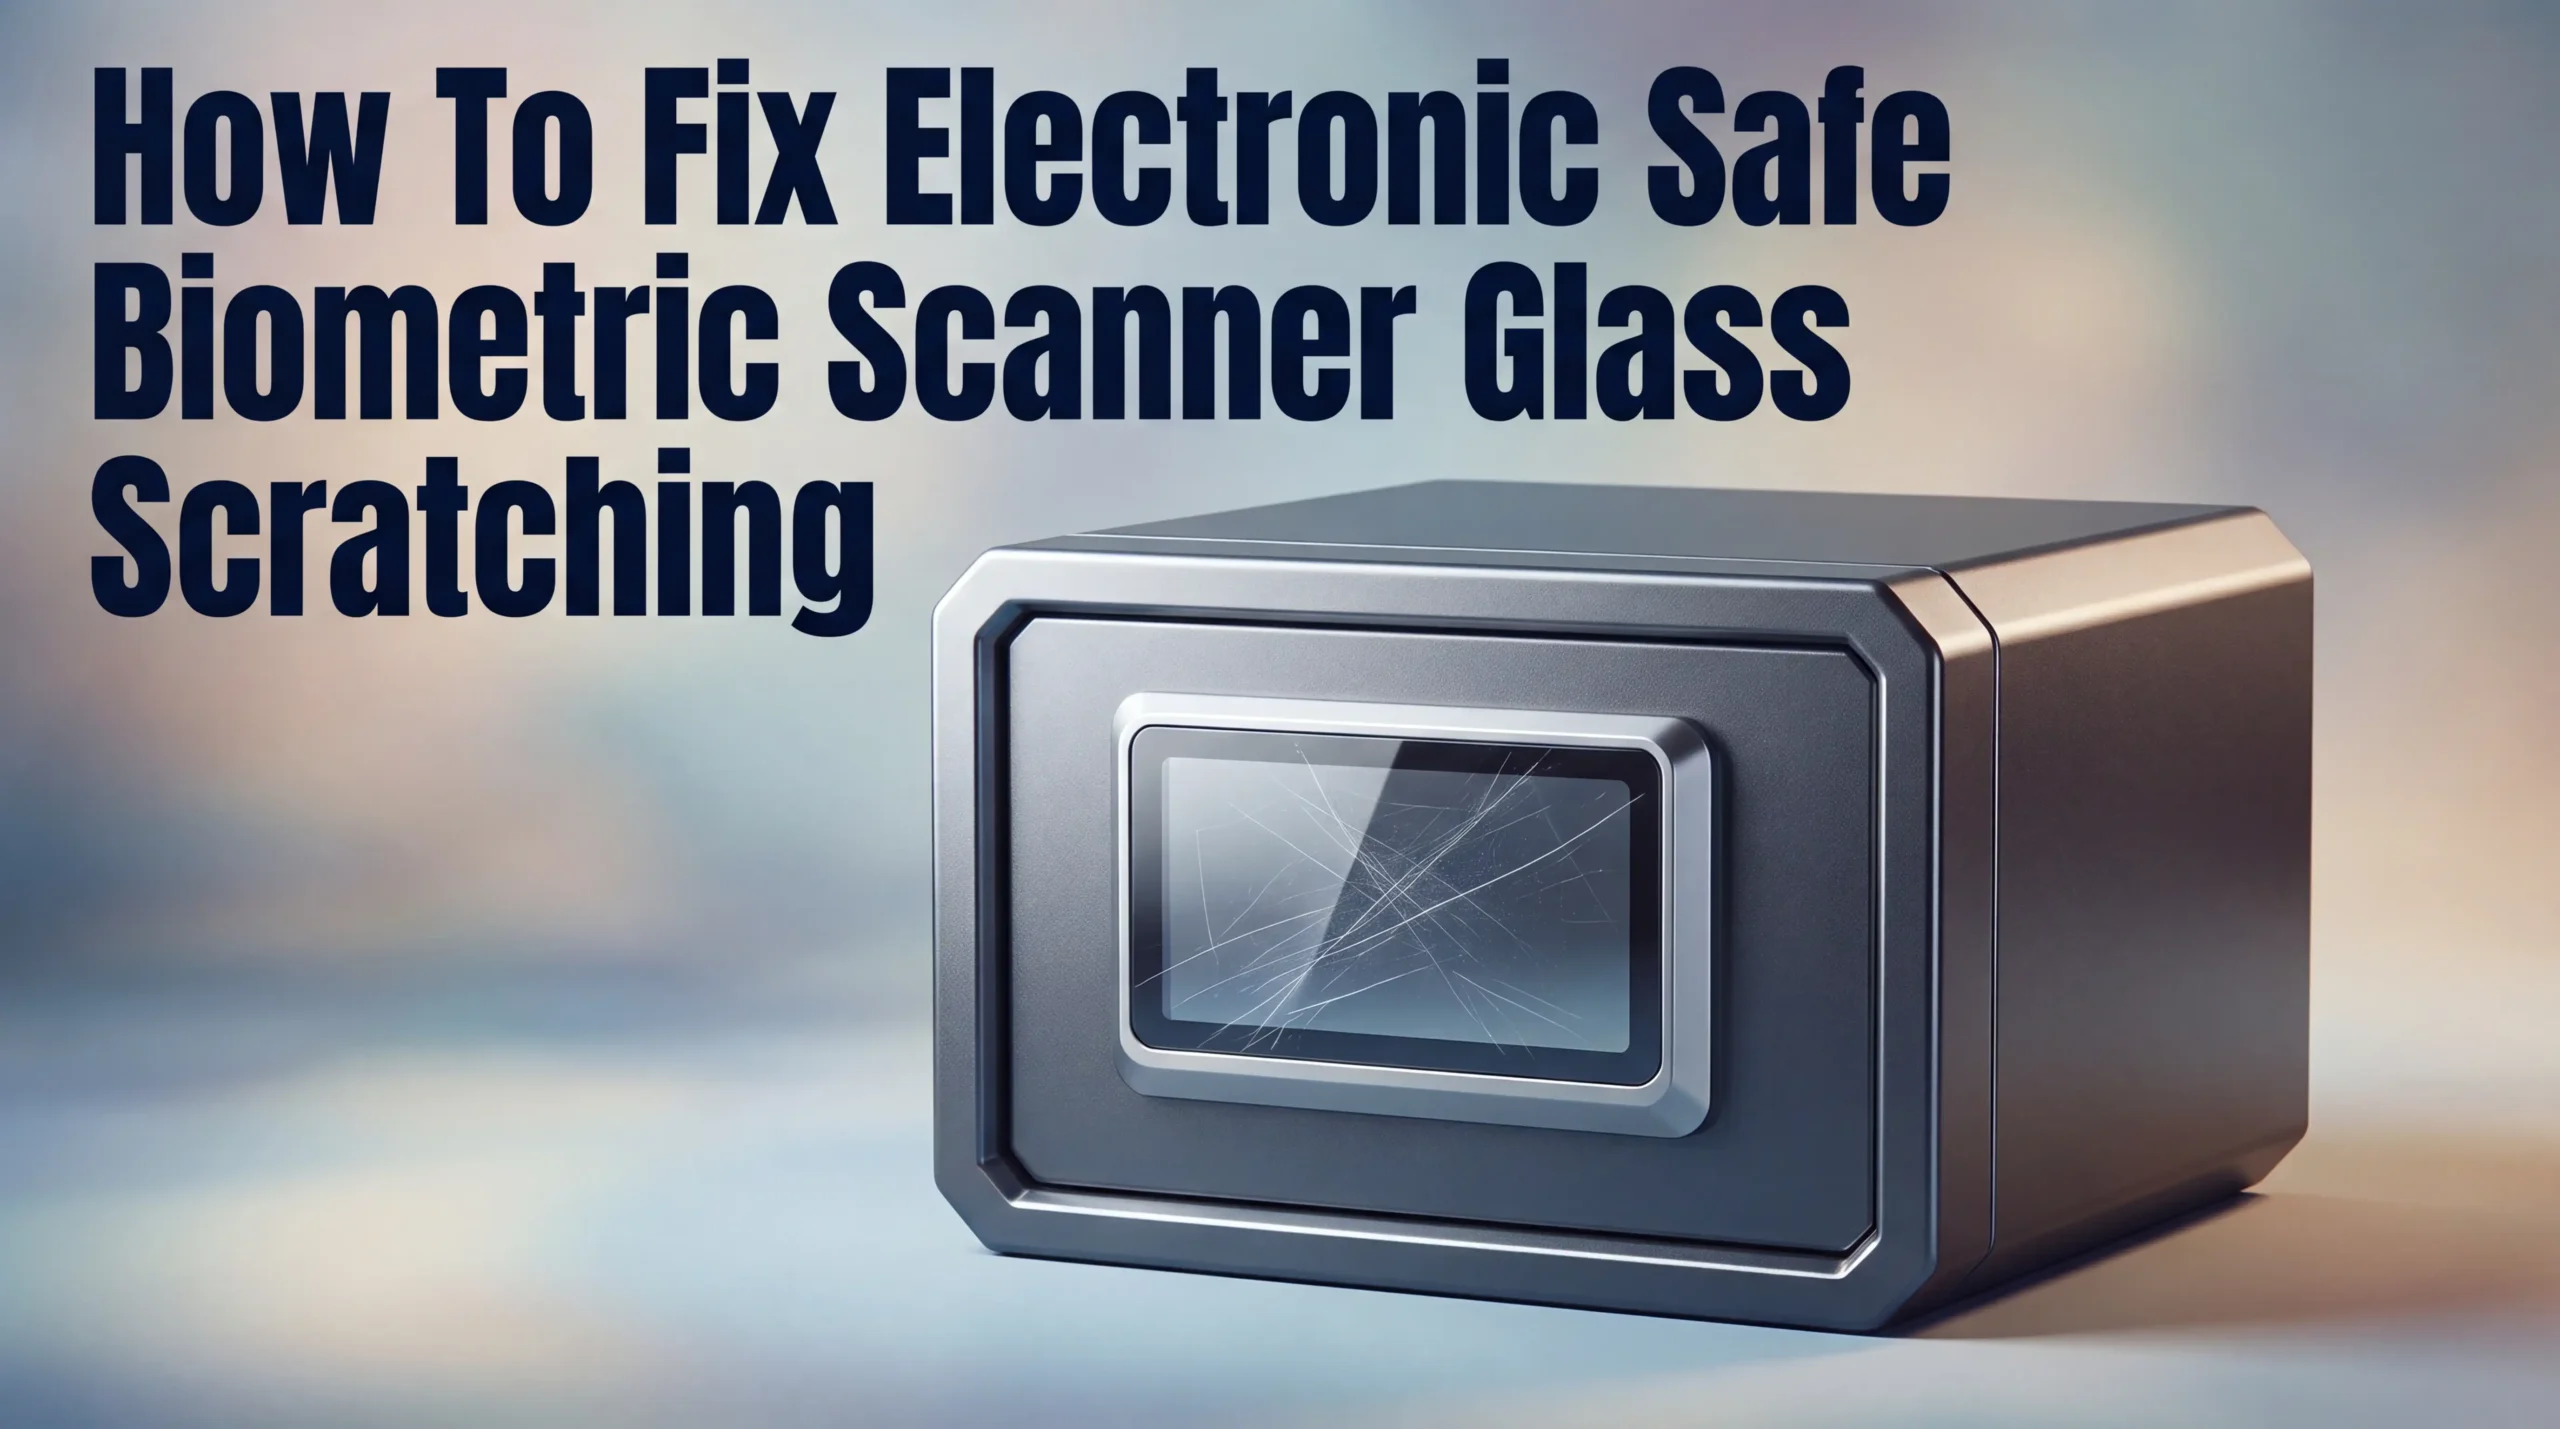
How To Fix Electronic Safe Biometric Scanner Glass Scratching?
A scratched biometric scanner can turn your safe into a source of daily frustration. You press your finger on the glass, and nothing happens. The scanner struggles to read your print because of tiny scratches blocking its view.
This problem happens to many safe owners over time. Dust, dirt, and rough handling all add small marks to the scanner glass. Over months and years, these marks build up and cause real trouble.
The good news is that you can often fix this issue yourself. You do not always need to call a locksmith or buy a brand new safe. Simple tools and careful steps can restore your scanner to working order.
In a Nutshell
- Light scratches on the scanner glass often just need a gentle polish. You can use simple household items to buff them out.
- Deeper scratches may need a specific scratch repair kit. These kits use fine abrasives to smooth the glass surface.
- Clean the scanner first before you try any repair method. Dust and grime can hide the true depth of a scratch.
- Test the scanner after each fix attempt. This tells you if your safe reads fingerprints correctly again.
- Protective covers can stop new scratches from forming. Adding one is a smart step once your scanner works well.
- Severe damage sometimes means the sensor itself needs replacing. In these cases, you may need extra help.
Understanding Biometric Scanner Glass and Why It Scratches
Biometric scanner glass sits on the front of your electronic safe. This glass protects the sensor underneath that reads your fingerprint or other biometric data. The glass layer takes the most damage because it faces the outside world directly.
Scratches happen for several reasons. Daily use causes wear over time. Dust particles get trapped between your finger and the glass surface. When you swipe, these tiny particles act like sandpaper and leave marks. Accidental bumps from keys, rings, or tools also create scratches.
The glass itself is usually made from tempered material. This type of glass is harder than regular glass, but it is not scratch proof. Tempered glass scratches more easily than you might think because of its surface treatment.
Why scratches matter for your safe goes beyond appearance. Light scratches scatter light and make the scanner less reliable. Your fingerprint becomes harder for the sensor to read clearly. Deep scratches can damage the sensor’s ability to function properly. Some scratches may create dead zones where the scanner cannot read your biometric data at all.
Understanding the glass composition helps you choose the right repair method. Shallow scratches only affect the top coating. Deeper scratches penetrate into the glass itself. The depth determines whether you need simple polishing or a more involved repair approach.
Temperature changes also affect the glass. Expansion and contraction from heat or cold can make existing scratches worse. Humidity can seep into cracks and damage internal components.
Knowing what causes scratches helps you prevent future damage. You can take steps to protect the glass before problems develop. Regular cleaning removes particles before they scratch the surface.
Identifying the Severity of Scratches on Your Scanner
When you look at your scanner glass, you need to understand what you are seeing. Scratches come in different depths, and each type needs a different approach.
Light scratches appear as thin lines on the surface. You can barely feel them when you run your finger across the glass. These scratches usually do not affect how your scanner works. They mostly bother you because of how they look. Light scratches are the easiest to fix at home.
Medium scratches go deeper into the glass surface. You can feel these with your fingernail. They may start to affect how light reaches the sensor underneath. Medium scratches sometimes make your scanner slower to recognize your fingerprint. These require more effort to repair than light scratches.
Deep scratches cut significantly into the glass. You can see them clearly from any angle. These scratches often make your scanner malfunction or stop working entirely. Deep scratches may mean the sensor itself has damage. You might need professional help for this level of damage.
To identify your scratch severity, start in good lighting. Look at the scanner from different angles. Run your clean finger gently across the glass to feel the depth. Pay attention to whether the scanner still works normally.
Check your scanner’s performance by trying to unlock your safe. If your fingerprint still registers quickly, the scratch is likely light or medium. If the scanner struggles to recognize your print, the damage is probably deeper.
Take a photo of the scratches with your phone. This helps you remember what you are working with. Compare your photo to the descriptions above. This simple step guides you toward the right repair method for your specific situation.
Tools and Materials Needed for Repair
Before you start any repair work, gather the right tools and materials. Having everything ready saves time and prevents frustration during the process.
For light scratches, you will need soft microfiber cloths. These cloths prevent additional damage while you work. Get several cloths so you can use fresh ones as you progress. Regular paper towels can scratch the glass further, so avoid them completely.
Cleaning supplies are essential for every repair attempt. Distilled water works best because tap water contains minerals that leave spots. Mild dish soap helps remove dirt and oils from the scanner surface. Mix these together in a small container before you begin.
Polishing compounds come in different strengths. Mild compounds work for surface level scratches. Medium compounds handle slightly deeper marks. Keep these separate so you use the correct one for your scratch depth.
You will also need cotton swabs or soft applicator pads. These let you apply polishing compound precisely without affecting surrounding areas. Avoid using your fingers because skin oils can interfere with the repair.
For deeper scratches, gather a scratch repair kit designed for glass surfaces. These kits typically include specialized compounds and application tools. Read the kit instructions before you purchase to ensure it works for your scanner type.
A magnifying glass or jeweler’s loupe helps you see the scratch clearly. This tool prevents you from over treating minor damage. Good lighting is equally important. A desk lamp or flashlight shows you exactly what you are working with.
Finally, keep a clean, dry workspace ready. Dust and debris can scratch the glass during repair. A lint free surface prevents contamination. Have paper towels nearby to wipe away excess compound as you work.
Step-by-Step Guide to Fixing Minor Scratches
Start with a clean surface. Use your microfiber cloth to wipe away dust and debris from the scanner glass. This simple step prevents you from grinding particles into the scratch during repair.
For light scratches, apply a small amount of polishing compound to your cotton swab. Rub the scratch gently in circular motions for about 30 seconds. Avoid pressing hard because excessive pressure can create new damage. Wipe away the compound with a clean cloth and check your progress.
If the scratch remains visible, repeat the process. Most light scratches respond well to two or three applications. Wait a few minutes between attempts to let the glass settle.
For medium scratches, you may need a slightly stronger polishing compound. Apply it the same way as before, but work on the area for up to one minute. Take breaks every 20 seconds to prevent overheating the glass. Wipe clean and inspect your work carefully.
Test your scanner after each step. Place your finger on the glass and see if your safe recognizes your fingerprint. A successful repair means both appearance and function improve.
If the scratch still catches your fingernail after polishing, you have moved into deep scratch territory. These require different treatment methods beyond basic polishing.
Keep your workspace organized and well lit throughout the process. Good lighting helps you see exactly what you are doing. Store your tools in one spot so you do not lose anything between steps.
Work slowly and patiently. Rushing through repairs often creates additional problems. Most light to medium scratches clear up within 15 to 20 minutes of careful work.
Techniques for Restoring Scanner Clarity After Deeper Scratches
Deep scratches require a different approach than minor surface damage. These scratches penetrate the glass significantly and catch your fingernail when you run it across them. Your scanner will likely struggle to read your fingerprint accurately.
Start by assessing the scratch depth. Use your magnifying glass to examine how far the scratch cuts into the glass. If it goes more than halfway through the glass thickness, you may need professional replacement. If it is shallower, you can attempt repair at home.
Clean the scanner glass thoroughly with a soft microfiber cloth. Remove all dust, oils, and debris from the surface. This step prevents particles from getting trapped during the repair process and causing additional damage.
Apply a glass filling compound specifically designed for deep scratches. These compounds work by filling the gap left by the scratch. Follow the product instructions carefully, as application methods vary. Most require you to apply the compound, let it set for a specific time, then polish away excess material.
Use a soft applicator pad to work the compound into the scratch. Move in one direction along the scratch line rather than in circular motions. This technique helps the compound settle properly into the damaged area.
After the compound dries completely, use a fine polishing compound to smooth the repair. Test your scanner’s functionality by attempting to unlock your safe. If the scanner still struggles, repeat the filling process or consider professional help.
Document your progress with photos. This helps you track improvement and decide if professional replacement is necessary. Some deep scratches may require expert restoration to restore full scanner performance.
Preventing Future Scratches on the Biometric Scanner
Preventing scratches on your biometric scanner requires simple daily habits and protective measures. The glass surface is vulnerable to damage from dust, debris, and accidental contact. Start by keeping the scanner area clean and free from particles that could cause abrasion when you use it.
Use a protective cover or case when the safe is not in active use. Many electronic safes come with optional protective shields. If yours did not, you can create a simple barrier using soft cloth or plastic material that does not trap moisture.
Handle the scanner with clean, dry fingers every time. Oils, dirt, and moisture on your hands transfer to the glass and can lead to scratching when you touch the surface. Wash your hands before accessing your safe if possible.
Store items carefully inside your safe to prevent them from shifting and hitting the glass from behind. Sharp objects or hard items can damage the scanner if they press against the glass during storage.
Establish a regular cleaning routine using only soft microfiber cloths. Never use paper towels, tissues, or rough materials that scratch glass. Wipe the scanner gently in circular motions at least once monthly.
Keep your safe away from high traffic areas where accidental bumps might occur. Place it in a stable location where family members or pets cannot knock into it. Avoid areas with extreme temperature changes or high humidity, as these conditions can weaken the glass over time.
Teach everyone in your household to treat the scanner with care. Make it clear that the biometric surface requires gentle handling. A few preventive steps now save you from expensive repairs or replacements later.
Common Mistakes to Avoid During the Repair Process
Many people rush through repairs and make errors that worsen the damage. Understanding what to avoid saves you time and money.
Don’t use abrasive materials on the glass surface. Rough cloths, paper towels, or steel wool can create new scratches while you’re trying to fix existing ones. Always stick with soft microfiber cloths designed for delicate surfaces.
Avoid applying too much pressure when polishing. Heavy-handed scrubbing doesn’t speed up the process. Instead, use gentle circular motions with light pressure. Let the polishing compound do the work, not your elbow.
Never skip the cleaning step before starting repairs. Dust and debris trapped under your applicator pad act like sandpaper. They create additional scratches as you work. Clean thoroughly with a dry microfiber cloth first.
Don’t mix different types of polishing compounds without understanding their strength levels. Using a compound too strong for your scratch depth can damage the glass further. Start with gentler options and move up only if needed.
Avoid working in poor lighting conditions. You can’t accurately assess your progress if you can’t see clearly. Use a well lit workspace with a magnifying glass to examine the scratch closely.
Don’t ignore the drying times listed on your repair products. Applying another layer before the previous one dries completely ruins the repair. Patience is essential here.
Skip the temptation to test your scanner constantly. Repeated fingerprints and handling introduce new oils and potential scratches. Test only after you’ve completed each major step, not continuously throughout the process.
Finally, avoid assuming all scratches need the same treatment. Light surface scratches require different techniques than deep gouges. Assess your specific damage before beginning any repair work.
Troubleshooting Scanner Performance After Repair
After you repair your biometric scanner glass, testing it properly matters most. Your safe’s security depends on the scanner working correctly every single time.
Start by powering on your safe and running a complete scan cycle. Place your registered finger on the glass and observe the response time. A healthy scanner recognizes your fingerprint within 2 to 3 seconds. If the response feels slower, this signals potential issues from the repair process.
Test the scanner multiple times with different fingers. This reveals whether the repair affected overall performance or just one area of the glass. Try scanning from slightly different angles to ensure the sensor reads fingerprints consistently across the entire surface.
Pay attention to false rejection rates. If your safe rejects your fingerprint more than once or twice per ten attempts, the scratch repair may have created optical problems. The filling compound or polishing residue might be blocking the infrared sensors underneath the glass.
Check for any visible haze or cloudiness in the repaired area. Hold the safe up to natural light and examine the glass carefully. Clear glass means the repair succeeded. Cloudy patches suggest you need to repolish the area or have a professional inspect it.
Monitor the scanner’s performance over the next week. Some repairs need time to fully cure and stabilize. Document any issues you notice, including specific error messages or patterns in failed scans.
If performance problems persist after seven days, the damage may have been too severe for DIY repair. Professional replacement becomes your best option at this point. Contact a safe specialist to evaluate whether the scanner needs complete replacement rather than continued patching.
Final Thoughts
Fixing a scratched biometric scanner does not need to feel like a big challenge. With patience and the right steps, most light scratches disappear quickly.
Deeper scratches take more time and effort. Stay calm and work slowly through each stage of the process.
Your safe protects valuable items every day. A clear scanner keeps that protection working the way it should.
Small scratches often respond well to simple polishing methods. Many people fix minor damage in under an hour.
Deeper scratches sometimes need multiple attempts. Do not feel discouraged if the first try does not fully solve the problem.
Regular maintenance makes a huge difference over time. A little care each week prevents major damage later.
Think of scanner care like caring for glasses or a phone screen. Small habits protect the surface for years.
Your biometric scanner is a precision tool. It deserves gentle handling and consistent attention.
Remember that safety comes first with any repair. Stop immediately if you feel unsure about a step.
Professional help remains available anytime home methods fall short. There is nothing wrong with asking an expert for support.
Fixing scanner glass is a skill you can learn quickly. Most homeowners handle minor scratches without any special training.
Keep your tools organized and ready for future touch ups. This saves time whenever a new scratch appears.
A well maintained scanner keeps your entire safe running smoothly. Fast, accurate scans mean less frustration for you and your family.
Trust the process and follow each step carefully. Your scanner can look clear and work well again.
With the right approach, scratches become a minor inconvenience. You now have the knowledge to handle them with confidence.
Frequently Asked Questions
Can I use household products to fix my biometric scanner?
Some household items work, but most don’t. Vinegar and water can clean the glass surface safely. Avoid using bleach, alcohol, or acetone as these damage the scanner coating. Plain water with a soft microfiber cloth handles basic cleaning well. For actual scratch repair, you need products specifically made for glass polishing. Household cleaners often leave streaks or residue that block the scanner’s ability to read fingerprints accurately.
How long does biometric scanner repair usually take?
Simple cleaning takes about 15 minutes. Light scratch polishing needs 30 to 60 minutes, including drying time between applications. Deeper scratches require multiple sessions spread over several days. Each polishing compound needs proper drying time before you apply the next layer. Rushing the process leads to poor results. Allow at least 24 hours before testing your safe after completing repairs.
What causes biometric scanner glass to scratch in the first place?
Daily use creates most scratches. Dirty fingers leaving debris on the glass cause micro scratches over time. Pressing too hard during scans damages the surface. Storing items near the scanner that bump against it causes visible scratches. Environmental dust settles on the glass and acts like sandpaper. Regular cleaning prevents many scratches before they become problems.
Will my safe still work if the scanner glass is scratched?
Minor scratches rarely affect function. The scanner can still read fingerprints through light surface damage. Deeper scratches or multiple scratches in the scan area reduce accuracy. Your safe might reject valid fingerprints or accept unauthorized ones. Severe scratching eventually makes the scanner unreliable. Fixing scratches early prevents bigger security problems later.

Hi, I’m Rosie Tate — a tech enthusiast, gadget geek, and the creator of RapidConvertLab! 🚀 I’ve spent years exploring the ever-evolving world of electronics, smart devices, and Amazon’s hidden tech treasures. Through my honest, hands-on reviews, I help everyday shoppers cut through the noise and pick gadgets that truly deliver value. When I’m not testing a new device, I’m probably unboxing one! 📦✨