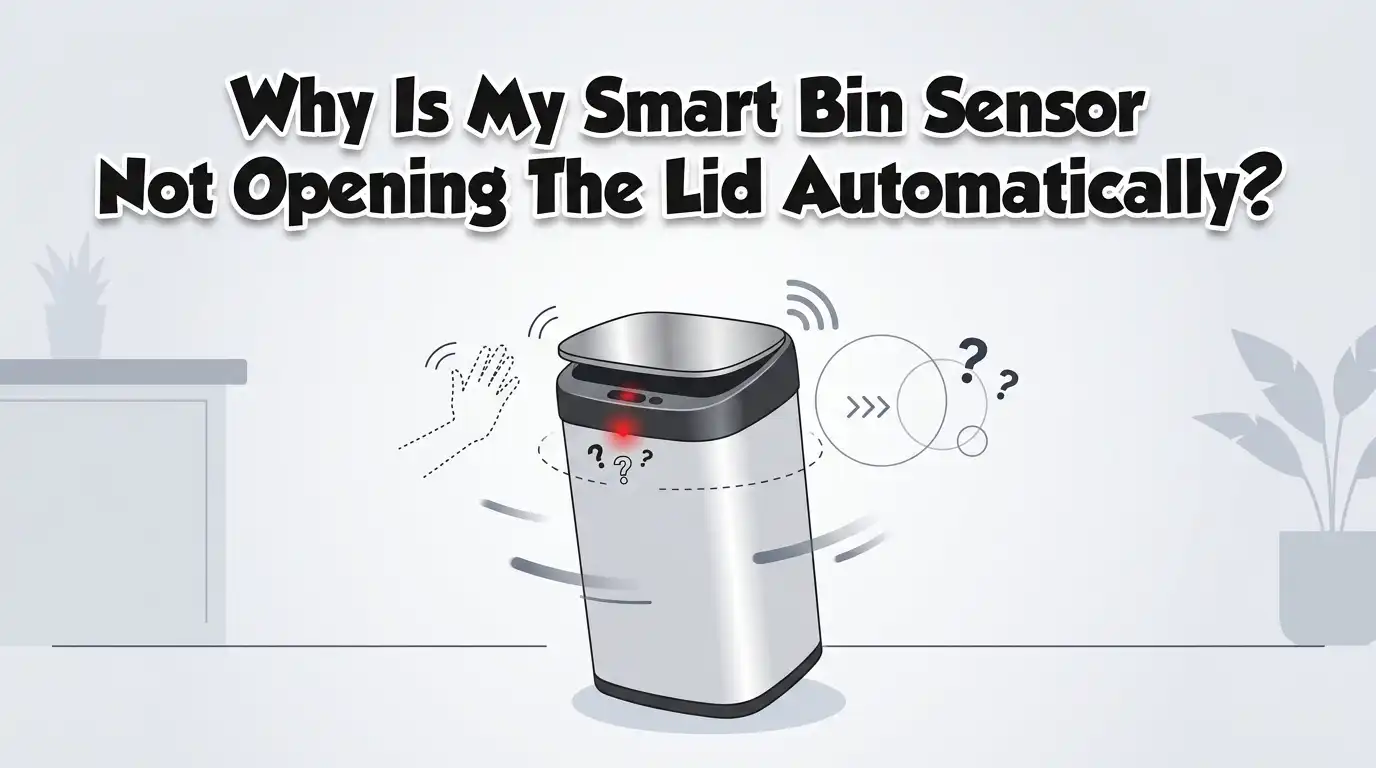
Why Is My Smart Bin Sensor Not Opening The Lid Automatically?
Your smart bin promised a touchless life. You wave your hand, the lid lifts, and you drop your trash without touching anything. But today, nothing happens. The lid stays shut. You wave again. Still nothing. Frustrating, right?
A smart bin sensor that stops working feels like a small betrayal. You bought it for convenience, and now it acts like an ordinary bin. The good news is simple. Most sensor problems have easy fixes you can do at home. You rarely need a technician or a replacement.
This guide walks you through every common cause. You will learn what to check first, how to clean the sensor, when batteries are the villain, and how to spot a dead motor. Let us get your lid moving again.
In a Nutshell:
- Weak or dead batteries cause most failures. A smart bin draws steady power for its sensor and motor. Old batteries cannot supply enough current to lift the lid, even when the sensor light still blinks.
- A dirty sensor blocks the infrared beam. Dust, grease, food splatter, and fingerprints sit right over the sensor eye. A simple wipe often solves the whole problem.
- The auto mode might be switched off. Many bins have a separate button or switch for automatic opening. A bumped button puts the bin in manual mode without warning.
- Direct sunlight and bright light confuse the infrared sensor. Strong light overwhelms the sensor and stops it from detecting your hand. Move the bin or block the light source.
- A stuck motor or jammed hinge stops the lid mechanically. You hear a buzz, but the lid does not rise. This points to a physical block, not the sensor.
- A full bin and a wet sensor are sneaky culprits. Overfilled trash jams the lid path, and moisture shorts the electronics. Both are quick to spot once you know to look.
How A Smart Bin Sensor Actually Works
Understanding the sensor helps you fix it faster. Most smart bins use an infrared (IR) sensor. This sensor sits near the top of the lid, often behind a small dark window. It sends out an invisible beam of light.
When your hand or an object enters the beam, the light bounces back. The sensor catches that reflection. It then tells a small circuit board to wake the motor. The motor lifts the lid in about a second. After a few seconds with no motion, the lid closes again.
This whole system needs three things to work. It needs a clean clear sensor window, steady power, and a working motor. When one of these fails, the lid stops opening. Knowing this chain makes troubleshooting logical. You simply test each link until you find the weak one.
Start Here: Check The Power And Batteries First
Batteries fail more often than any other part. Start your fix here because it takes two minutes and solves the problem most of the time. A smart bin uses real power every time the motor runs. Worn batteries lose voltage fast.
Here is a tricky part. A weak battery can still power the small sensor light. So you see the light blink and assume power is fine. But the motor needs much more current than the sensor. The lid stays shut while the light still works.
Replace the old batteries with fresh alkaline ones. Avoid mixing old and new batteries. Check the polarity, making sure the plus and minus ends match the markings. Some bins also use a USB rechargeable pack, so charge it fully and try again.
Pros: Cheap, fast, and fixes most cases instantly.
Cons: You need to buy batteries regularly, and rechargeable models take time to charge.
Clean The Sensor Window Properly
A dirty sensor is the second biggest cause. The IR beam cannot pass through grime. Dust, grease, food juice, and fingerprints all build up on the sensor window. The bin sits in your kitchen, so splatter is normal.
Find the small dark window near the top of the lid. Wipe it gently with a soft dry cloth. For stubborn grease, dampen the cloth lightly with water or a tiny bit of rubbing alcohol. Never spray liquid straight onto the sensor.
Let the area dry fully before you test it. A wet sensor can read false signals or stop working. While you are there, clean the inside rim of the lid too. Crumbs and sticky residue collect there and confuse the beam.
Pros: Costs nothing, takes one minute, and prevents future faults.
Cons: You must repeat it often in a busy kitchen, and deep grime may need several wipes.
Make Sure The Auto Mode Is Switched On
This sounds obvious, but it traps many people. Smart bins often have more than one mode. They include an automatic mode, a manual open button, and sometimes a lock or stay open mode. A bumped button can switch modes by accident.
Look for a control panel on the lid. You usually see an “Auto” button, an “Open” button, and a “Close” button. Press the auto button once. Many bins light up or beep to confirm the change.
Some models hide a small power switch on the underside of the lid. The “I” position means on, and the “O” position means off. Check this switch first if no buttons respond at all. Children, cleaning, or moving the bin can flip it without you noticing.
Pros: Instant fix with zero tools and zero cost.
Cons: Easy to overlook, and button layouts differ between brands.
Move The Bin Away From Direct Sunlight
Bright light is the secret enemy of IR sensors. Direct sunlight contains strong infrared rays. These rays flood the sensor and drown out the beam your hand reflects. The sensor cannot tell your hand from the sun.
If your bin sits near a window or under a bright lamp, this is likely your cause. The lid may work fine at night and fail during the day. That pattern is a clear clue. Other bright sources like halogen bulbs cause the same trouble.
Move the bin to a shadier spot and test it. Even shifting it a few feet can help. If you cannot move it, close the blinds during peak sun hours. Some users place a small shade above the sensor to block overhead glare.
Pros: Free, simple, and reveals a hidden cause many people miss.
Cons: You may need to give up a convenient bin location.
Check For A Full Bin Or Trash Blocking The Lid
A packed bin stops the lid mechanically. The lid needs free space to swing up. When trash piles above the rim, it physically blocks the lid path. The motor tries, but the trash holds the lid down.
Open the bin manually and check the fill level. Empty it if the bag bulges above the top edge. Push down any items that stick up near the hinge. A stray bag handle or a tall bottle often jams the mechanism.
Also check the trash bag itself. A loose bag can droop into the sensor path or wrap around the lid arm. Tuck the bag neatly under the rim. Many bins have a bag holder ring, so seat the bag in it properly.
Pros: Quick to check and keeps your bin hygienic at the same time.
Cons: None, though it means you need to empty trash more often than you hoped.
Inspect The Lid Hinge And Motor
If the sensor reacts but the lid still will not rise, look at the moving parts. You might hear a faint buzz or click. That sound means the motor gets power but cannot move the lid. The problem is now mechanical.
Open the lid by hand and feel for resistance. A stiff or stuck hinge stops smooth movement. Dust, grease, and small debris collect in the hinge over time. Wipe it clean and add a tiny drop of light machine oil if the hinge feels dry.
Look inside the lid housing for loose parts. iFixit users often find a small screw or bar that drives the lid has come loose. Tighten any loose screws gently. If the motor stays silent and dead, the motor itself may have failed and need replacement.
Pros: Fixes problems that cleaning alone cannot solve.
Cons: It takes more effort, and a dead motor is hard to replace at home.
Look For Loose Wires And Connections
Inside every smart bin sits a small wiring harness. These thin wires link the sensor, the board, and the motor. Over time, vibration and movement can loosen a connection. A detached wire breaks the whole chain.
Carefully open the lid housing if your model allows it. Look for any wire that hangs loose or sits unplugged. Many connectors simply push back into place. Press them firmly until they click.
Check the battery contacts too. Corroded or bent contacts stop power from flowing. Clean any white or green buildup with a cotton swab and a little vinegar, then dry it well. Bend bent contacts back gently so they touch the battery firmly.
Pros: Solves stubborn faults that look like a dead bin.
Cons: Requires opening the unit, and soldering a snapped wire needs some skill.
Dry Out A Wet Or Damp Sensor
Moisture causes strange behavior. A damp sensor may stay shut, open randomly, or flicker. Kitchens are humid, and spills happen. Water can seep into the lid housing and reach the electronics.
If you recently cleaned the bin with water, this is a likely cause. Switch the bin off and remove the batteries right away. Leaving power on while wet can damage the circuit board for good.
Open the housing and let it air dry for a full day. You can speed this up with a hair dryer on a cool setting. Never use hot air, since heat can warp plastic and melt parts. Once everything is fully dry, reinsert the batteries and test the lid.
Pros: Saves a bin that seems completely broken.
Cons: Drying takes time, and severe water damage may be permanent.
Reset The Smart Bin To Factory Settings
Sometimes the electronics simply freeze. A glitch in the circuit board can lock the sensor. A reset clears this digital hiccup, much like restarting a phone that has frozen.
The easiest reset works for every bin. Remove the batteries or unplug the power for two full minutes. This drains any stored charge in the board. Then put the power back and let the bin settle for a few seconds.
Some advanced smart bins connect to an app or have a reset button. Check your manual for a specific reset step. Hold the reset button for the stated time, usually five to ten seconds. The bin often beeps or flashes to confirm the reset is done.
Pros: Fixes software glitches without any tools or parts.
Cons: It will not help with mechanical or power faults.
Test The Sensor Range And Angle
Your hand needs to land in the right spot. Every IR sensor has a set detection range. If you wave too far away or too close, the beam misses your hand. The lid then stays shut even though the sensor works fine.
Hold your hand about four to six inches directly above the sensor window. Move it slowly toward the sensor and watch for the lid to react. Find the sweet spot where it opens every time. Train yourself and your family to use that spot.
Also check the bin sits level on the floor. A tilted bin points the sensor at the wrong angle. Place it on a flat hard surface, not deep carpet. A steady base keeps the beam aimed where you expect it.
Pros: Free, instant, and fixes a problem people blame on the bin.
Cons: It is a habit change rather than a permanent hardware fix.
When To Repair Versus Replace Your Smart Bin
At some point you must weigh effort against cost. Not every fault is worth fixing. A simple sensor wipe or battery swap is always worth it. A dead motor or fried board is a harder call.
Think about the age and price of your bin. A cheap bin past its warranty may cost more to repair than to replace. Replacement motors and boards are hard to find for budget models. The labor and parts often exceed the original price.
A premium smart bin is different. Many quality brands sell replacement lids or sensor units. Contact the maker and ask about spare parts. If the body is solid and the warranty still applies, repair is the smart choice for your wallet and the planet.
Pros of repair: Cheaper for quality bins and reduces waste.
Cons of repair: Time consuming, and parts are scarce for low cost models.
Simple Habits To Keep Your Smart Bin Working
Prevention beats repair every time. A few small habits keep your sensor happy for years. Most failures come from neglect, not bad luck. Build these steps into your routine.
Wipe the sensor window once a week. This one habit prevents the most common fault. Keep the bin away from direct sunlight and steamy spots like next to a kettle. Heat and light both age the electronics faster.
Empty the bin before it overflows so the lid never jams. Use the right bag size so it does not droop into the sensor. Replace batteries on a schedule rather than waiting for failure. Keep the lid hinge clean and lightly oiled. These small actions add years to your bin and save you the headache of a stuck lid.
Pros: Saves money, time, and frustration over the long run.
Cons: Requires a little discipline and regular attention.
Frequently Asked Questions
Why does my smart bin lid open by itself but not when I want it to?
Random opening usually points to a dirty or wet sensor picking up false signals. Direct sunlight or a nearby reflective surface can also trigger it. Clean the sensor, dry it fully, and move the bin away from bright light. If it continues, reset the bin by removing power for two minutes.
Can I use rechargeable batteries in my smart bin?
Yes, but with a small warning. Rechargeable batteries often supply slightly lower voltage than alkaline ones. This can make the motor weaker over time. If your lid feels slow or fails to fully open, switch to fresh alkaline batteries and compare the result.
Why does my bin work at night but not during the day?
This is a classic sign of sunlight interference. The infrared rays in daylight overwhelm the sensor and block detection. Move the bin to a shadier spot or close your blinds during peak sun hours. The lid should then work all day.
How often should I clean the sensor on my smart bin?
Clean it at least once a week in a busy kitchen. Grease and food splatter build up faster than you think. A quick wipe with a soft dry cloth keeps the beam clear. For homes with heavy cooking, twice a week works even better.
My sensor lights up but the lid does not move. What is wrong?
The sensor has power, so the fault is further down the chain. Check the batteries first, since a weak set powers the light but not the motor. If batteries are fresh, inspect the hinge for a jam and listen for the motor. A silent motor may have failed.
Is it worth fixing a smart bin or should I just replace it?
It depends on the bin. A quality bin with available spare parts is worth repairing. A cheap bin with a dead motor often costs more to fix than to replace. Weigh the repair cost against the price of a new unit before you decide.

Hi, I’m Rosie Tate — a tech enthusiast, gadget geek, and the creator of RapidConvertLab! 🚀 I’ve spent years exploring the ever-evolving world of electronics, smart devices, and Amazon’s hidden tech treasures. Through my honest, hands-on reviews, I help everyday shoppers cut through the noise and pick gadgets that truly deliver value. When I’m not testing a new device, I’m probably unboxing one! 📦✨