Why Is My VR Base Station Not Syncing With The Primary Headset?
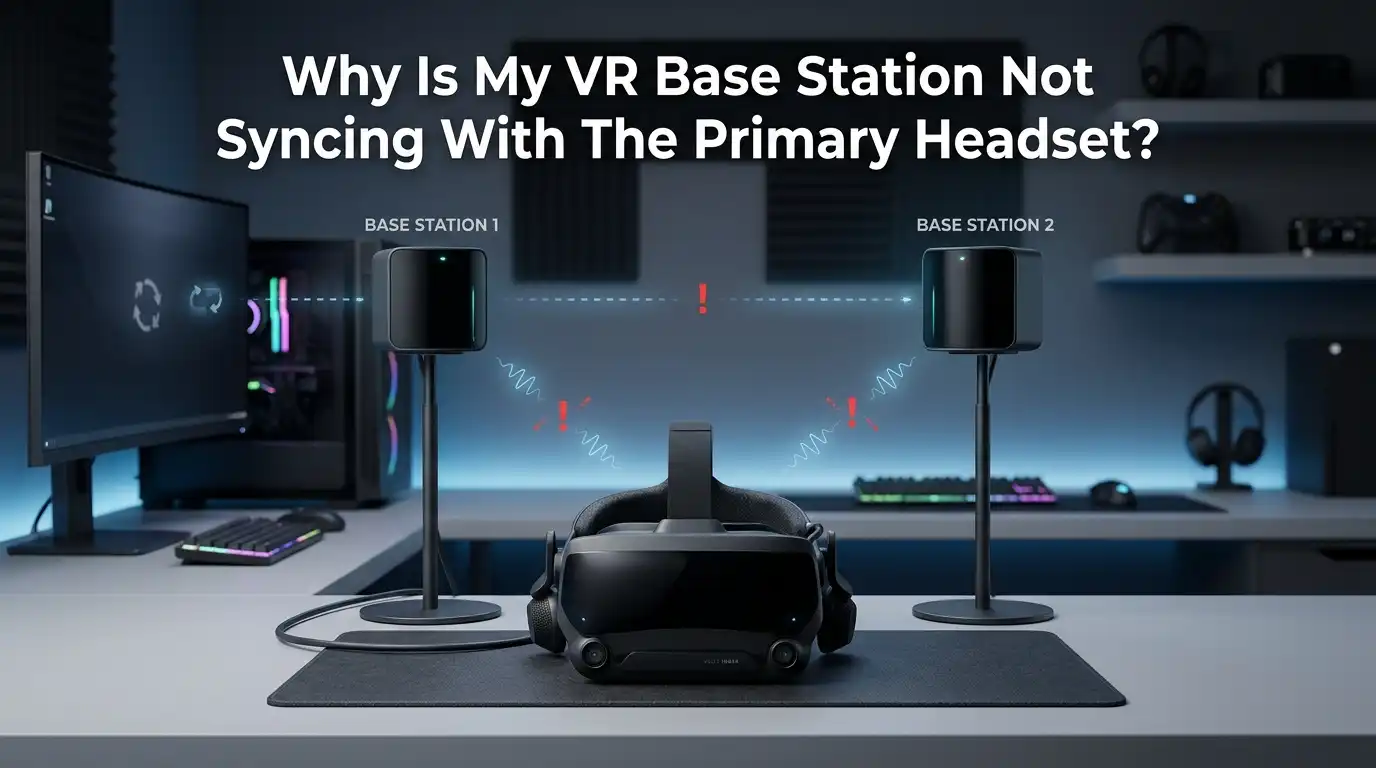
VR base stations make room scale tracking work. They send out infrared signals that your headset reads to track motion. But when one base station stops syncing with your primary headset, the whole VR session breaks down.
You see grey screens, frozen views, or a flashing red light on the device. This problem hits SteamVR users, Valve Index owners, and HTC Vive players alike.
This guide walks you through every step in plain language. By the end, your base station and headset should talk to each other again.
In a Nutshell
- Check the power and cables first. A loose USB cable or a dead power outlet causes more sync failures than any other issue. Always start with the basics before moving to advanced steps.
- Channel settings matter a lot. For older Vive 1.0 base stations, one unit must be set to channel b and the other to c. Wrong channels stop them from pairing with the headset.
- Sightlines must stay clear. Mirrors, shiny floors, sunlight, and other infrared sources confuse base stations. Keep them mounted high with a clean view of your play area.
- Firmware updates fix most software bugs. SteamVR pushes updates often. An outdated base station drops sync with newer headsets. Always update both devices together.
- Restart in the right order. Power off the headset, unplug the base stations, restart your PC, then power everything back on. Order matters more than people think.
- A blinking red light means hardware trouble. If you see red after a full reboot, the unit likely needs repair or replacement. Contact support before buying a new one.
Check The Power Supply And Outlet First
Start with the simplest fix. Confirm that your base station is plugged into a working wall outlet. Try a different outlet if the LED light stays off. Some power strips fail without warning, so plug straight into the wall to rule that out.
Look at the LED on the front of the base station. A green light means it works. A blue light means it is waiting to sync. A red light means an error. No light at all points to a dead power adapter or a bad outlet.
Pros: This step takes one minute and costs nothing. It rules out the most common cause right away.
Cons: It only catches power related issues. If your unit has another problem, you still need to keep troubleshooting.
Inspect All Cables And USB Connections
Loose cables cause many sync drops. Unplug every cable from the headset, the link box, and the PC. Then push each one back in firmly. Pay close attention to the USB cable that connects the headset link box to your computer.
Switch to a different USB port if you can. Many users report that USB 3.0 ports cause sync issues with VR gear. Try a USB 2.0 port instead. A direct port on the motherboard works better than a front panel port or a hub.
Pros: Fixes a huge number of cases with zero cost. Works for every VR system.
Cons: You may need to crawl behind your PC. Some cables hide under desks or carpets, so the check takes patience.
Set The Correct Channel On Older Base Stations
This step applies to HTC Vive 1.0 base stations. Look at the small letter shown on the front of each unit. One should display b and the other c when you use them without a sync cable. If both show the same letter, they cannot pair properly.
Press the channel button on the back of the base station to switch the letter. Wait a few seconds for the change to register. The headset should then see both units.
Valve Index 2.0 base stations skip this step. They auto manage their channels through Bluetooth. So channel mismatch is a Vive 1.0 issue only.
Pros: A quick fix for older Vive setups that takes seconds.
Cons: Does not apply to Valve Index, Vive Pro 2, or other 2.0 systems. Only useful for the original Vive hardware.
Use The Sync Cable If Optical Sync Fails
Vive 1.0 base stations can sync in two ways. The first is optical sync, where they see each other through the air. The second is the wired sync cable. If your room has obstacles between the two units, the optical sync breaks down.
Plug the sync cable into the sync port on the back of each base station. Route the cable outside your play area so you do not trip over it. Then set both units to channel A using the channel button.
Pros: Solves sync failures caused by blocked sightlines between base stations. Very reliable in tricky rooms.
Cons: The cable adds clutter and limits where you can place the units. The cable can also fail or get pinched.
Clear The Line Of Sight Between Devices
Base stations track your headset with infrared light. Anything that blocks that light breaks the sync. Move chairs, plants, lamps, and pets out of the way. Make sure no one stands between the base station and the headset during setup.
Watch out for reflective surfaces too. Mirrors, glass tables, polished floors, and TV screens bounce infrared signals around. This confuses the base station and causes tracking jumps or sync drops.
Mount your base stations above head height. Aim them down at about thirty to forty five degrees toward the center of your play area. Each unit has a one hundred twenty degree field of view.
Pros: Improves tracking quality and sync stability at the same time. No extra hardware needed.
Cons: May force you to rearrange furniture. Some rooms simply have too many reflective surfaces to fully fix.
Restart Everything In The Right Order
A clean restart fixes many soft sync errors. Close SteamVR first. Then unplug the base stations from power. Power off your headset by unplugging it from the link box. Now restart your PC fully.
Once the PC is back on, plug in the base stations. Wait for them to show a steady green light. Then plug the headset back in. Open SteamVR last. This order gives each device a fresh handshake with the software.
Pros: Clears cached errors and stuck driver states. Works for nearly every VR system.
Cons: Takes five to ten minutes. You lose your current SteamVR session and any unsaved progress in VR apps.
Update The Base Station Firmware
Outdated firmware causes sync problems after major SteamVR updates. Open SteamVR on your PC and look at the device icons. A yellow exclamation mark next to a base station means an update is ready.
Click the icon and follow the prompts to update. Some updates need a USB cable connection between the base station and your PC. Keep the cable plugged in until the update finishes. Never unplug a base station during a firmware update. A failed update can brick the unit.
Pros: Fixes known bugs and improves sync with newer headsets. Free and official.
Cons: Updates sometimes fail and require recovery steps. Rare cases need a leaked recovery firmware to bring the unit back.
Reinstall SteamVR Or Vive Console Software
Corrupt software files cause strange sync errors. Right click SteamVR in your Steam library and pick Uninstall. Then reinstall it from scratch. This wipes broken drivers and stale settings.
For Vive headsets, also reinstall the Vive Console app. Make sure you remove old USB driver entries through the SteamVR developer menu. The option is called “Remove all SteamVR USB devices.”
After the reinstall, plug everything back in and let Windows install fresh drivers. Then launch SteamVR and pair your base stations again.
Pros: Fixes deep software issues that simple restarts miss. Often resolves stubborn cases.
Cons: Takes twenty to thirty minutes. You may lose custom room setup data and have to redo your play area setup.
Pair The Base Stations Through Bluetooth
Valve Index and Vive Pro 2 base stations use Bluetooth for management. Your headset has a built in Bluetooth radio that talks to them. If the radio is off, the base stations cannot wake up or update.
Go to the SteamVR settings menu and find the Startup and Shutdown tab. Check the box that enables Bluetooth communication. Then restart SteamVR. The base stations should now appear in the device list.
If the radio still fails, try a USB Bluetooth dongle plugged into your PC. Some headset radios get blocked by Windows power saving rules.
Pros: Lets the base stations auto sleep and update without a cable. Cleaner setup overall.
Cons: Bluetooth radios can drop out. Some users report needing to pair the units multiple times before they stick.
Disable USB Power Management In Windows
Windows turns off USB devices to save power. This trick breaks VR sync because the headset link box gets cut off mid session. You need to disable this setting for every USB hub on your PC.
Open Device Manager and expand the Universal Serial Bus section. Right click each USB Root Hub and pick Properties. Go to the Power Management tab. Uncheck the box that says “Allow the computer to turn off this device to save power.”
Repeat this for every hub in the list. Then restart your PC.
Pros: Stops random disconnects and sync drops during long VR sessions. A permanent fix once set.
Cons: Slightly increases laptop battery drain. You must redo the setting if you reinstall Windows or update drivers.
Check For Infrared Interference Sources
Sunlight and other infrared sources can flood your base stations with noise. Close your blinds during VR sessions. Avoid placing base stations near large windows.
Other devices give off infrared too. Heaters, halogen bulbs, motion sensors, and some TV remotes all create interference. Move them away from your play area or turn them off during VR use.
If you run two pairs of base stations in nearby rooms, they can also bleed into each other. Use the sync cable or different channels to keep them apart.
Pros: Solves mystery sync drops that appear at certain times of day. Often free to fix.
Cons: Hard to spot without testing. You may need to experiment with curtains and lights to find the source.
Contact Support For A Blinking Red Light
A blinking red light after all the above steps points to hardware failure. The unit may have a broken motor, a cracked lens, or a dead infrared emitter. No software fix can solve this.
Contact the manufacturer support team with your serial number and proof of purchase. HTC and Valve both offer paid repair and replacement options. Some units carry a one or two year warranty depending on your region.
Third party repair shops also fix base stations. They replace motors and lenses for less than a new unit costs. Check reviews before sending your unit anywhere.
Pros: Saves you from buying a brand new pair. Official repair preserves your warranty.
Cons: Repair fees can run high. Shipping times stretch into weeks in some regions.
Frequently Asked Questions
Why does my base station light stay blue and never turn green?
A blue light means the base station is waiting to stabilize or pair. Check that no objects vibrate near the unit. Tighten the mount and let it sit for a full minute. If it stays blue, restart SteamVR and check your channel settings.
Can I use only one base station with my VR headset?
Yes, but tracking quality drops. One base station covers a smaller area and loses sight of you when you turn around. For seated games this works fine. For room scale play, two units give much better results.
Do Valve Index base stations work with HTC Vive headsets?
Yes, but only with Vive Pro and newer models that support SteamVR 2.0 tracking. The original Vive headset only works with 1.0 base stations. Mixing 1.0 and 2.0 base stations is not supported.
How long do VR base stations usually last?
Most units last three to five years with normal use. The internal motors spin constantly and wear out over time. Mounting them on solid walls away from vibration extends their lifespan.
Why does my base station make a buzzing or clicking noise?
A soft hum is normal. A loud clicking or grinding sound means the motor or rotor is failing. Power off the unit right away and contact support. Running a failing base station can damage it past the point of repair.

Hi, I’m Rosie Tate — a tech enthusiast, gadget geek, and the creator of RapidConvertLab! 🚀 I’ve spent years exploring the ever-evolving world of electronics, smart devices, and Amazon’s hidden tech treasures. Through my honest, hands-on reviews, I help everyday shoppers cut through the noise and pick gadgets that truly deliver value. When I’m not testing a new device, I’m probably unboxing one! 📦✨