How To Fix Smart Belt Buckle Ratchet Track Stripping?
Does your smart belt suddenly slip or refuse to hold its grip? A stripped ratchet track is often the reason. This small but frustrating problem can turn a favorite belt into a useless strip of fabric.
The good news is that you can fix it. Most stripping issues come from simple causes. These include improper buckle attachment or incorrect strap threading.
In this guide, we will walk you through practical fixes. You will learn how to detach and reattach your buckle the right way. We will also cover how to measure and cut your belt for a perfect resize.
In a Nutshell
- Track stripping happens when the teeth inside the buckle wear down or detach. This usually stops your belt from holding its grip properly.
- To fix a stuck belt, push the strap deeper into the buckle first. This releases the ratchet mechanism, even though it feels backward.
- If you need to resize, detach the buckle from the strap first. Measure your waist size before you cut anything.
- Always cut from the buckle end, not the tip. This keeps your resizing accurate and clean.
- Use scissors and a vise for a neat, straight cut. This prevents fraying and helps the strap fit smoothly through the buckle again.
- When reattaching, hook one side into the first loop. Then pull the strap through the second loop firmly.
- Correct buckle attachment prevents future wear. Improper threading is one of the biggest causes of stripping.
Following these simple steps keeps your belt working like new.
Understanding How Ratchet Belt Tracks Work
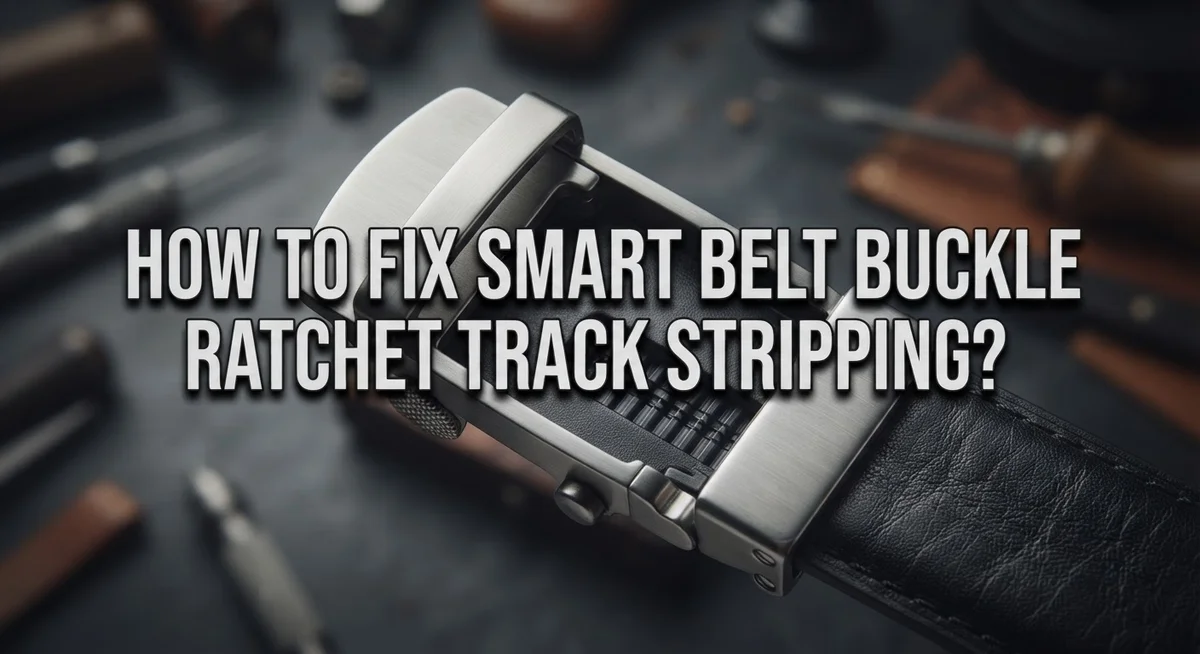
A ratchet belt buckle uses a track system with small teeth instead of traditional holes. These teeth grip your belt strap and hold it in place. The ratchet mechanism works by locking the strap at any position you choose, giving you a custom fit every time.
The track itself contains multiple teeth arranged in a line. When you feed the strap through the buckle slot, these teeth catch and secure the material. The strap slides in smoothly but resists coming back out due to the tooth design. This one way action keeps your belt tight throughout the day.
Track stripping occurs when these teeth wear down or break off completely. This happens from repeated use, improper attachment, or incorrect threading. Once teeth strip, the buckle cannot grip the strap anymore. Your belt becomes loose and slides around your waist.
Understanding how the strap threads matters too. You must hook one side into the first loop correctly. Then you pull the strap through the second loop. If you skip this step or do it wrong, uneven pressure damages the teeth faster.
The buckle attachment point is critical for longevity. When the buckle connects poorly to the strap, it creates stress on the teeth. This stress causes premature wear and stripping.
Pushing the strap deeper into the buckle helps release stuck mechanisms. This counterintuitive motion actually works because it relieves tension on the teeth. Once released, the strap slides out smoothly.
Regular inspection prevents serious damage. Check your belt monthly for worn teeth or loose buckles. Catching problems early saves you from complete track failure. Proper use and correct attachment keep your ratchet system working smoothly for years.
What Causes Ratchet Track Stripping
Ratchet track stripping happens when the small teeth inside your smart belt buckle wear down or break off. These teeth are what grip your belt strap and hold it in place at your desired tightness level.
Improper buckle attachment is one of the biggest culprits behind track damage. When you attach the buckle to the strap incorrectly, it creates uneven pressure on the track system. This causes some teeth to bear more weight than others, leading to faster wear and eventual stripping.
Incorrect strap threading also damages the track significantly. If you thread the strap through the buckle slot at the wrong angle or with too much force, the teeth can bend or snap. The strap should slide smoothly through without resistance when you do it correctly.
Frequent adjustments without proper technique contribute to track degradation too. Every time you tighten or loosen your belt, the strap rubs against the teeth. Rough handling or yanking the strap can accelerate this natural wear process.
Material fatigue plays a role as well. Over time, the metal or plastic teeth simply weaken from constant use. Daily wear and repeated tightening cycles gradually reduce the teeth’s ability to grip firmly.
Environmental factors matter too. Moisture, dirt, and debris can accumulate inside the track system. This buildup prevents teeth from engaging properly and increases friction during adjustment.
Poor quality buckles wear out faster than well made ones. Cheaper materials strip more easily under normal use. The track design itself affects longevity, with some systems having stronger teeth arrangements than others.
Understanding these causes helps you prevent future damage and extend your belt’s lifespan significantly.
Tools You Need Before You Start
Before you start fixing your smart belt buckle ratchet track, gather the right tools. Having everything ready makes the job faster and easier.
You need scissors or a cutting tool to trim the strap if resizing is necessary. Sharp scissors work best for clean, straight cuts. A dull blade creates frayed edges that slip inside the buckle.
A vise or clamp holds the belt steady while you cut. This prevents the strap from moving around. Stability matters because uneven cuts cause alignment problems later.
Grab a ruler or measuring tape to mark your desired waist size. Measure twice before cutting once. This simple step prevents costly mistakes.
Keep a flat work surface nearby. You need room to lay out your belt and buckle completely. Good lighting helps you see the track teeth clearly.
Have a small flashlight available to inspect the buckle interior. You need to see if teeth are worn, broken, or missing. Dark areas inside the buckle hide damage.
A soft cloth or brush removes dust and debris from the track. Clean tracks work better than dirty ones. Dirt particles can jam the mechanism.
Consider having replacement adhesive on hand if your buckle uses glue. Some buckle types attach with adhesive rather than stitching. Check your belt design first.
Keep a strap or clamp to hold the buckle steady during reattachment. This prevents twisting or misalignment. Proper positioning stops premature wear.
Finally, gather documentation or photos of how your buckle currently attaches. Take pictures before disassembly. These images guide you during reassembly and prevent confusion about correct orientation.
Step-by-Step Guide To Fixing a Stripped Ratchet Track
Start by detaching your buckle from the belt strap. Most smart belt buckles use adhesive or stitching to hold the strap in place. Gently peel or cut away the old attachment carefully to avoid damaging the buckle itself.
Once separated, inspect the ratchet track closely. Use your flashlight to see if teeth are missing, worn flat, or completely broken off. This inspection tells you whether the track needs replacement or if simple cleaning helps.
Measure your desired waist size with your measuring tape. Mark where you want to cut the strap from the buckle end, not the free end. This prevents accidentally shortening your belt too much.
Cut the strap cleanly using scissors or your cutting tool. A vise holds the belt steady while you cut, ensuring straight lines and even edges. Clean away any loose fibers or debris after cutting.
Now reattach the buckle to your resized strap. Hook one side of the strap into the buckle’s first loop firmly. Pull the other end of the strap through the second loop until it sits evenly.
Thread the strap through the buckle slot properly. The strap should slide smoothly without forcing or bunching. Push the strap further into the buckle when undoing it to release tension on the track.
Test your belt by adjusting it several times. The ratchet mechanism should click smoothly without grinding sounds. If stripping persists after these steps, the track teeth may need full replacement through a professional repair service or buckle replacement.
How To Properly Reattach and Resize the Buckle
Reattaching your buckle requires careful attention to detail. Start by positioning the belt strap so the end aligns perfectly with the buckle opening. The strap should slide smoothly into the slot without forcing or twisting.
Hook one side of the strap into the first loop of the buckle mechanism. This creates your anchor point. Pull the strap through gently to ensure it seats properly against the internal track.
Next, thread the strap through the second loop with steady pressure. The Velcro or fastening system should engage smoothly at this stage. Avoid yanking the strap, as this can damage the newly aligned track.
Push the strap all the way through until you reach your desired belt length. This ensures maximum contact between the strap and the ratchet teeth. Proper seating prevents future slipping and premature wear.
When resizing, cut from the buckle end of the strap, never the free end. This preserves the buckle attachment point. Use a vise to hold the belt steady while cutting for clean, straight edges.
After cutting, check that the new strap end isn’t frayed or damaged. Smooth any rough edges with scissors. These imperfections can interfere with proper buckle engagement.
Test your reattached buckle by adjusting it back and forth several times. The mechanism should click smoothly without grinding sounds. Listen for consistent ratcheting as you tighten and loosen.
Verify the belt holds your desired size before wearing it regularly. Make small adjustments if needed. Proper reattachment prevents the track stripping issues you worked hard to fix, keeping your belt functional for months ahead.
Tips For Preventing Future Track Damage
Track stripping happens because of how you use your belt every day. The best way to stop it is to attach your buckle correctly from the start. When you reattach or replace your buckle, make sure the strap sits fully inside the slot. A loose connection causes the track teeth to wear faster.
Adjust your belt gently when putting it on or taking it off. Yanking the strap or twisting it damages the ratchet mechanism over time. Smooth, steady motions keep the teeth intact and prevent premature wear.
Clean your belt regularly to prevent buildup. Dust and debris get stuck in the track and cause friction. Use a soft brush or cloth to wipe inside the buckle slot once a week. This simple step removes particles that scratch the ratchet teeth.
Store your belt properly to avoid unnecessary stress. Don’t fold it tightly or leave it in hot places. Hang it on a hook or lay it flat in a drawer. Heat and pressure weaken the track system and adhesive.
Check your belt size periodically. Wearing a belt that’s too tight puts extra strain on the ratchet mechanism. Your ideal fit should allow one finger to slip between the belt and your waist. This prevents excessive tension on the teeth.
Replace your belt before the track becomes severely damaged. Once stripping starts, it spreads quickly. Catching wear early makes repairs easier and keeps your belt functional longer.
Inspect your buckle monthly for signs of wear. Look for loose teeth or visible damage inside the slot. Early detection helps you fix small problems before they become big ones.
Common Mistakes To Avoid When Repairing Ratchet Belts
When you repair ratchet belts, certain mistakes can make the problem worse instead of better. Understanding what to avoid saves you time and money.
Improper buckle attachment causes most track stripping issues. Many people rush this step and don’t secure the buckle firmly enough to the strap. The buckle then shifts during wear, which damages the ratchet teeth. Take your time aligning everything correctly before you finalize the attachment.
Incorrect strap threading leads to premature wear. Some people don’t push the strap all the way through the buckle slot. This creates uneven pressure on certain teeth. The ratchet mechanism then wears unevenly and strips faster. Always thread the strap completely through both loops with steady pressure.
Cutting from the wrong end during resizing creates problems. You should always cut from the buckle end of the strap, never from the free end. Cutting the wrong way weakens the strap’s attachment point to the buckle. This weakness causes the buckle to pull away under normal use.
Forcing a stuck belt damages the track further. When your belt feels stuck, people often yank hard on the strap. This puts extreme stress on the ratchet mechanism. Instead, push the strap deeper into the buckle first. This counterintuitive motion actually releases the tension.
Neglecting the strap edges after cutting causes fraying. Frayed edges can catch on the ratchet teeth and strip them. Check your cut edges carefully and smooth any rough spots.
Skipping the test phase means you won’t catch problems early. Always adjust your belt several times after repair. This shows you whether the fix actually works before you wear it regularly.
Troubleshooting Stuck or Malfunctioning Ratchet Buckles
When your ratchet track strips, the teeth wear down or detach from the strap material. This prevents your belt from holding adjustments properly. The good news is that you can fix this problem yourself with basic tools and patience.
Start by examining where the damage occurs on your track. Run your fingers along the ratchet mechanism to feel for missing teeth or loose sections. Identify the exact location of the stripping so you know what area needs attention.
For minor stripping, you can sometimes reposition the strap within the buckle. Detach the strap from the buckle completely. Slide the strap forward or backward slightly, then reattach it. This moves the worn section away from where the ratchet teeth engage. This simple shift often solves the problem.
If repositioning doesn’t work, resizing becomes your next option. Measure your desired waist size carefully. Cut the strap from the buckle end to remove the damaged section. Make sure your cut is clean and straight using sharp scissors. Reattach the buckle to the new strap end following proper threading steps.
Test your belt multiple times after any repair. Adjust it back and forth to ensure the ratchet mechanism catches and holds. The track should click smoothly without slipping.
For severe stripping that covers most of the track, replacement is your best choice. Purchase a replacement buckle assembly designed for your belt type. Follow the detachment and reattachment process carefully to install your new buckle.
Regular inspection helps you catch stripping early. Check your belt monthly for worn areas. Address problems immediately before they worsen. This prevents complete track failure and extends your belt’s lifespan significantly.
Final Thoughts
Fixing a stripped ratchet track does not need to be hard. Most problems come from simple mistakes that anyone can avoid.
You now know how to spot damage early. You also know how to resize your belt correctly.
Detaching the buckle, measuring your waist size, and cutting from the right end are simple skills. These steps help you fix small issues before they grow bigger.
Proper buckle attachment matters more than most people think. It stops teeth from wearing down too fast. It also keeps your strap moving smoothly through the track.
Threading your strap the right way protects the ratchet mechanism. This small habit prevents stripping before it starts.
Remember that stuck belts need a gentle push inward, not force. Forcing the strap only damages the track further.
Regular care makes a big difference too. Clean your belt often. Store it flat or hung properly. Check the track every few weeks for early signs of wear.
If your belt shows heavy stripping across most of the track, repair may not be enough. In that case, replacing the belt is the smarter choice.
Small fixes work well for minor damage. Bigger damage calls for a new belt instead of constant patching.
Your belt should feel secure and comfortable every day. If it slips, sticks, or feels loose, address it right away.
Simple checks and quick fixes keep your ratchet belt working like new. With good habits, you can avoid most future track problems.
A well maintained belt saves you time, money, and daily frustration.
Frequently Asked Questions
What causes ratchet track stripping in the first place?
Ratchet track stripping happens when the teeth on your belt’s adjustment mechanism wear down or separate from the strap material. This usually occurs from repeated use and friction over time. Improper attachment of the buckle to the strap speeds up this damage significantly.
When you don’t thread the strap correctly through the buckle slot, the ratchet teeth bear uneven pressure. This creates weak spots that fail faster than normal wear would cause. Forcing a stuck belt also damages the track and makes stripping worse.
Can I fix minor track stripping without replacing the belt?
Yes, you can fix minor stripping in several ways. First, try repositioning the strap within the buckle to move it away from the damaged area. This shifts the wear to a fresher part of the track.
If repositioning doesn’t work, you can resize your belt by cutting and reattaching the buckle. Measure your waist size first, then cut from the buckle end to shorten the strap. Reattach the buckle properly to restore function.
How do I prevent track stripping from happening again?
Proper buckle attachment prevents most future damage. Thread one side of the strap into the first loop, then pull the other side through the second loop smoothly. This distributes pressure evenly across the ratchet teeth.
Check your belt monthly for early signs of wear. Catch small problems before they spread across the entire track. Gentle handling also matters. Push the strap inward when undoing your belt instead of forcing it outward.
What should I do if stripping covers most of the track?
Severe stripping across the majority of your track means repair won’t restore full function. Replacement becomes your best option at this point. Minor fixes work well for small damaged areas, but extensive wear requires a new belt.

Hi, I’m Rosie Tate — a tech enthusiast, gadget geek, and the creator of RapidConvertLab! 🚀 I’ve spent years exploring the ever-evolving world of electronics, smart devices, and Amazon’s hidden tech treasures. Through my honest, hands-on reviews, I help everyday shoppers cut through the noise and pick gadgets that truly deliver value. When I’m not testing a new device, I’m probably unboxing one! 📦✨