How To Troubleshoot LiDAR Navigation Errors In Domestic Service Robots?
If your robot vacuum keeps bumping into walls, spinning in circles, or throwing a LiDAR error on its app, you are not alone. Thousands of homeowners deal with LiDAR sensor failures every single day.
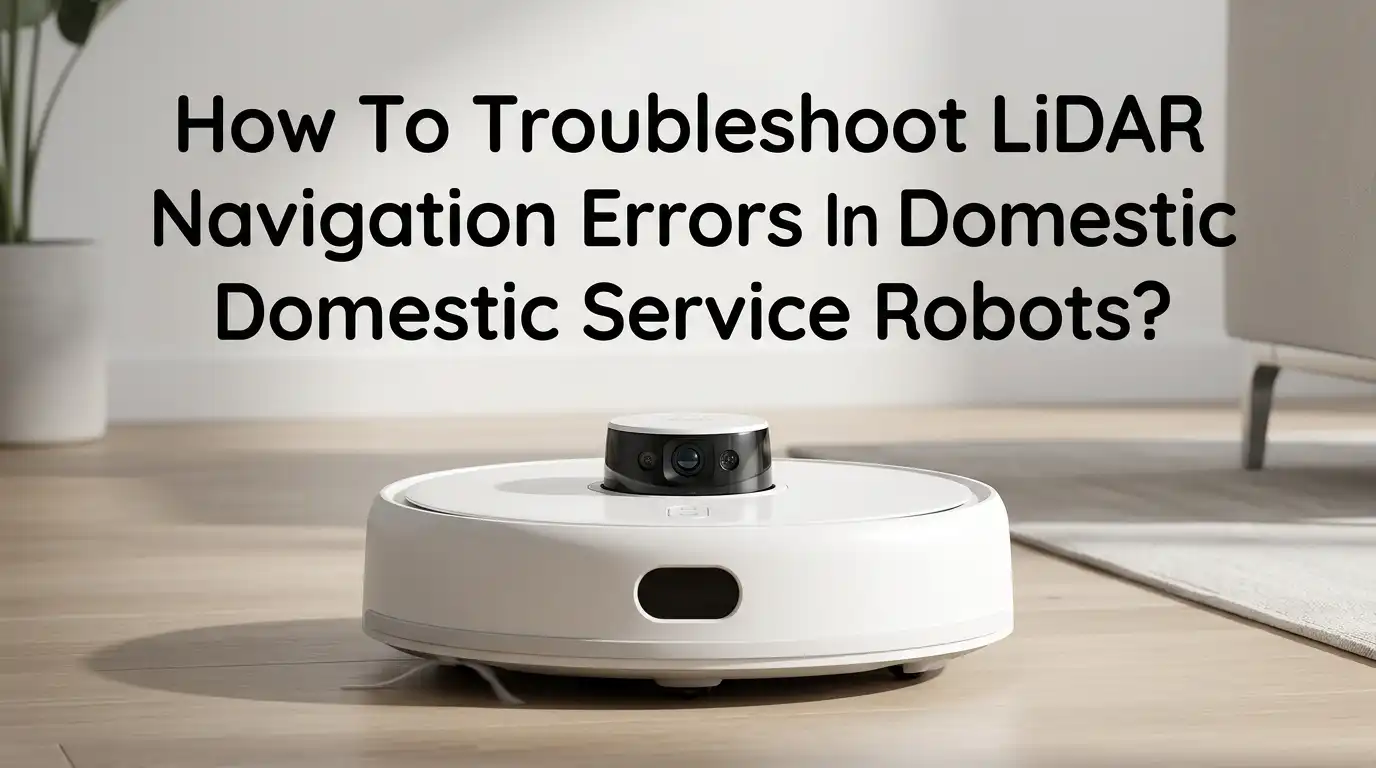
The small spinning turret on top of your service robot is responsible for scanning your entire home, and even a tiny speck of dust or a single strand of hair can throw the whole system off.
The good news? Most LiDAR issues are easy to fix at home without calling a technician. This guide walks you through every common LiDAR problem and gives you clear, actionable steps to get your robot back on track.
Key Takeaways
- Most LiDAR errors come from physical obstructions. Dust, pet hair, and small debris can wrap around the LiDAR turret or block the optical window. A quick cleaning session with a soft microfiber cloth fixes the majority of these issues in under five minutes.
- A non spinning LiDAR turret is the most common hardware failure. If the turret on top of your robot does not rotate freely, the sensor cannot scan your home. You should gently spin it by hand to check for resistance, and remove anything caught inside.
- Software glitches cause mapping errors more often than people think. Outdated firmware or a corrupted map file can make your robot revisit the same spots or ignore entire rooms. A factory reset or firmware update can resolve these problems fast.
- Your home environment directly affects LiDAR accuracy. Mirrors, glass walls, very dark surfaces, and direct sunlight can confuse the laser sensor. Small changes to your room layout or lighting can dramatically improve performance.
- Regular maintenance prevents most future LiDAR failures. Cleaning the sensor lens, checking the turret rotation, and updating your robot’s software every few weeks keeps the system running smoothly for years.
- Know when to call for professional help. If you have cleaned the sensor, reset the software, and the error still appears, the LiDAR motor or internal wiring may need replacement. Contact the manufacturer’s support team before attempting internal repairs.
What Is LiDAR And How Does It Work In Home Robots
LiDAR stands for Light Detection and Ranging. It uses a spinning laser beam to measure distances between the robot and objects in your home. The sensor sits inside the raised turret on top of most modern robot vacuums and service robots.
As the turret rotates, the laser fires thousands of beams per second. Each beam bounces off walls, furniture, and obstacles, then returns to the sensor. The robot calculates the time each beam takes to return and uses that data to build a 2D map of your home. This process is called SLAM, which stands for Simultaneous Localization and Mapping.
The SLAM algorithm lets the robot know where it is on the map at all times. It also helps the robot plan efficient cleaning paths instead of bumping around randomly. LiDAR sensors are accurate to within a few centimeters, which is why LiDAR equipped robots clean in neat, straight lines.
Common Signs Your LiDAR Sensor Has A Problem
Recognizing a LiDAR issue early can save you time and prevent further damage to the robot. The most obvious sign is an error message on the robot’s app or a flashing indicator light on the unit itself. Common error codes include “LiDAR Error,” “Laser Sensor Blocked,” or “Navigation Module Failure.”
Your robot may also spin in circles without moving forward. This happens because the sensor cannot get a clear reading of the room. Another sign is an incomplete or distorted map in the companion app. If the map shows rooms in the wrong shape or misses sections entirely, the LiDAR is likely struggling.
Some robots will refuse to leave the charging dock if the sensor detects a fault at startup. Others might clean the same area repeatedly while ignoring the rest of the house. Any sudden change in cleaning patterns usually points back to the LiDAR system.
How To Clean The LiDAR Sensor Turret
Dust and debris buildup is the number one cause of LiDAR failures. The fix is simple and takes less than five minutes. Power off your robot completely before you start. Do not just put it in standby mode.
Locate the raised turret on top of the robot. This is the LiDAR housing. Use a soft, dry microfiber cloth to gently wipe the entire surface of the turret, including the clear optical window around its base. This window is where the laser beam exits and returns, so it must stay spotless.
Next, gently rotate the turret by hand. It should spin freely with very little resistance. If it feels stiff or gets stuck, look for hair strands, thread, or fine debris wrapped around the base.
Use a pair of tweezers to carefully remove anything tangled there. You can also use a cotton swab or compressed air to blow out dust from the gaps around the turret.
Pros: This method is free, fast, and solves the majority of LiDAR errors. Cons: It does not fix internal motor failures or electronic faults inside the sensor housing.
How To Fix A LiDAR Turret That Will Not Spin
If the turret does not rotate even after cleaning, the problem may be deeper. Start by powering on the robot and pressing the clean button. Watch the turret closely. It should begin spinning within a few seconds. If it does not move at all, the motor or drive belt inside may have failed.
Some robots use a small rubber belt to connect the motor to the turret. Over time, this belt can stretch, slip, or break entirely. If you are comfortable opening the top cover of your robot, you can inspect this belt yourself. Look for cracks, looseness, or signs of wear.
A stuck turret can also result from dried lubricant or internal corrosion. A tiny drop of silicone based lubricant on the turret shaft can sometimes free it up. However, avoid using oil based products because they attract more dust.
Pros: Belt replacement parts are inexpensive and widely available online. Cons: Opening the robot may void your warranty, and incorrect reassembly can cause new problems.
How To Reset And Recalibrate The LiDAR Mapping System
Sometimes the hardware is perfectly fine, but the software side of the LiDAR system is causing trouble. Corrupted map data, glitchy firmware, or a failed update can all lead to strange behavior. The fastest fix is to delete the existing map and let the robot build a new one.
Open your robot’s companion app and find the map management section. Select the current map and choose “Delete Map” or “Reset Map.” Then place the robot in the center of a room and start a fresh mapping run. Make sure the room is well lit and free of clutter during this process.
If the mapping error continues, try a full factory reset. On most robots, you hold the power button and the home button at the same time for several seconds until you hear a tone. This clears all saved data, including Wi Fi settings and cleaning schedules, so you will need to set everything up again.
Pros: A software reset often fixes persistent mapping errors without any physical repair. Cons: You lose all saved maps, schedules, and custom settings, which means reconfiguration takes extra time.
How Firmware Updates Fix LiDAR Navigation Bugs
Robot manufacturers regularly release firmware updates that improve sensor accuracy, fix known bugs, and optimize cleaning patterns. Running outdated firmware is a common reason for LiDAR errors that seem to appear out of nowhere.
Check the companion app for your robot and look for a “Firmware Update” or “Software Update” option in the settings menu. If an update is available, make sure the robot is on its charging dock and has at least 50% battery before you begin. Do not interrupt the update process.
Some users report that a recent firmware update actually introduced new bugs. If your LiDAR started acting up right after an update, check online forums for others with the same issue. The manufacturer may release a patch, or you might find instructions to roll back to a previous firmware version.
Pros: Updates are free and often resolve multiple issues at once. Cons: Occasionally, a new update introduces fresh bugs, and rolling back firmware is not always possible on every model.
Environmental Factors That Confuse LiDAR Sensors
Your home environment plays a bigger role in LiDAR accuracy than most people realize. The laser beam relies on surfaces to reflect it back. Certain materials and conditions can absorb, scatter, or misdirect the beam.
Mirrors and glass surfaces are the most common culprits. The laser passes through glass or bounces off mirrors at odd angles, creating ghost walls or phantom obstacles on the map. Very dark furniture and matte black surfaces can also absorb the laser beam, making them invisible to the sensor.
Direct sunlight streaming through a window can overwhelm the LiDAR receiver because it floods the sensor with infrared light. If your robot only has trouble in certain rooms at certain times of day, sunlight interference is likely the cause. Closing curtains or blinds during cleaning runs is a simple fix.
Pros: These fixes cost nothing and only require small adjustments to your space. Cons: You cannot always control sunlight or permanently remove glass furniture from a room.
How To Prepare Your Home For Better LiDAR Performance
A few minutes of preparation before each cleaning run can prevent most LiDAR errors from happening in the first place. Start by picking up loose items from the floor. Cables, shoes, pet toys, and small rugs can confuse the robot or physically trap it.
Close doors to rooms you do not want cleaned. This keeps the map simple and reduces the chance of the robot getting lost. If you have a multi story home, set up a separate map for each floor through the companion app.
Place the charging dock against a flat wall with at least half a meter of clear space on each side. The robot uses the dock’s infrared signal to find its way home, so blocking the dock with furniture or clutter will cause docking failures. Good room lighting also helps robots that combine LiDAR with camera based sensors.
How To Use Virtual Walls And No Go Zones
Most modern LiDAR robots let you draw virtual boundaries in the companion app. These digital barriers tell the robot to avoid certain areas without any physical obstacles. This feature is extremely useful for protecting the LiDAR system from problem zones.
If your robot always gets confused near a large mirror or a glass door, draw a no go zone around that area in the app. The robot will treat that zone as a solid wall and plan its path around it. You can also use virtual walls to keep the robot away from pet bowls, fragile items, or messy areas.
Some apps let you set room specific cleaning schedules and adjust suction power per room. This level of control reduces unnecessary sensor strain and keeps the robot focused on areas where LiDAR works best.
Pros: Virtual boundaries are easy to set up and instantly fix problem areas. Cons: You lose cleaning coverage in the blocked zones, and you must remember to update boundaries if you rearrange furniture.
When To Check The LiDAR Motor And Internal Wiring
If cleaning and software fixes do not solve the problem, the issue is likely internal hardware failure. The LiDAR motor is a small brushless motor that spins the turret at a constant speed. It can wear out after years of daily use.
Signs of motor failure include a turret that spins slowly, makes grinding noises, or starts and stops erratically. You may also notice that the turret vibrates excessively during operation. These symptoms mean the motor bearings are worn or the motor windings have degraded.
Loose or corroded internal wiring can also interrupt the signal between the LiDAR sensor and the robot’s main board. If you have experience with small electronics, you can open the top panel and inspect the ribbon cable connections. Make sure each connector is firmly seated and free of corrosion.
Pros: Identifying the exact hardware fault helps you order the right replacement part. Cons: Internal repairs require technical skill, and opening the robot voids the warranty on most brands.
How To Replace A Faulty LiDAR Sensor Module
Replacing the entire LiDAR module is sometimes the only option. Replacement modules are available through manufacturer support channels and from third party repair shops. Before you order, note your robot’s exact model number because LiDAR units are not interchangeable between models.
Power off the robot and remove the top cover. The LiDAR module is usually held in place by a few screws and a single ribbon cable. Disconnect the cable carefully, remove the old module, and install the new one. Make sure the ribbon cable clicks firmly into the connector before reassembling the cover.
After installing the new module, perform a full factory reset and let the robot create a brand new map from scratch. The new sensor needs clean data to calibrate itself properly. Run the first mapping session in a well lit, clutter free room for the best results.
Pros: A new LiDAR module restores full functionality and often improves performance over the worn original. Cons: Replacement modules can cost between $20 and $80 depending on the brand, and self installation risks further damage if done incorrectly.
How To Prevent LiDAR Errors With A Regular Maintenance Schedule
Prevention is always easier than repair. Setting up a simple maintenance routine will keep your robot’s LiDAR system healthy for years. Here is a practical schedule you can follow.
Every week, wipe the LiDAR turret and optical window with a dry microfiber cloth. Spin the turret by hand to check for free rotation. Clean the cliff sensors on the bottom of the robot at the same time.
Every month, check the turret base for tangled hair or thread. Clean the robot’s wheels and main brush to prevent movement errors that can mimic LiDAR faults. Also check the companion app for any available firmware updates.
Every six months, do a deep clean of the entire robot. Remove the top panel if your model allows it and blow compressed air into the LiDAR housing. Delete old maps and create fresh ones. This keeps the mapping data accurate as your home layout changes over time.
Pros: A maintenance schedule costs nothing and dramatically extends the life of your robot. Cons: It requires consistent effort, and many people forget until an error appears.
When To Contact The Manufacturer For Professional Support
Some LiDAR problems go beyond what you can fix at home. If you have tried every cleaning, resetting, and recalibration step listed above and the error still appears, it is time to reach out to the manufacturer.
Most brands offer a one to two year warranty that covers sensor failures. Check your purchase date and warranty terms before paying for out of warranty repairs. When you contact support, have your robot’s model number, serial number, and a description of the error ready.
Many manufacturers also offer mail in repair services where you ship the robot to an authorized center. The turnaround time is usually one to three weeks. If your robot is out of warranty, a local electronics repair shop that specializes in small appliances can often replace the LiDAR motor or module at a lower cost than the manufacturer charges.
Frequently Asked Questions
Why does my robot vacuum keep saying LiDAR error?
The most common reason is dust or debris blocking the LiDAR optical window or preventing the turret from spinning freely. Power off the robot, wipe the turret with a soft dry cloth, and check for hair wrapped around its base. If cleaning does not help, try a factory reset through the companion app. A persistent error after cleaning and resetting usually points to a motor or wiring issue inside the sensor housing.
Can sunlight cause LiDAR navigation problems in my robot?
Yes. Direct sunlight contains infrared light that can interfere with the LiDAR sensor’s laser receiver. This causes the robot to misread distances or create inaccurate maps. If your robot only struggles in rooms with large windows during sunny hours, try closing the curtains or running the robot in the evening. This simple change often eliminates the error completely.
How often should I clean the LiDAR sensor on my robot?
You should wipe the LiDAR turret and optical window once a week with a dry microfiber cloth. If you have pets that shed heavily, consider cleaning it twice a week. A monthly check for tangled hair around the turret base is also a good habit. Regular cleaning prevents the vast majority of LiDAR errors before they happen.
Do mirrors and glass walls affect LiDAR accuracy?
They absolutely do. Mirrors reflect the laser beam at unpredictable angles, which creates phantom walls or distorted room shapes on the map. Glass surfaces can allow the beam to pass through entirely, making the robot think there is open space where a wall exists. Use the no go zone feature in your robot’s app to block these problem areas from the cleaning path.
Is it safe to replace the LiDAR module myself?
It depends on your comfort level with small electronics. The replacement process involves removing a few screws and disconnecting a ribbon cable, which is straightforward for most people. However, opening the robot will void the warranty on many models. If your robot is still under warranty, contact the manufacturer first. If the warranty has expired, self replacement is a cost effective option as long as you follow the instructions carefully and use the correct replacement part for your specific model.

Hi, I’m Rosie Tate — a tech enthusiast, gadget geek, and the creator of RapidConvertLab! 🚀 I’ve spent years exploring the ever-evolving world of electronics, smart devices, and Amazon’s hidden tech treasures. Through my honest, hands-on reviews, I help everyday shoppers cut through the noise and pick gadgets that truly deliver value. When I’m not testing a new device, I’m probably unboxing one! 📦✨