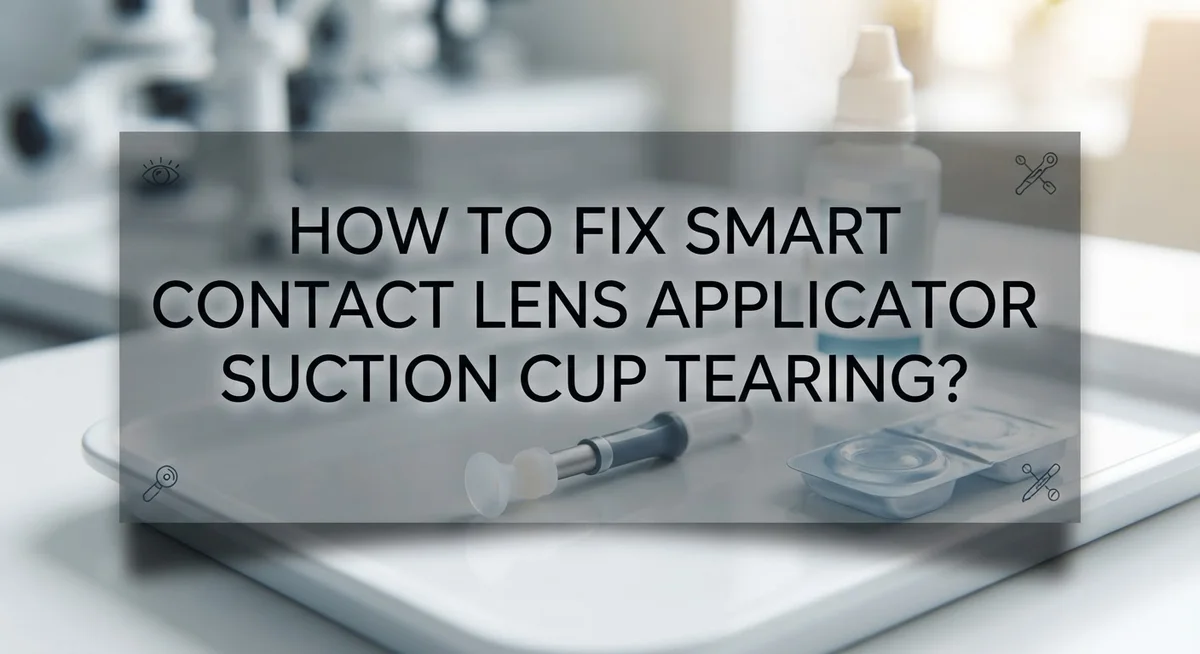
How To Fix Smart Contact Lens Applicator Suction Cup Tearing?
Does your smart contact lens applicator suction cup keep tearing or losing grip? You are not alone.
Many lens wearers face this frustrating problem. A torn or weak suction cup makes lens removal hard and stressful.
The good news? You can fix this issue with a few simple techniques. Most tearing happens because of wrong pressure or poor technique, not a faulty device.
This guide walks you through practical steps to solve suction cup tearing. You will learn why the tearing happens in the first place.
In a Nutshell
- Wet the tip first. Always add a saline drop to the suction cup before touching your lens. A dry cup grips poorly and tears faster.
- Press straight down, not at an angle. Center the tip on your lens and push gently. Angled pressure stresses the silicone and causes tears.
- Use light pressure only. Too much force damages both the cup and your lens. Gentle contact works better than hard pressing.
- Stabilize your eyelids first. Hold your eye open wide with one hand before using the applicator. This prevents shaky, uneven suction.
- Pull straight away from your eye. Removing the applicator at an angle can rip the suction cup or hurt the lens shape.
- Check your lens shape. Make sure it holds a proper bowl shape before insertion. A flat or folded lens creates suction problems.
Understanding Why Suction Cup Tearing Happens
Suction cup tearing happens for specific reasons. Understanding these causes helps you prevent damage before it starts.
The most common cause is excessive pressure. When you press too hard on your lens, the silicone tip stretches beyond its limits. This stretching weakens the material and creates small tears. Even tiny rips make the cup lose suction power quickly.
Angle matters too. Pressing your applicator at a slant instead of straight down puts uneven stress on the cup. The silicone tip bends in ways it was not designed to handle. This bending leads to creasing and eventual tearing.
A dry suction cup causes major problems. Without moisture, the tip cannot grip your lens properly. You then apply more pressure to compensate, which damages the silicone faster. The cup loses its flexibility when dry, making it brittle and prone to tearing.
Poor eye stabilization contributes to tearing as well. If your eyelids move or your eye shifts during removal, the applicator pulls at odd angles. This sudden movement can tear the cup material instantly.
Your lens shape also matters. A lens that has flattened or turned inside out will not sit properly in the cup. The applicator then struggles to maintain contact, forcing you to use extra pressure that damages the silicone.
Storage conditions affect cup durability too. Extreme heat or dry air can harden the silicone over time. Hard material tears more easily than flexible material.
Finally, repeated use without proper care wears down the cup. Each application puts stress on the silicone. Without rest periods or replacement, the material eventually fails.
Knowing these causes helps you adjust your technique. Most tearing happens from pressure and angle issues, both of which you can control. Simple adjustments to your removal method will extend your suction cup’s life significantly.
Preparing Your Applicator and Eye Before Use
Before you use your smart contact lens applicator, preparation is key to preventing suction cup tearing. Your eye and applicator both need attention.
Start by washing your hands thoroughly with soap and water. Dry them completely with a lint free towel. Wet hands can slip on the applicator and cause you to press at wrong angles.
Next, inspect your suction cup carefully. Look for any existing damage, cracks, or worn spots on the silicone tip. A damaged cup will tear more easily during use. If you see problems, replace the applicator before attempting removal.
Add a saline drop to the suction cup tip before any contact with your lens. This single step makes an enormous difference. The moisture creates proper suction and reduces friction that causes tearing. Use preservative free saline or rewetting drops made for contact lenses.
Position yourself in front of a mirror with good lighting. You need to see exactly what you are doing. Sit down at a stable surface so your hands stay steady and controlled.
Anchor your eye open wide with one hand before touching the applicator to your lens. Use your thumb and index finger to gently pull your upper and lower eyelids apart. Keep them separated throughout the entire process. This stabilization prevents accidental blinking or eye movement that could damage the cup.
Verify that your lens sits in a proper bowl shape. A flattened or folded lens is harder to grip and more likely to tear under pressure. If your lens looks flat, apply a rewetting drop and let it sit for a few seconds to restore its shape.
Take a deep breath and relax your eye muscles. Tension makes you press harder without realizing it. Gentle pressure is your goal here.
Now you are ready to use the applicator correctly. Your preparation work prevents most tearing problems before they start.
Step-by-Step Guide to Proper Lens Removal
Removing your contact lens with the applicator requires a steady hand and the right sequence. Start by positioning yourself directly in front of a well lit mirror so you can see exactly what you’re doing.
Use your non dominant hand to pull down your lower eyelid gently. This opens up more space between your eye and the lens. With your other hand, hold the applicator steady and approach the lens straight on, not from an angle.
Press the suction cup tip directly onto the center of your lens with gentle pressure only. Think of it as a soft touch, not a firm push. You should feel a light seal form between the cup and the lens surface. If you don’t feel that seal right away, lift the cup and try again rather than pressing harder.
Once you have contact, pull the applicator straight away from your eye in one smooth motion. Keep your movement steady and controlled. Jerky or sideways movements can tear the silicone tip or distort your lens shape.
If your lens sticks to the applicator tip, don’t panic. Simply slide the cup gently to the side rather than yanking it away. This releases the suction safely without damaging either the cup or the lens.
After removal, place your lens into fresh solution immediately. Never let it dry out on the applicator. If you notice the suction cup tip feels rough or damaged, examine it closely under good lighting before your next use.
Practice makes perfect with contact lens removal. Each time you use the applicator, you’ll develop better muscle memory for the right pressure and angle. Your technique will improve naturally as you become more comfortable with the process.
Correct Hand and Eye Positioning Techniques
Your hand and eye positioning creates the foundation for safe lens removal. Proper positioning prevents most suction cup tearing issues before they start.
Begin by anchoring your eye open wide with your non dominant hand. Use your index finger to pull down your lower eyelid gently. Your thumb can hold your upper eyelid open at the same time. This double anchor keeps your eye stable and prevents involuntary blinking or movement.
Position your dominant hand so the applicator approaches your lens straight on. Your wrist should remain relaxed and steady. Avoid angling the applicator from the side or at odd angles to your eye. A perpendicular approach means the suction cup contacts your lens center evenly.
Stabilize your hand by resting your pinky finger on your cheek or nose area. This anchor point gives you a reference point and reduces shaking. Your hand becomes an extension of your arm rather than a floating tool.
Look straight ahead into the mirror when possible. Keep your eye centered in its socket. Avoid rolling your eye up, down, or to the side while the applicator is in contact with your lens. Movement during contact multiplies pressure on the suction cup and increases tearing risk.
Your head position matters too. Keep your head level and still. Tilting your head changes the angle of approach and destabilizes your hand control. Sit or stand in a comfortable position that allows you to maintain these anchors for several seconds.
Practice your positioning before you actually use the applicator. Rehearse the hand placement and eye opening sequence without the lens present. This muscle memory helps you execute the technique smoothly when it counts.
Consistency in positioning reduces accidents dramatically. Your body learns the correct sequence through repetition. Each removal becomes easier and safer as your positioning improves.
Common Mistakes That Cause Tearing
Excessive pressure is the number one reason suction cups tear. Many people press too hard because they think more force equals better grip. This actually damages the delicate silicone tip and can hurt your eye. Light pressure is all you need.
Pressing at an angle instead of straight on creates uneven stress on the cup. The tip bends and tears when you apply force from the side. Your applicator must approach your lens perpendicular to your eye surface every single time.
Using a dry suction cup leads to poor adhesion and tearing. When the silicone tip lacks moisture, it cannot create a proper seal with your lens. Always add a saline drop to the cup before touching your lens. This simple step prevents most tearing problems.
Failing to stabilize your eye first causes involuntary movements. Your eye twitches or shifts when you’re not anchoring it properly. These sudden movements create tension that tears the cup. Use your non dominant hand to hold your eyelid open wide and steady.
Rushing through the removal process increases mistakes dramatically. You might press at odd angles or use jerky motions. Take your time and move slowly with deliberate actions. Speed creates accidents.
Not releasing suction correctly damages the cup too. Some people yank the applicator away instead of letting suction release naturally. Slide the cup away gently once your lens attaches. This protects both the cup and your eye.
Attempting removal when your lens is folded or stuck causes problems. Always verify your lens sits in a bowl shape before using the applicator. If your lens sticks, apply rewetting drops and wait a few seconds. Never force a stuck lens off your eye.
Troubleshooting a Stuck or Resistant Lens
When your suction cup gets stuck on a lens, the first thing to do is stop and stay calm. Panic movements cause more damage than the stuck lens itself.
Apply a drop of saline solution or rewetting drops directly onto the suction cup while it’s still on your lens. Let the liquid sit for 10 to 15 seconds. This breaks the seal naturally without forcing anything.
Gently slide the applicator sideways away from your eye instead of pulling straight out. This releases suction gradually rather than all at once. Think of it like opening a jar lid by twisting instead of yanking.
If the lens still won’t release, apply another drop of saline and wait a bit longer. Patience works better than force here. Your eye produces natural moisture too, so blinking a few times can help loosen the grip.
Never twist or rotate the applicator while it’s stuck. Twisting creates pressure points that tear the silicone tip. Keep your movements simple and straight.
Check if your lens is folded or bunched up under the cup. A folded lens grips much tighter than a flat one. You might need to gently lift the edge of your eyelid to see what’s happening underneath.
Once the lens finally releases, examine both the lens and the suction cup. Look for any tears, wrinkles, or damage on the silicone tip. A damaged cup won’t seal properly next time.
If your suction cup tears during this process, stop using it immediately. A torn cup won’t create proper suction and can scratch your eye. Replace it before your next lens removal.
The key lesson here is simple: wet the cup, wait for the seal to break naturally, and use gentle sliding motions. Your suction cup will last much longer when you avoid fighting against stuck lenses.
Maintaining Your Applicator for Long-Term Use
Your suction cup applicator deserves regular care to stay in good condition. Daily cleaning prevents buildup that weakens the silicone material over time.
Rinse your applicator under lukewarm water immediately after each use. Use your fingers to gently wipe away any lens debris or dried saline. Never use hot water, as extreme temperatures damage silicone faster.
Store your applicator in a clean, dry case when not in use. Keep it away from direct sunlight and heat sources. Moisture trapped in storage causes mold growth and material degradation. Air dry the suction cup completely before putting it away.
Inspect your applicator weekly for visible damage. Look for small cracks, cloudy spots, or areas where the silicone feels stiff. Early detection helps you replace worn cups before they tear during use.
Replace your suction cup every 3 to 6 months depending on how often you wear contacts. Even with perfect care, silicone loses elasticity naturally over time. A cup that feels less sticky than before signals replacement time.
Avoid storing your applicator near chemicals or strong cleaners. Fumes from these products break down silicone material. Keep your applicator in a neutral environment away from bathroom cabinets with cleaning supplies.
Check that your storage case stays clean too. Dust and debris inside the case transfer to your applicator. Wipe out your case monthly with a soft, dry cloth.
Never leave your applicator wet for extended periods. Prolonged moisture exposure causes the silicone to swell and lose its shape. Pat it dry with a lint free cloth after rinsing.
Handle your applicator gently during storage and use. Dropping it or applying force damages the delicate suction cup. Treat it as the precision tool it truly is. Proper maintenance means your applicator will perform reliably and last much longer.
Final Thoughts
Fixing a torn suction cup applicator comes down to good habits. Small changes in how you handle your applicator make a big difference over time.
Remember to wet the tip before every use. A dry cup grips poorly and tears faster than a properly moistened one.
Always press straight onto your lens. Angled pressure creates uneven stress that weakens the silicone tip.
Light pressure works better than force. Your lens will stick to the cup without you needing to press hard.
Stabilize your eyelids first with one hand. This simple step prevents sudden movements that damage the applicator.
If your lens sticks, saline drops are your best friend. Never force or twist the applicator when this happens.
Regular maintenance extends your applicator’s life significantly. Rinse it after each use and store it properly.
Replace your suction cup every few months. Waiting too long increases your risk of tears and eye irritation.
Most tearing problems trace back to technique, not the product itself. Once you fix your approach, tears become rare.
Practice makes this process smoother. Your hands will learn the right amount of pressure with time.
Stay patient when troubleshooting a stuck lens. Rushing leads to more tears and frustration.
Keep your applicator clean and dry between uses. This one habit prevents many common problems.
If tearing continues despite good technique, consider trying a fresh applicator. Sometimes wear and tear simply means it’s time for a change.
Your eyes deserve gentle, careful handling every single day. Following these steps protects both your applicator and your comfort.
Good habits built now will serve you well for months ahead. Simple consistency beats complicated fixes every time.
Frequently Asked Questions
Why does my suction cup tear when I remove my lens?
Tearing usually happens because of too much pressure or pressing at an angle. Your suction cup works best with light, straight pressure applied directly to the lens center. If you push hard or at a sideways angle, the silicone tip stretches and tears easily. The key is using just enough pressure to create a seal, then pulling straight away from your eye.
What should I do if my suction cup feels dry before use?
Always wet your suction cup with a saline drop before touching your lens. A dry tip creates too much friction and pulls harder on the lens surface. This extra force damages both your lens and the applicator. Simply add one drop of saline or rewetting solution to the cup tip, and you’ll notice removal becomes smoother and safer.
Can I fix a torn suction cup or do I need to replace it?
Small tears in the silicone tip usually mean replacement is your best option. Once the material tears, it loses its seal and won’t work properly. A damaged cup can scratch your lens or stick unexpectedly. Most people replace their applicator every 3 to 6 months based on use frequency, so a torn one is a good reminder that replacement time has arrived.
How do I prevent my suction cup from tearing in the future?
Focus on three main habits. First, stabilize your eyelids with one hand before you start. Second, wet the tip with saline every single time. Third, press straight down with light pressure only, then pull straight away. These simple steps reduce stress on the silicone and keep your applicator lasting longer.

Hi, I’m Rosie Tate — a tech enthusiast, gadget geek, and the creator of RapidConvertLab! 🚀 I’ve spent years exploring the ever-evolving world of electronics, smart devices, and Amazon’s hidden tech treasures. Through my honest, hands-on reviews, I help everyday shoppers cut through the noise and pick gadgets that truly deliver value. When I’m not testing a new device, I’m probably unboxing one! 📦✨