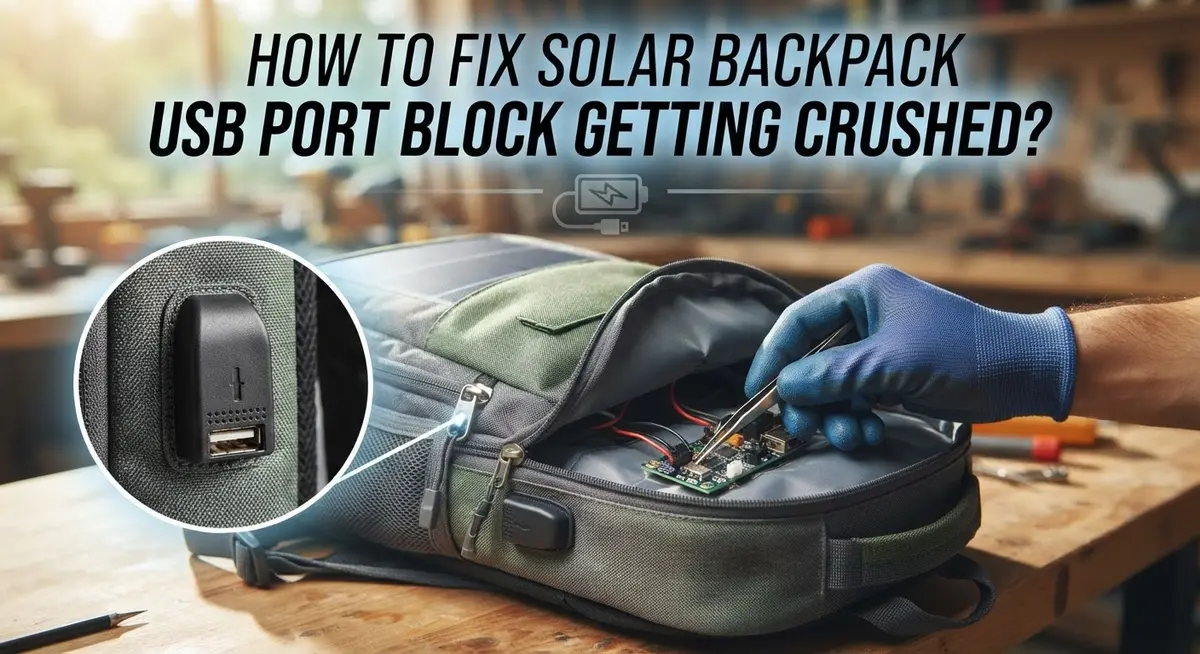
How To Fix Solar Backpack USB Port Block Getting Crushed?
Your solar backpack sits at the bottom of your bag all day. Books, laptops, and water bottles press down on it constantly. This pressure often crushes the USB port without you even noticing.
A crushed USB port stops your devices from charging. You plug in your cable, but nothing happens. This problem frustrates many solar backpack owners.
The good news? You can often fix this issue yourself. Most crush damage affects port alignment, not the internal circuits. That means a full replacement is not always necessary.
In a Nutshell
- Check the port first. Look closely for bent pins or debris before you assume the worst. Most damage is simple misalignment, not a broken circuit.
- Test your solar panel separately. Always confirm the panel produces power on its own. This tells you if the port or the power source is the real problem.
- Reseat loose connections. Gently press the USB port against the PowerBoost board. A secure, even seating often restores the connection instantly.
- Solder with care. If you replace the port, attach each terminal properly to the board. Sloppy soldering is a common reason repairs fail.
- Avoid forcing cables. Never jam a USB cable into a bent port. This can cause permanent damage that turns a small fix into a full replacement.
- Know when to replace. If the internal circuit is damaged, repair usually will not work. Replacing the port becomes your best option.
Understanding Why Solar Backpack USB Ports Get Crushed
Your solar backpack USB port gets crushed for specific reasons. Understanding these causes helps you fix the problem faster and prevent it from happening again.
Weight and pressure cause most USB port damage. Your backpack sits at the bottom of your bag with heavy items stacked on top. Over time, this constant pressure pushes inward on the port. The port housing bends or shifts out of alignment with the internal connection point.
Impact and impacts also crush ports. If you drop your backpack or pack it too tightly, the USB port takes direct force. Even a small collision can bend the metal connector inside the port housing.
The key distinction matters here. Port obstruction means something blocks the opening but the internal circuits stay intact. You might see debris, a bent port cover, or misalignment. Internal circuit failure happens when the crushing force damages the PowerBoost board or breaks solder connections. This is harder to fix.
Most crushed ports fall into the first category. The port itself bends or shifts, but the circuitry underneath survives. This is good news because you can often restore alignment and function without replacing components.
Partial USB insertion signals a port problem. If your cable only slides halfway in before stopping, the port opening is misaligned. The cable cannot reach the internal pins properly.
Some people assume the cable is faulty. Test this by checking if other cables fit. If multiple cables stick at the same point, the port itself has the problem.
Recognizing these causes helps you diagnose accurately. You will know whether to adjust alignment, clean debris, or replace the entire port. This saves you time and prevents wasted repair attempts.
Diagnosing Port Obstruction vs. Internal Circuit Damage
When your solar backpack USB port stops working, you need to figure out if the problem is a blocked port or damaged internal circuits. This distinction matters because each issue requires a different fix.
Start with a visual inspection. Look directly into the USB port opening using a flashlight. Check for bent metal pins, debris, or obvious blockages. A blocked port usually has visible obstruction you can see from the outside. Gently tap the port with a small tool to see if anything dislodges.
Next, test if the cable fits properly. Try inserting a USB cable slowly. If it goes in smoothly and seats fully, the port itself is likely fine. If the cable only partially inserts or stops halfway, the port is probably misaligned or obstructed.
Verify your solar panel works independently. Disconnect the USB port completely and test the solar panel’s power output using a multimeter. You want to confirm the panel produces 12V on its own. This step eliminates confusion about whether the problem is the port or the power source.
Now check port seating on the circuit board. If you can access the backpack’s internal components, look at how the USB port connects to the PowerBoost board. A crushed port often sits unevenly or at an angle. The terminals may not make proper contact with the board.
Gently press the port back into position. Sometimes simply reseating the port restores connection. Apply even pressure across the port base.
If the cable still won’t work after these checks, the internal circuits are likely damaged. In that case, port replacement becomes necessary rather than simple repair.
Tools and Preparation Before You Start Repairs
Before you start fixing your crushed USB port, gather the right tools and prepare your workspace. This step prevents frustration and ensures you complete the repair successfully.
Gather basic tools first. You need a flashlight to inspect the port clearly. A magnifying glass helps you see small details inside the port opening. Grab a multimeter to test power output from your solar panel. Small tweezers or needle nose pliers let you handle tiny components safely.
Prepare your soldering equipment if needed. If the port requires replacement, you need a soldering iron, solder, and a wet sponge to clean the iron tip. Have desoldering braid or a desoldering pump ready to remove old solder from the circuit board. Always work in a well ventilated area when soldering.
Set up a clean workspace. Find a flat surface with good lighting. Lay down a mat or cloth to prevent losing small parts. Keep your tools organized so you can find them quickly.
Gather safety items. Wear safety glasses to protect your eyes from solder splashes. Use heat resistant gloves when handling the soldering iron. Have a fire extinguisher nearby as a precaution.
Prepare your testing materials. Keep your USB cables nearby for testing. Have a charged device ready to test the port once you finish repairs. Consider having rechargeable AA batteries on hand as a backup power source for testing.
Document the damage first. Take photos of the crushed port before you begin. These images help you remember the original problem and track your progress.
Step-by-Step Guide to Repairing a Crushed USB Port
Start by removing power from your solar backpack completely. Unplug any connected devices and disconnect the solar panel. This keeps you safe while working on the USB port.
Next, examine the USB port opening with a flashlight. Look for visible debris, bent metal contacts, or obvious crushing damage. Gently try inserting a USB cable to feel if the port moves or feels loose. A port that shifts when you apply light pressure indicates internal damage rather than simple obstruction.
If the port appears blocked but solid, try a gentle tapping method. Use a small rubber mallet or wooden dowel to tap the crushed area lightly and repeatedly. This sometimes restores contact between internal components. Tap from multiple angles around the port. Test with your USB cable after every few taps.
For internal access, carefully open your backpack’s electronics compartment. Look at how the USB port sits on the circuit board. Check if the port has shifted out of alignment. A misaligned port won’t accept cables properly even if nothing is broken.
If the port moved, gently press it back into its original position. Ensure the port sits flat and square against the circuit board. The solder joints holding the port should be visible and intact. If joints look cracked or broken, the port needs replacement.
Test your solar panel separately from the USB connection. Connect it directly to a multimeter or power tester. This tells you if the power system works independently. A functioning solar panel with a non responsive USB port means the port itself has the problem.
Document everything with photos before attempting repairs. These images help you remember the original setup if you need to reassemble components later.
Testing the Solar Panel and Power Output Separately
Testing your solar panel separately from the USB connection helps you identify whether the power source works correctly. This step matters because a crushed USB port might hide a deeper problem with your solar charging system.
Start by disconnecting the USB port cable from your PowerBoost circuit board. You need to isolate the solar panel from any USB connections. This lets you test the panel’s raw power output without interference from damaged port components.
Use a multimeter to check your solar panel’s voltage output. Set the multimeter to DC voltage mode. Touch the positive probe to the positive terminal and the negative probe to the negative terminal on your solar panel. A healthy panel typically shows 12 volts or close to that reading when exposed to direct sunlight.
Place your solar panel in bright, direct sunlight for accurate results. Indoor lighting won’t give you a true power reading. Wait a few minutes for the panel to reach its peak output. Record the voltage you see on the multimeter display.
If your solar panel shows proper voltage output, the problem lies with your USB port or circuit board connection. If the voltage reads zero or extremely low, your solar panel itself may have damage.
Next, test your PowerBoost circuit board separately. Connect a rechargeable AA battery or another known power source directly to the board’s input terminals. This bypasses both the solar panel and USB port. If the circuit board works with an alternative power source, you’ve confirmed the issue is either the port or the solar panel connection point.
Document these test results with photos. This information guides your repair decisions and helps you avoid unnecessary replacement of working components.
Helpful Tips for a Lasting USB Port Repair
A lasting USB port repair requires you to focus on prevention and proper technique. The key is understanding that crushed ports often fail again if you don’t address the root cause.
Check your port alignment carefully before declaring it fixed. A misaligned port will crush again under pressure. Press gently around the port edges to ensure it sits flush against the circuit board. If it moves, you haven’t seated it properly yet.
Secure the port completely to your PowerBoost circuit board. This means ensuring all solder joints connect firmly to the board. Weak solder connections are the main reason ports fail repeatedly. Each terminal must have a solid, shiny joint with no gaps or cold connections.
Test your repair under normal conditions, not just once. Plug your USB cable in and out several times. This mimics real use and reveals weak connections early. If the port feels loose or the connection drops, you need to resolder the terminals.
Protect your repaired port from future damage. Consider how your backpack gets packed and used. Avoid placing heavy items directly against the port area. Store your backpack carefully to prevent pressure on the USB connection.
Document your repair process with photos. This helps you troubleshoot if problems return later. Keep records of which terminals you soldered and how the port sits on the board.
Most importantly, verify your solar panel still works independently after repairs. A working power source combined with a properly seated port means your repair will last. If the port fails again quickly, the circuit board itself may be damaged and need replacement.
Common Mistakes to Avoid When Fixing the Port
When fixing a crushed USB port, several mistakes can make your repair worse or create new problems. Avoid forcing your USB cable into a misaligned port. This common error damages the port further and prevents proper electrical contact. Instead, stop and inspect the port alignment first.
Many people assume the cable is faulty without testing the power source. Test your solar panel separately using a multimeter before concluding the port failed. This simple step saves time and prevents unnecessary repairs.
Improper soldering causes most port replacement failures. If you need to solder a new port to your PowerBoost circuit board, ensure each terminal connects firmly and completely. Weak solder joints break easily under normal use and create intermittent charging issues.
Neglecting to check complete port seating leads to repeated crushing. Your port must sit flush and secure against the circuit board. Loose ports shift under pressure and fail quickly after repair.
Don’t skip the independent power verification step. Disconnect your USB port cable from the circuit board and check your solar panel’s voltage output in direct sunlight. This confirms whether your power system works before you reassemble everything.
Rushing the reassembly process invites future damage. Take time to position your port correctly and secure all connections before closing your backpack’s electronics compartment. Verify your repair works under normal conditions, not just during initial testing.
Document your entire repair with photos. This practice helps you troubleshoot if problems return and shows you exactly what went wrong if the port fails again. Good documentation also prevents repeating the same mistakes.
Troubleshooting Persistent Charging Issues After Repair
After you repair your crushed USB port, charging problems might still happen. This section shows you how to fix those lingering issues.
Start by testing your device with a different USB cable. A worn or damaged cable can cause charging failures even when your port works fine. Plug the new cable into your repaired port and see if your device charges. If it does, your port repair succeeded and you need a replacement cable instead.
Next, check that your USB port sits completely flat against the circuit board. Ports that aren’t fully seated create poor electrical contact. Press gently on the port from the back side while looking at the front. The port should feel snug and immovable. If it wiggles, resolder the connections or add small support pieces underneath.
Test your solar panel output again in bright sunlight. Solar panels lose efficiency over time or when partially shaded. Use a multimeter to verify the voltage reaches your PowerBoost board. If voltage is low, your panel may need cleaning or repositioning.
Inspect all solder joints around the USB port with a magnifying glass. Weak solder connections break easily during charging. Cold solder joints look dull and grainy instead of shiny. If you see these, carefully reheat each joint until it becomes smooth and reflective.
Check the USB cable connection at the PowerBoost board itself. Sometimes the wire terminals loosen from repeated charging cycles. Reseat the connector firmly until you hear or feel a click.
If charging still fails after these steps, your PowerBoost circuit board may have internal damage. Consider testing with a simple rechargeable battery pack as an alternative power source to confirm the issue.
Final Thoughts
Fixing a crushed USB port on your solar backpack is a skill worth learning. You don’t need to be an electronics expert to solve this common problem. Patience and careful attention to detail make the biggest difference in your success.
Remember that most port issues stem from simple causes. Misalignment and loose seating cause more problems than actual circuit damage. Take time to check these basics first before assuming your backpack needs a full replacement.
Your solar panel and USB port work as separate systems. Testing them independently helps you pinpoint the real problem quickly. This approach saves you time and prevents unnecessary repairs to parts that already work fine.
If soldering feels new to you, practice on scrap materials first. A steady hand and clean connections make all the difference in port durability. Rushing this step often leads to repeat failures down the road.
Some fixes require creative thinking. Using rechargeable AA cells as a temporary bridge shows that flexible solutions exist when standard parts fail. Don’t be afraid to experiment safely with alternative approaches.
Once your port works again, protect your investment. Simple habits like careful packing and gentle handling prevent future crushing. Your backpack will serve you well for years with proper care.
Every repair teaches you something new about how these devices work. The confidence you gain today helps you handle future issues faster. You now have the knowledge to keep your solar backpack charging reliably wherever your adventures take you.
Frequently Asked Questions
Why does my USB port get crushed so easily on a solar backpack?
USB ports on solar backpacks sit in tight spaces. The PowerBoost circuit board mounts close to the backpack frame. When you pack items tightly or apply pressure, the port gets squeezed. The internal connectors inside the port can shift out of alignment. This happens even if the port itself looks fine from the outside.
Can I fix a crushed USB port myself?
Yes, you can fix most crushed ports at home. First, inspect the port seating on the circuit board. Gently tap the port to restore internal contact alignment. If the port moved slightly, reseating it often solves the problem. For severely damaged ports, you may need to replace the port entirely by desoldering the old one and installing a new one.
How do I know if my port is actually damaged or just blocked?
Test your solar panel output independently first. Connect it to a multimeter to verify power generation. Next, try inserting your USB cable slowly and feel for resistance. A working port accepts the cable smoothly. If the cable goes in partway but stops, your port likely has internal misalignment. A fully blocked port prevents any insertion at all.
What’s the most common mistake people make when repairing the port?
Most people force the USB cable into a misaligned port. This creates more damage instead of fixing it. Always check port alignment before plugging anything in. Another frequent error is assuming the cable is faulty without testing the solar panel separately. Test your power source first, then test your port, then test your cable.

Hi, I’m Rosie Tate — a tech enthusiast, gadget geek, and the creator of RapidConvertLab! 🚀 I’ve spent years exploring the ever-evolving world of electronics, smart devices, and Amazon’s hidden tech treasures. Through my honest, hands-on reviews, I help everyday shoppers cut through the noise and pick gadgets that truly deliver value. When I’m not testing a new device, I’m probably unboxing one! 📦✨