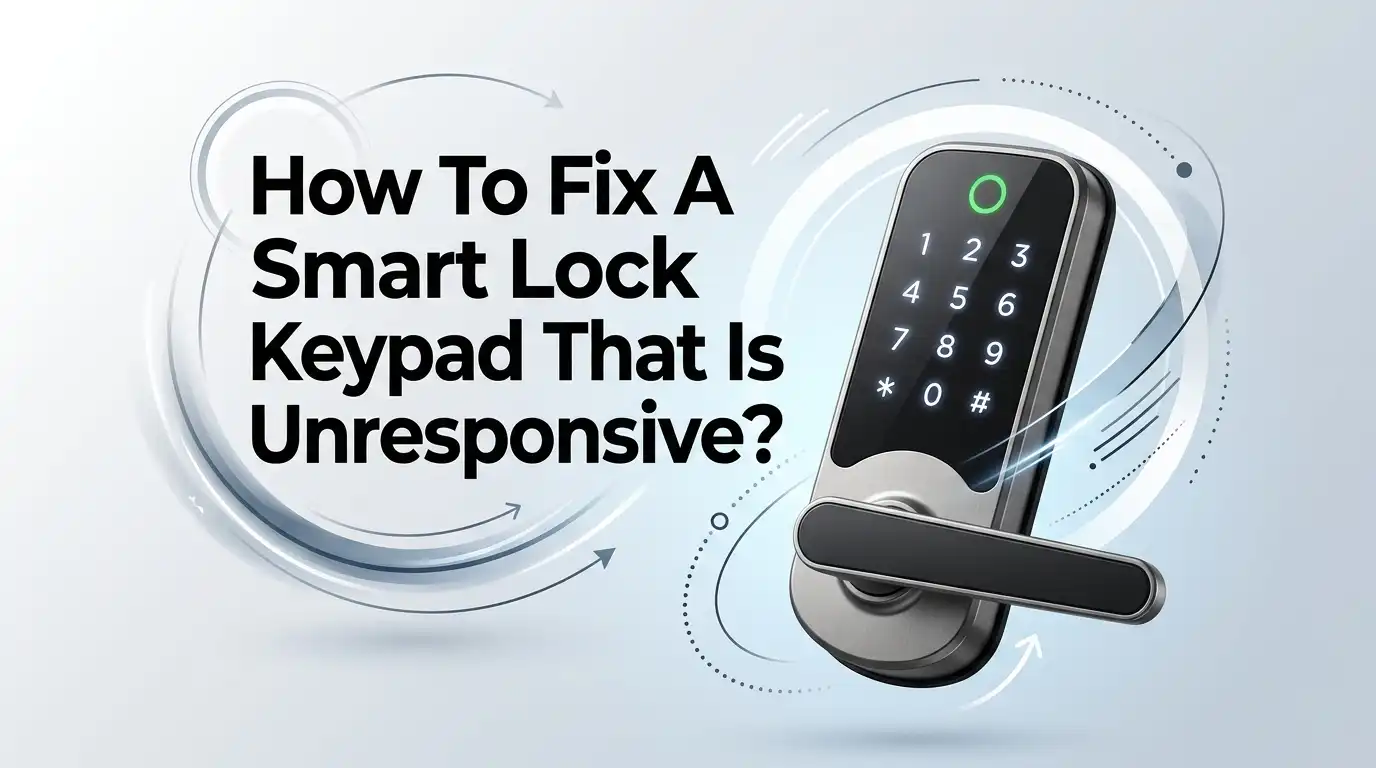
How To Fix A Smart Lock Keypad That Is Unresponsive?
A smart lock keypad makes life simple. You tap a code, and the door opens. But one day, you press the buttons and nothing happens. The screen stays dark. The numbers do not light up. You stand outside, locked out, and frustrated.
This problem is more common than you think. An unresponsive keypad usually has a small, fixable cause. Most of the time, you do not need a locksmith. You can solve it yourself in a few minutes.
This guide walks you through every fix. We cover battery problems, weather issues, loose cables, software glitches, and full resets. Each method is simple and clear. By the end, your keypad should work again.
Key Takeaways
- Dead or weak batteries cause most keypad failures. Replace all batteries at once with fresh ones, and never mix old and new cells together.
- Cold weather slows down keypads and drains power faster. Warm the panel with your hand for fifteen to twenty seconds, or use a physical key as backup.
- Moisture and water damage short out the circuit. Dry the keypad fully, clean the contacts, and protect the lock with a cover or weather seal.
- A loose ribbon cable inside the lock breaks the connection. Open the interior unit, reseat the cable, and press the connector flat until it clicks.
- A simple reset or restart clears most software glitches. Pull the batteries for ten seconds, then reinstall them to reboot the system.
- Old firmware causes bugs and freezing. Update the lock through its app, and keep your phone Bluetooth on during the process.
Why Does A Smart Lock Keypad Stop Responding?
A smart lock keypad runs on power and electronics. When something breaks the power flow or the signal, the keypad goes silent. The cause is rarely the keypad itself.
The most common reason is low battery power. When the batteries drain, the screen dims or dies. The lock saves power by shutting off the display first.
Other causes include cold weather, water inside the unit, loose internal cables, and software bugs. Dirt and grime on the buttons can also block your touch. Each problem has a clear fix.
Understanding the cause helps you pick the right solution fast. Start with the simplest check, then move to harder ones. This saves time and avoids unneeded repairs. The next sections cover each fix in order.
Step One: Check And Replace The Batteries
Batteries are the first thing to check. Weak batteries cause more keypad failures than any other issue. When power drops, the screen will not light up.
Open the battery compartment. On most locks, it sits on the inside unit behind a cover. Slide or unscrew the cover to reach the cells. Take out the old batteries.
Install fresh batteries of the correct type. Most keypads use AA or AAA cells. Always replace all batteries at the same time. Never mix new and old ones, since this confuses the power system.
Check that you place each battery the right way. Match the plus and minus signs inside the slot. Close the cover and test the keypad. In many cases, the screen turns back on right away.
Pros: This fix is cheap, fast, and works for most cases. Cons: You must keep spare batteries on hand, and frequent changes can get annoying.
Step Two: Clean The Keypad Surface
Dirt blocks your touch. A dusty or greasy keypad may not read your fingers. This is common on touchscreen models that use sensors.
Take a soft, dry cloth and wipe the surface gently. Remove fingerprints, dust, and grime from each button. Pay attention to the corners where dirt hides.
For tough spots, dampen the cloth with a little water. Do not spray water directly onto the lock. Avoid harsh cleaners, scouring pads, or sharp tools, since these scratch the screen.
If your lock uses physical buttons, check that none are stuck. A jammed button can freeze the whole pad. Press each one to feel for stiffness. After cleaning, dry the surface fully and test again.
Pros: Cleaning is safe, free, and improves touch response. Cons: It only helps if dirt was the cause, so it may not fix deeper issues.
Step Three: Warm Up The Keypad In Cold Weather
Cold weather hurts smart locks. Low temperatures slow down the electronics and drain batteries fast. In freezing climates, the keypad may go dark or react slowly.
If you live in a cold area, this is likely your problem. Place your warm hand flat on the keypad for fifteen to twenty seconds. Your body heat can wake the screen.
You can also use a hair dryer on a low setting. Hold it a few inches away and warm the panel gently. Do not use high heat, since this can damage the unit.
For long term help, swap to lithium batteries. Lithium cells handle cold far better than standard ones. They keep their charge in freezing weather. Always keep a physical key as backup during winter.
Pros: This trick works fast and needs no tools. Cons: It is a short term fix, and the problem returns each cold day.
Step Four: Dry Out Moisture And Water Damage
Water is a big enemy of smart locks. Rain, condensation, or humidity can seep inside and short the circuit. When this happens, the keypad stops working.
First, remove the batteries to cut the power. This prevents further damage to the electronics. Then open the lock unit if you can reach the inside.
Wipe away any water you see with a dry cloth. Let the lock air dry for several hours, or even a full day. You can place it near a fan to speed things up.
Check the battery contacts for rust. Corroded contacts block power flow. Clean them gently with a cotton swab and a little rubbing alcohol. Once everything is dry, reinstall the batteries and test.
Pros: Drying can save a lock that seems dead. Cons: Severe water damage may be permanent, and the lock might need full replacement.
Step Five: Restart The Lock With A Power Cycle
A power cycle clears small glitches. Like a phone or computer, a smart lock sometimes freezes. A quick restart fixes this in seconds.
Open the battery compartment and remove all the batteries. Wait at least ten seconds before you put them back. This lets the system fully reset its memory.
Reinstall the batteries in the correct direction. The lock will reboot and run a short startup check. You may hear a beep or see the lights flash.
Test the keypad after the restart. Many freezing and lag issues clear with this simple step. It costs nothing and takes under a minute. If the keypad still fails, move to the next fix.
Pros: A power cycle is quick, free, and solves many software bugs. Cons: It does not fix hardware faults, and the glitch may return later.
Step Six: Check The Ribbon Cable Connection
Inside your lock, a thin ribbon cable links the keypad to the main board. If this cable comes loose, the keypad loses its signal. This often happens after a fall, bump, or shaky install.
Remove the inside cover to reach the cable. Look for a flat, wide strip connected to a small port. Check if it sits loose or pulled out.
Gently push the cable back into its slot. Make sure it goes in straight and all the way. Many connectors have a small black tab that locks the cable in place.
Press the tab flat until you feel it click. A firm, even connection restores the signal. Reattach the cover and test the keypad. Handle the cable with care, since it tears easily.
Pros: This fixes a common hidden fault for free. Cons: It needs some skill, and a torn cable means a repair or replacement.
Step Seven: Update The Lock Firmware
Old firmware causes bugs. Outdated software can freeze the keypad or block its response. Lock makers release updates to fix these problems.
Open the lock app on your phone. Look for a settings or device section that shows the firmware version. The app tells you if an update is ready.
Keep your phone close to the lock during the update. Turn on Bluetooth and make sure your batteries are fresh. A weak signal or low power can stop the update midway.
If the update fails, force close the app and try again. Restart your phone, then toggle Bluetooth off and on. This clears the connection and helps the update finish. After the update, test the keypad.
Pros: Updates fix bugs and add new features for free. Cons: A failed update can cause more issues, and the process needs a steady connection.
Step Eight: Reconnect The Lock To The App
Sometimes the lock loses its link to the app. When the connection drops, some keypad features stop working. The buttons may freeze or ignore your codes.
Open your lock app and check the connection status. If it shows offline, the link is broken. This often happens after a power loss or router change.
Try to reconnect through the app menu. Follow the steps to pair the lock again over Bluetooth or WiFi. Stand near the lock during this process.
If pairing fails, remove the lock from the app and add it fresh. A clean reconnect often restores full control. Check your home network too, since weak WiFi causes drops. Once linked, test the keypad codes.
Pros: This restores app control and smart features. Cons: Re-pairing takes time, and you may need to re-enter your settings.
Step Nine: Reset The User Codes
A code error can block entry. If a code is wrong or corrupted, the keypad may seem unresponsive. The buttons work, but no code unlocks the door.
Open the app or use the master code to reach the settings. Delete the old codes that fail to work. Clear out any codes you no longer use.
Add a fresh code and test it right away. Pick a simple code you can remember during the test. If the new code works, the old one was the problem.
Some locks limit the number of stored codes. A full memory can block new entries. Free up space by removing extra codes. This keeps the system clean and fast.
Pros: This fixes code based lockouts without hardware work. Cons: You must reset all your codes, and family members need the new ones.
Step Ten: Perform A Factory Reset
A factory reset is the last software fix. It wipes all settings and returns the lock to its first state. Use this when nothing else works.
Find the reset button on the inside unit. On many locks, you hold this button while reinstalling the batteries. Check your manual for the exact steps.
Press and hold the button as told. The lock beeps or flashes to confirm the reset. This clears all codes, links, and stored data.
After the reset, set up the lock from scratch. Add new codes and reconnect it to the app. Make sure your batteries are fresh, since low power can stop the reset. Test the keypad once setup is done.
Pros: A reset clears deep bugs and gives a fresh start. Cons: You lose all your codes and settings, so full setup is needed again.
Step Eleven: Inspect For Hardware Or Encoder Faults
If all else fails, the hardware may be broken. A faulty encoder board or dead keypad needs a repair. This is the hardest fix to do at home.
Look at the keypad closely for cracks or burn marks. Damaged parts often show clear signs. A keypad that stays dark after new batteries may have a dead board.
Check the wiring inside for cuts or loose joints. A broken wire blocks all power to the keypad. If you spot damage, the part needs replacement.
At this point, contact the lock maker. Many locks come with a warranty that covers faulty parts. They can send a new keypad or repair kit. If your lock is old, full replacement may cost less than a repair.
Pros: This solves problems that no reset can fix. Cons: Repairs cost money, and some parts are hard to find or install.
Step Twelve: Use The Backup Key Or Override
While you fix the keypad, you still need to get inside. Most smart locks have a backup entry method. This keeps you from being locked out.
Many locks include a physical key slot. Use the key to open the door while the keypad is down. Keep this key in a safe, easy to reach spot.
Some models offer a hidden key port under a cover. Slide or pop the cover to reveal it. Others let you use the app to unlock the door remotely.
A few locks have a battery jump feature. You touch a fresh nine volt battery to the contacts to add power. This wakes a dead lock long enough to enter your code. Always know your backup option before trouble hits.
Pros: Backup access prevents lockouts during repairs. Cons: You must store the key safely, and a lost key creates a new problem.
How To Prevent Keypad Problems In The Future
Prevention saves stress. A few simple habits keep your keypad working for years. Small care now avoids big problems later.
Change the batteries on a set schedule. Do not wait for the low battery warning. Swap them every six to twelve months to stay safe.
Protect the lock from weather. Add a small cover or seal to block rain and snow. This stops moisture from reaching the electronics.
Clean the keypad often with a soft cloth. A clean surface reads your touch better. Also keep the firmware up to date through the app. Check the lock now and then for loose parts or rust.
Pros: Prevention is cheap and keeps the lock reliable. Cons: It takes regular effort, and some weather damage is hard to fully stop.
Frequently Asked Questions (FAQs)
Why is my smart lock keypad not lighting up?
The most common cause is low or dead batteries. Replace all the batteries with fresh ones of the correct type. If the screen still stays dark, check for water damage or a loose ribbon cable inside the lock. A simple power cycle can also bring the screen back to life.
Can cold weather make my keypad stop working?
Yes, cold weather often causes this. Low temperatures slow the electronics and drain power fast. Warm the keypad with your hand for fifteen to twenty seconds, or switch to lithium batteries that handle cold better. Keep a physical key as backup during winter months.
How do I reset a smart lock with an unresponsive keypad?
Start with a power cycle by removing the batteries for ten seconds. If that fails, do a factory reset using the reset button on the inside unit. Hold the button while you reinstall the batteries. Make sure the batteries are fresh, since low power can stop the reset from finishing.
Will water damage ruin my smart lock keypad?
Water can short the circuit and stop the keypad. Remove the batteries, dry the lock fully, and clean the contacts. Light moisture often dries out with no harm. Heavy water damage may be permanent, and the lock could need a full replacement.
Should I call a locksmith for an unresponsive keypad?
Most keypad problems have easy home fixes like new batteries or a reset. Try these steps first before you call for help. If the hardware is broken or the encoder board is dead, contact the lock maker about a warranty repair. A locksmith is the last option for serious faults.
How often should I replace smart lock batteries?
Replace them every six to twelve months. Do not wait for the low battery warning to act. Fresh batteries prevent most keypad failures and lockouts. In cold climates, change them more often, since freezing weather drains power faster than normal.

Hi, I’m Rosie Tate — a tech enthusiast, gadget geek, and the creator of RapidConvertLab! 🚀 I’ve spent years exploring the ever-evolving world of electronics, smart devices, and Amazon’s hidden tech treasures. Through my honest, hands-on reviews, I help everyday shoppers cut through the noise and pick gadgets that truly deliver value. When I’m not testing a new device, I’m probably unboxing one! 📦✨