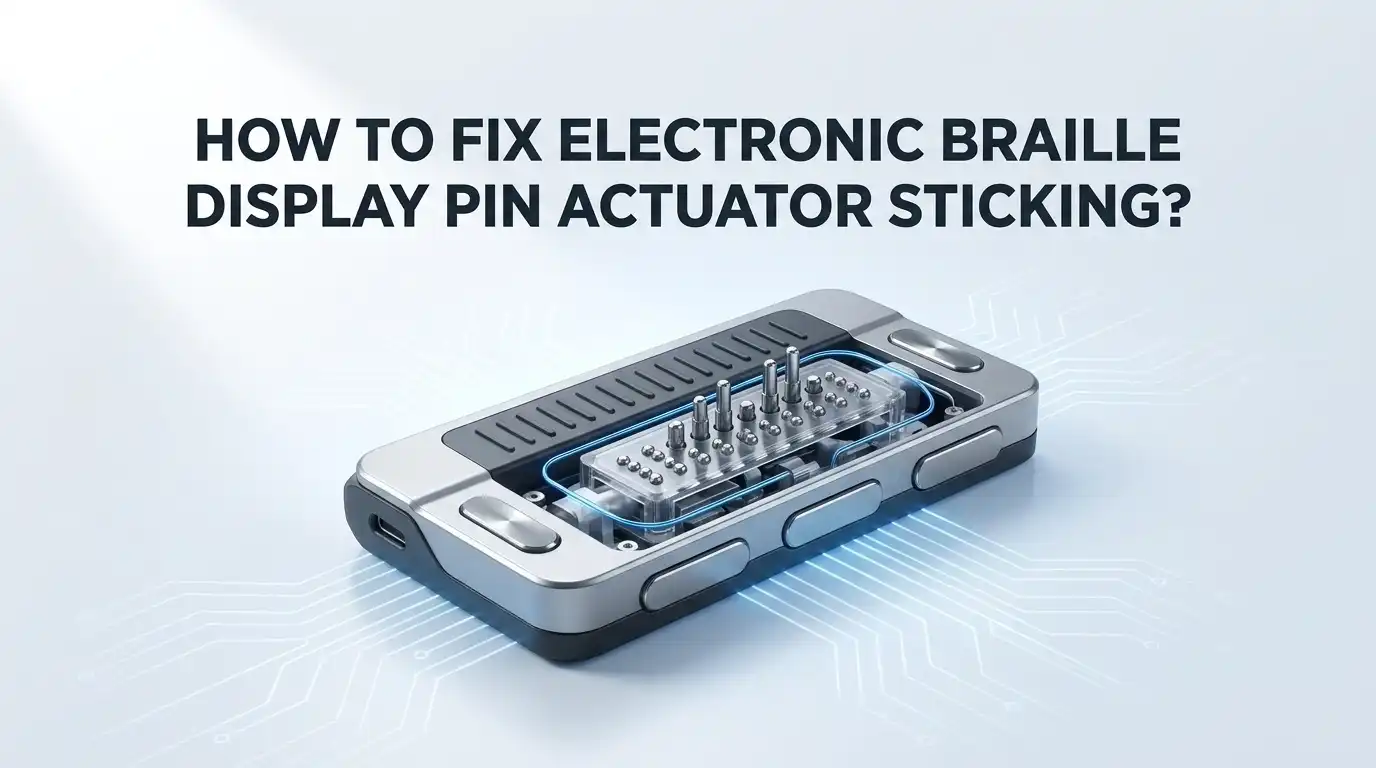
How To Fix Electronic Braille Display Pin Actuator Sticking?
Braille display users know how frustrating a stuck pin can feel. You touch the cell and expect a clear signal. Instead, you get a flat spot or a pin that refuses to move.
This problem happens more often than people think. Electronic braille displays rely on tiny actuators that push pins up and down through motors and cam mechanisms. When dust, debris, or misalignment gets in the way, those pins can stick.
The good news is that most sticking issues are fixable at home. You do not need to be an engineer. You just need patience and the right steps.
In a Nutshell
- Sticking pins usually come from dirt or misalignment inside the motor holder or pin guide. A simple clean often solves the issue.
- Most fixes start by removing the top panel, which typically needs only six screws taken out.
- Check the cam rotation clearance carefully. The pin actuator needs about 0.48mm of vertical space to move freely.
- Motor holder alignment plays a big role. If it sits crooked, the pin will jam even after cleaning.
- The faceplate and pin guide wear out over time. Inspect them often since they touch the pin directly.
- Good news: the modular design of most displays lets you swap out just one cell instead of the whole unit. Each module usually holds two cells.
- A standard 40 character display uses 320 actuators total, so a few stuck pins are common and not a sign of major failure.
- With basic tools and patience, you can diagnose and repair most sticking problems without sending the device away for service.
Understanding How Pin Actuators Work
Pin actuators are the small mechanical parts that push Braille dots up and down on your display. Each dot you feel is controlled by one actuator, and understanding how they work helps you fix sticking problems faster.
Inside each actuator sits a motor. This motor turns a cam, which is a specially shaped piece that converts spinning motion into up and down movement. The cam pushes a pin upward when it rotates, and a stopper pulls it back down when needed.
The pin guide assembly keeps everything aligned. This is a channel or track that the pin slides through. When the pin moves smoothly, you feel crisp Braille characters. When it sticks, the pin gets trapped in this guide.
The motor holder is the frame that keeps the motor in the correct position. If this holder shifts even slightly, the cam cannot rotate freely. This misalignment is one of the most common causes of sticking pins.
Vertical clearance matters tremendously. Each actuator needs exactly 0.48mm of space above and below it. Too little space, and pins jam against each other. Too much space, and the mechanism becomes loose and unreliable.
The faceplate is the protective cover where pins emerge. Over time, this part wears and can trap pins. Dirt and dust also collect here, creating friction.
All these parts work together as one system. When one component fails or shifts, the entire actuator stops moving smoothly. The good news is that most sticking happens in just a few predictable locations. Knowing where to look saves you time during repairs and helps you prevent future problems.
Identifying the Signs and Causes of Pin Sticking
Stuck pins on your electronic Braille display show up in specific ways. You might notice that certain dots won’t rise when you refresh the display. Some pins stay partially raised instead of moving fully up or down. The display might make unusual grinding sounds when it tries to move those pins.
Sticking happens most often in two places: the motor holder or the pin guide assembly. Dirt and dust accumulate inside these areas over time. Small particles block the smooth movement of pins. Moisture can also cause metal parts to corrode slightly, creating friction.
Misalignment is another common cause. When the motor holder shifts even slightly, the pin path gets blocked. The cam mechanism that controls pin movement relies on precise spacing. If clearance drops below the required 0.48mm per actuator, sticking becomes inevitable.
The faceplate and pin guide are critical wear points. These parts take constant friction as pins move thousands of times daily. Over months or years, tiny scratches and debris build up on these surfaces. This buildup acts like a brake on your pins.
Environmental factors matter too. Temperature changes can cause metal parts to expand or contract. Humidity affects how well pins slide through their guides. Frequent use in dusty environments speeds up debris accumulation.
The good news is that identifying sticking early prevents bigger problems. Most signs appear gradually, so pay attention to changes in how your display feels and sounds. A pin that hesitates occasionally today might stick completely tomorrow. Catching these early warning signs lets you address the issue before it spreads to other cells or actuators.
Tools and Preparation Before Disassembly
Before you start taking apart your electronic Braille display, gather the right tools and materials. This preparation step saves time and prevents damage to delicate components.
You will need several basic hand tools. A screwdriver set with multiple head sizes is essential. Most displays use standard Phillips or flathead screws. Keep a small container nearby to hold screws as you remove them. This prevents losing tiny fasteners during disassembly.
Cleaning supplies matter more than you might think. Grab a soft brush with natural bristles or a clean toothbrush. You will also want compressed air in a can or a manual air pump. These tools help remove dust and debris from tight spaces without applying liquid that could damage electronics.
Have lint free cloths or microfiber towels on hand. These materials prevent leaving fibers inside the mechanism. Avoid paper towels, which shed particles easily.
Magnification is your friend. A magnifying glass or headlamp helps you see small parts clearly. Pin actuators have tight tolerances, so you need to inspect components carefully.
Prepare a clean, flat work surface with good lighting. A small mat or cloth protects your display from scratches during work.
Keep the manufacturer’s documentation nearby if you have it. Reference materials show you exactly where screws go and how components fit together.
Organization prevents reassembly mistakes. Consider taking photos of each step before you disassemble anything. Your phone camera works perfectly for this purpose.
Finally, ensure you have adequate vertical space to lay out components. You will need room to arrange parts in order so reassembly becomes straightforward.
Step-by-Step Guide to Opening the Display and Accessing Pin Modules
Before you open your electronic Braille display, you need to know exactly what you’re looking for inside. The top panel is your gateway to the pin modules, and removing it safely matters more than speed.
Start by locating all the screws holding the top panel in place. Most displays use six screws positioned around the perimeter. Use a screwdriver that fits the screw head perfectly to avoid stripping the fasteners. Take your time here because stripped screws make reassembly difficult.
Once you remove the screws, gently lift the top panel away from the display body. Move slowly and watch for any cables or connectors still attached underneath. Some displays have ribbon cables connecting the panel to the main circuit board. Disconnect these carefully by releasing the small tabs or clips holding them in place.
Now you can see the pin modules arranged in rows. Each module contains two cells of eight pins each. The motor holders sit beneath the visible pin tips. Look for any obvious debris, dust, or misalignment in the actuator rows.
Examine the cam mechanisms that connect motors to pins. These small rotating parts should move freely without resistance. Check the spacing between adjacent actuators to confirm proper vertical clearance exists between them.
Take photos of the module layout before touching anything. This visual record helps during reassembly. Note which specific pins appear stuck or unresponsive. Mark their location with a small piece of tape if needed.
The pin guide assembly sits above the motors and keeps pins moving in straight lines. Inspect this area for dust accumulation or bent components. Look for any signs of friction marks on the guide surfaces.
This preparation step prevents costly mistakes during cleaning or replacement work.
Cleaning and Realigning Stuck Pins and Motor Holders
Once you have access to the internal components, you can begin cleaning and realigning stuck pins. The motor holders often trap debris that prevents smooth operation.
Start by examining each motor holder carefully. Look for dust, lint, or dried residue around the connection points. Use a soft brush to gently remove loose particles from the motor holder surfaces. Work slowly and deliberately to avoid pushing debris deeper into the mechanism.
Next, check the vertical clearance around each actuator. The space between actuators should measure approximately 0.48mm. If this clearance is too tight, pins will bind during movement. Use a thin gauge or precision tool to measure the gaps. Record any areas where clearance seems inadequate.
Gently rotate the cam mechanism by hand to test for resistance. The cam should turn smoothly without catching or grinding sounds. If you feel resistance, stop immediately and investigate the cause. Often, misalignment of the motor holder creates this problem.
Realign the motor holder by loosening its mounting screws slightly. Rotate the motor holder until the cam rotates freely. Tighten the screws gradually while testing the motion repeatedly. This prevents over tightening, which creates new binding issues.
Inspect the faceplate and pin guide assembly for wear marks or damage. These areas experience constant friction and may need replacement if severely worn. Clean these surfaces thoroughly with a lint free cloth.
Test each pin individually by gently pushing it up and down. Smooth operation indicates successful cleaning and realignment. Stiff or jerky movement means you need to repeat the process. Document which pins move freely and which still stick. This information helps you identify remaining problem areas before reassembly.
Checking Vertical Clearance and Cam Rotation for Proper Function
When your pins stick, vertical clearance is often the culprit. Each actuator needs exactly 0.48mm of space to move freely. Too little clearance and friction builds up. Too much clearance and the pin guide loses control over pin movement.
Start by measuring the gap between adjacent actuators. Use a feeler gauge or thin metal shim to check spacing. Place it gently between two actuators and see if it fits without forcing. If the gap is too tight, you have found your problem.
Next, inspect the motor holder position. The holder keeps the motor aligned with the cam mechanism. If it shifts even slightly, clearance changes everywhere. Loosen the mounting screws just enough to adjust positioning. Move the holder back to factory position. Tighten screws gradually and test pin movement between adjustments.
Rotate the cam mechanism slowly by hand while observing clearance. You should feel smooth, even resistance. Grinding sounds or sudden stops mean something blocks the path. Stop immediately and investigate further.
Check if the faceplate sits flush against the pin guide assembly. Warping or debris prevents proper seating. Clean the contact surfaces with a lint free cloth. Ensure no dust particles wedge between components.
Test vertical clearance after each adjustment. Push each pin upward gently. It should rise smoothly without binding. If sticking returns in one spot, that actuator needs individual attention.
Proper clearance prevents most sticking problems. This single measurement prevents frustration and extends display life. Take time to verify spacing before reassembling your unit. Small gaps make big differences in performance.
Avoiding Common Mistakes During Repair
When you repair an electronic Braille display pin actuator, mistakes happen fast. The good news is that most errors are preventable if you know what to avoid.
The biggest mistake is rushing through reassembly. After you clean components and realign motors, take your time putting everything back together. Use the photos you took earlier as your reference guide. Verify each screw is tight but not over tightened, as this can bend motor holders and create new sticking problems.
Another common error involves ignoring the modular design. Your display uses individual cells that work independently. If you remove one cell for cleaning, mark its exact position before taking it out. Cells are not interchangeable across different locations, and installing one in the wrong spot causes pin misalignment.
Don’t skip the test phase. Before fully closing the display, power it on and run a diagnostic if your model supports this feature. Watch for any pins that move slowly or hesitate. This tells you something still needs adjustment before you seal everything up.
Avoid using excessive force when rotating cam mechanisms by hand. You’re testing for resistance, not forcing movement. Gentle rotation reveals binding points without damaging delicate gears inside the motor assembly.
Finally, never work on your display while it’s powered on. Electrical current flowing through motors during manual testing creates safety hazards and can damage components. Always disconnect power first, wait a few seconds, then proceed with your repair work.
These simple precautions save you time and prevent damage that turns a quick fix into a major rebuild project.
Troubleshooting Persistent or Recurring Pin Sticking Issues
When pins stick repeatedly, the problem usually involves deeper issues than simple dirt buildup. Persistent sticking suggests wear patterns or alignment problems that need systematic investigation.
Start by documenting which specific pins stick. Keep a record of their locations and how often the problem occurs. This pattern helps you identify whether the issue stems from one motor holder, a particular cell module, or a widespread clearance problem affecting multiple actuators.
Next, inspect the faceplate and pin guide assembly for permanent damage. Look for grooves, scratches, or deformation marks where pins have been rubbing. These wear patterns show you exactly where friction occurs. If the faceplate has visible damage, replacement becomes necessary because cleaning alone won’t solve the problem.
Check the motor holder alignment again, but this time apply slight downward pressure while rotating the cam mechanism. Sometimes motor holders settle into misaligned positions over time. A holder that appears properly positioned during static inspection may shift under operational stress.
Test individual pins multiple times after each adjustment. Push each pin up and down at least ten times to ensure smooth movement. Sticking that returns after a few cycles indicates incomplete resolution.
Consider replacing the entire cell module if one or two actuators continue sticking after thorough cleaning and realignment. The modular design makes this practical. Individual cell replacement often costs less than repeatedly troubleshooting the same actuators.
If sticking persists across multiple modules, the problem may involve your power supply or motor control board rather than mechanical components. Inconsistent electrical power can cause motors to bind. In this case, mechanical repairs alone won’t solve the issue.
Document all your findings before proceeding to component replacement. This information helps you avoid repeating the same repair steps unnecessarily.
Final Thoughts
Fixing a sticking pin actuator does not need to feel overwhelming. Most problems come from dirt, misalignment, or clearance issues. You can solve these with patience and the right tools.
Start simple. Clean the pin tips first before you assume a bigger problem exists. Many sticking issues disappear after a thorough cleaning session.
Remember that your display uses a modular design on purpose. This means you can replace single cells instead of rebuilding the whole unit. Two cells make up each module, so swapping one section is often faster than a full repair.
Keep spare parts on hand if you use your display daily. Quick access to replacement components saves time when a pin actuator fails unexpectedly.
Vertical clearance matters more than people think. That small 0.48mm gap between actuators controls how smoothly your pins move. Always check this measurement after any repair work.
Testing your work is just as important as the repair itself. Run each pin through its full motion before you close the panel back up. This catches problems early, before they turn into bigger headaches.
Your Braille display has around 320 actuators if it shows 40 characters. That number sounds high, but each actuator works independently. A problem in one spot rarely affects the others.
Stay calm and methodical. Rushing leads to stripped screws, misaligned motors, and frustration. Take breaks if you feel stuck during a repair.
With practice, fixing pin actuators becomes a manageable skill. You will spend less time troubleshooting and more time using your display the way it was meant to work.
Frequently Asked Questions
Why do Braille display pins stick in the first place?
Pin sticking happens when dirt, dust, or debris builds up inside the motor holders or pin guide assemblies. Over time, these tiny particles prevent the cam mechanism from rotating smoothly. The pins cannot move up and down as designed. Moisture and dried residue are common culprits in dusty environments.
What is the 0.48mm clearance everyone mentions?
Each actuator needs exactly 0.48mm of vertical space to move freely. This tiny gap sits between the pin tip and the faceplate. When this clearance gets blocked or reduced, pins jam. Checking this measurement during repairs prevents sticking from returning.
Can I replace just one stuck pin instead of the whole cell?
Yes. The modular design lets you swap individual cell modules without replacing the entire display. Each module contains two cells. If one or two actuators stick persistently, replacing that specific module is faster and more practical than rebuilding everything.
How do I know if the problem is the motor or something else?
Start by documenting which pins stick and when. Clean the pin tips and faceplate first. If sticking continues across multiple modules after cleaning, the issue likely involves your power supply or motor control board rather than mechanical parts. Test individual pins multiple times after each adjustment to narrow down the real cause.
Should I force the cam mechanism to rotate during repairs?
No. Avoid using excessive force when rotating cam mechanisms by hand. Gentle, steady pressure works best. Forcing rotation can damage the motor holder or strip internal components. Let the mechanism move naturally as you troubleshoot.

Hi, I’m Rosie Tate — a tech enthusiast, gadget geek, and the creator of RapidConvertLab! 🚀 I’ve spent years exploring the ever-evolving world of electronics, smart devices, and Amazon’s hidden tech treasures. Through my honest, hands-on reviews, I help everyday shoppers cut through the noise and pick gadgets that truly deliver value. When I’m not testing a new device, I’m probably unboxing one! 📦✨